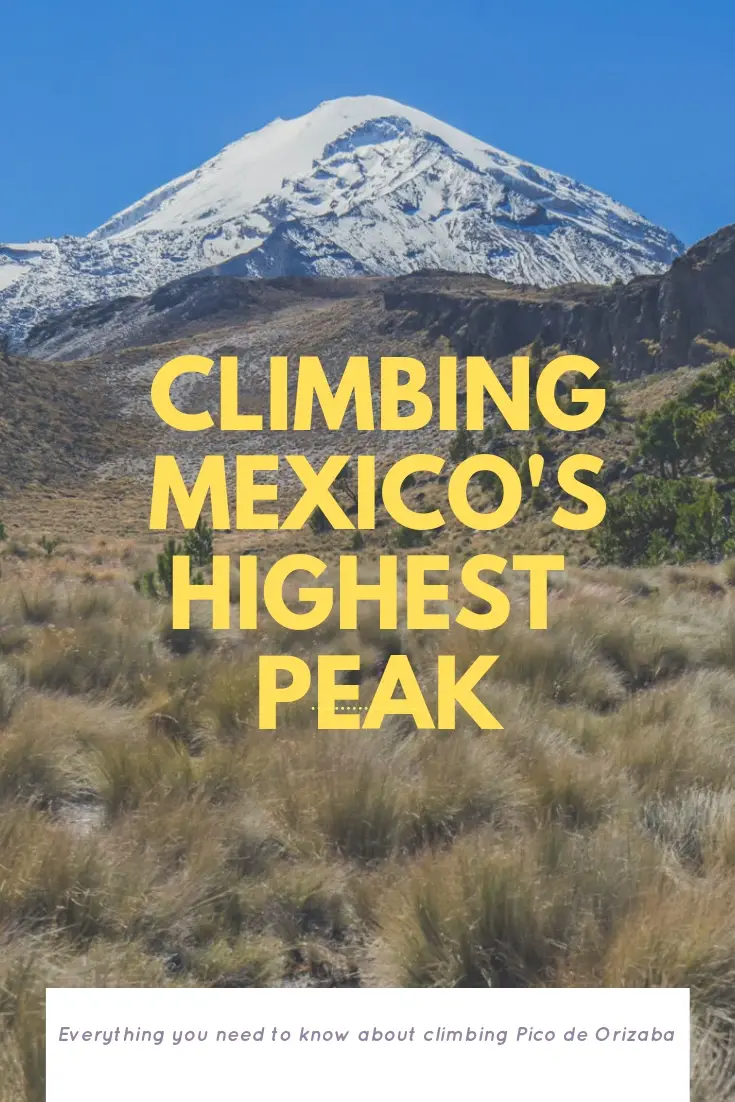
Everything you need to know about climbing Pico de Orizaba. How to get there, a detailed route description, recommended gear, and sample 1-week climbing itinerary.
Rising to 5,636 meters (18,491 feet), Pico de Orizaba is Mexico’s tallest peak, and North America’s third tallest. If you’re interested in learning how to climb Pico de Orizaba, you’ve come to the right place.
I made my attempt to climb Pico de Orizaba in late October of 2018 and had an amazing time. It’s a beautiful mountain that offers great climbing and epic views – what more could a climber ask for!
This post will tell you everything you need to know to summit Pico de Orizaba. Let’s get right into it!
Contents
- 1 How Difficult Is Climbing Pico de Orizaba?
- 2 Intro to the Pico de Orizaba Climb
- 3 Getting to Pico de Orizaba
- 4 Pico de Orizaba Climbing Routes
- 5 The Jampa Glacier Route
- 6 Recommended Gear for Pico de Orizaba
- 7 When to climb Pico de Orizaba
- 8 Food and water on Pico de Orizaba
- 9 Solo Climbing Pico de Orizaba
- 10 Training for Pico de Orizaba
- 11 My Attempt on Pico de Orizaba
- 12 Pico de Orizaba Itinerary
- 13 Pico de Orizaba FAQ
- 14 Pico de Orizaba Climb Wrap-up
How Difficult Is Climbing Pico de Orizaba?
Pico de Orizaba is by no means an easy mountain. It’s important to have at least some previous mountaineering experience before attempting this climb.
Altitude sickness on Orizaba is no joke – at 5,636 meters, there is only 51% percent of the oxygen that you get to breathe at sea level. This climb requires that you properly acclimatize before making your summit attempt, which requires a new level of patience that you may not be used to if you’ve only climbed at lower elevations.
Weather on Orizaba can vary a lot, and staying up to date with the latest forecast is important. Things can change quickly in the mountains, and a bad storm can turn a simple climb into a deadly one.
Intro to the Pico de Orizaba Climb
Pico de Orizaba is a great mountain for people who are fairly new to mountaineering. It’s a non-technical climb but requires the use of crampons and an ice axe.
At 5,636 meters, Pico de Orizaba is North America’s third tallest mountain after Denali in Alaska and Mt. Logan in the Yukon. Due to its altitude, you’ll need to get acclimatized before attempting a summit bid. The best way to get acclimatized before Orizaba is by climbing one or more of the other nearby volcanoes. I climbed La Malinche (4,461 meters) for my acclimatization, but another popular option is Iztaccihuatl (5,230 meters).
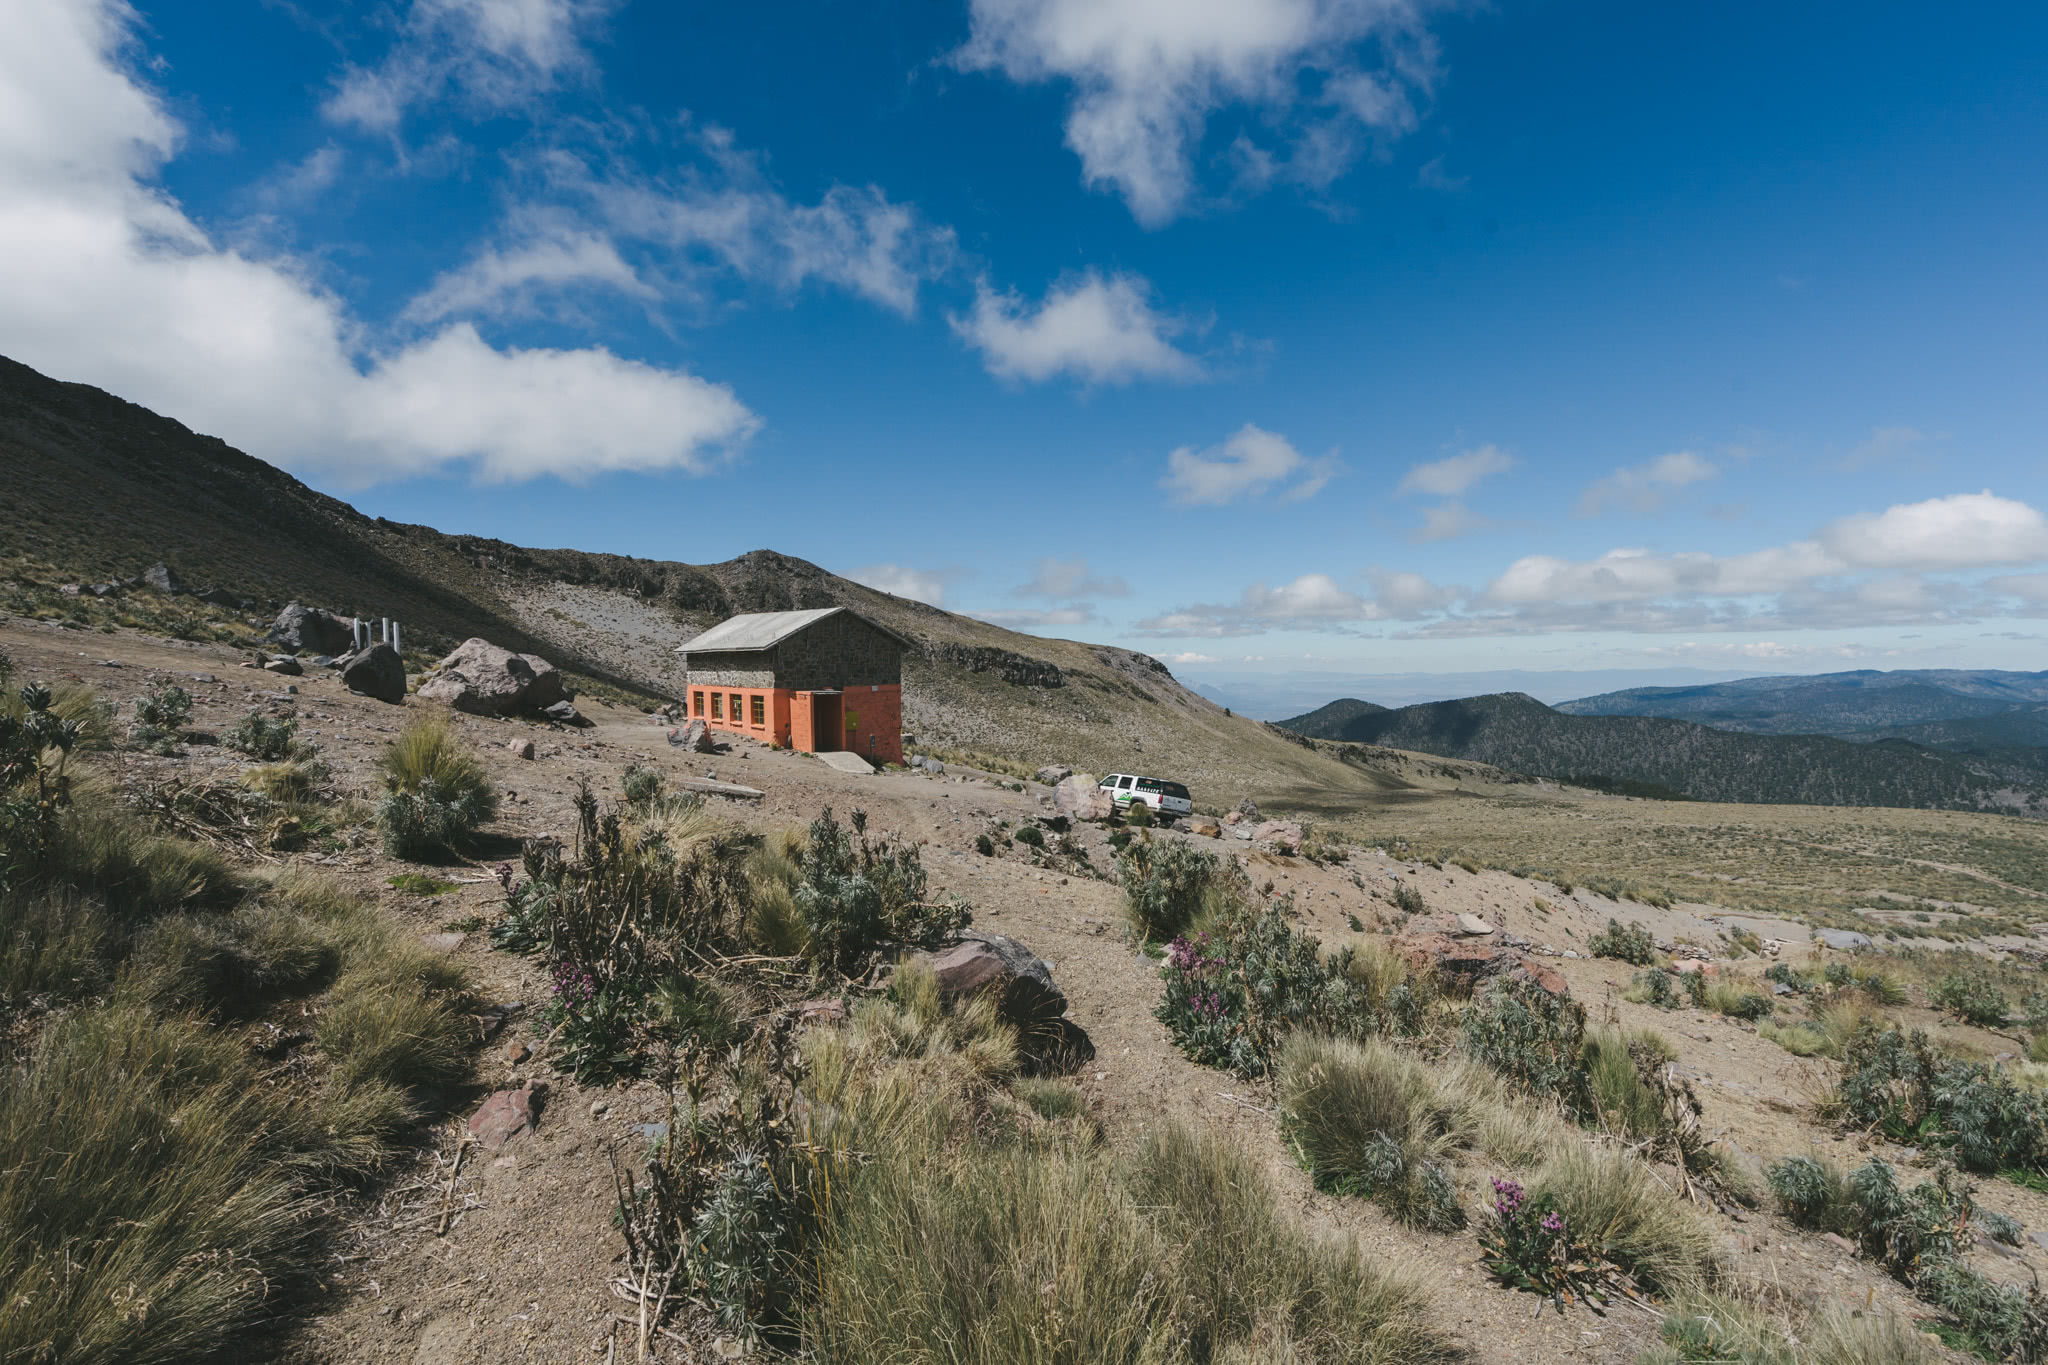
Any trip to climb Pico de Orizaba will begin in either Mexico City or the nearby city of Puebla. Typically, an ascent of the mountain will take two or three days (departing from the nearby town of Tlachichuca). The base camp of the mountain accessible by road (with a 4wd jeep), and is at an elevation of 4,230 meters.
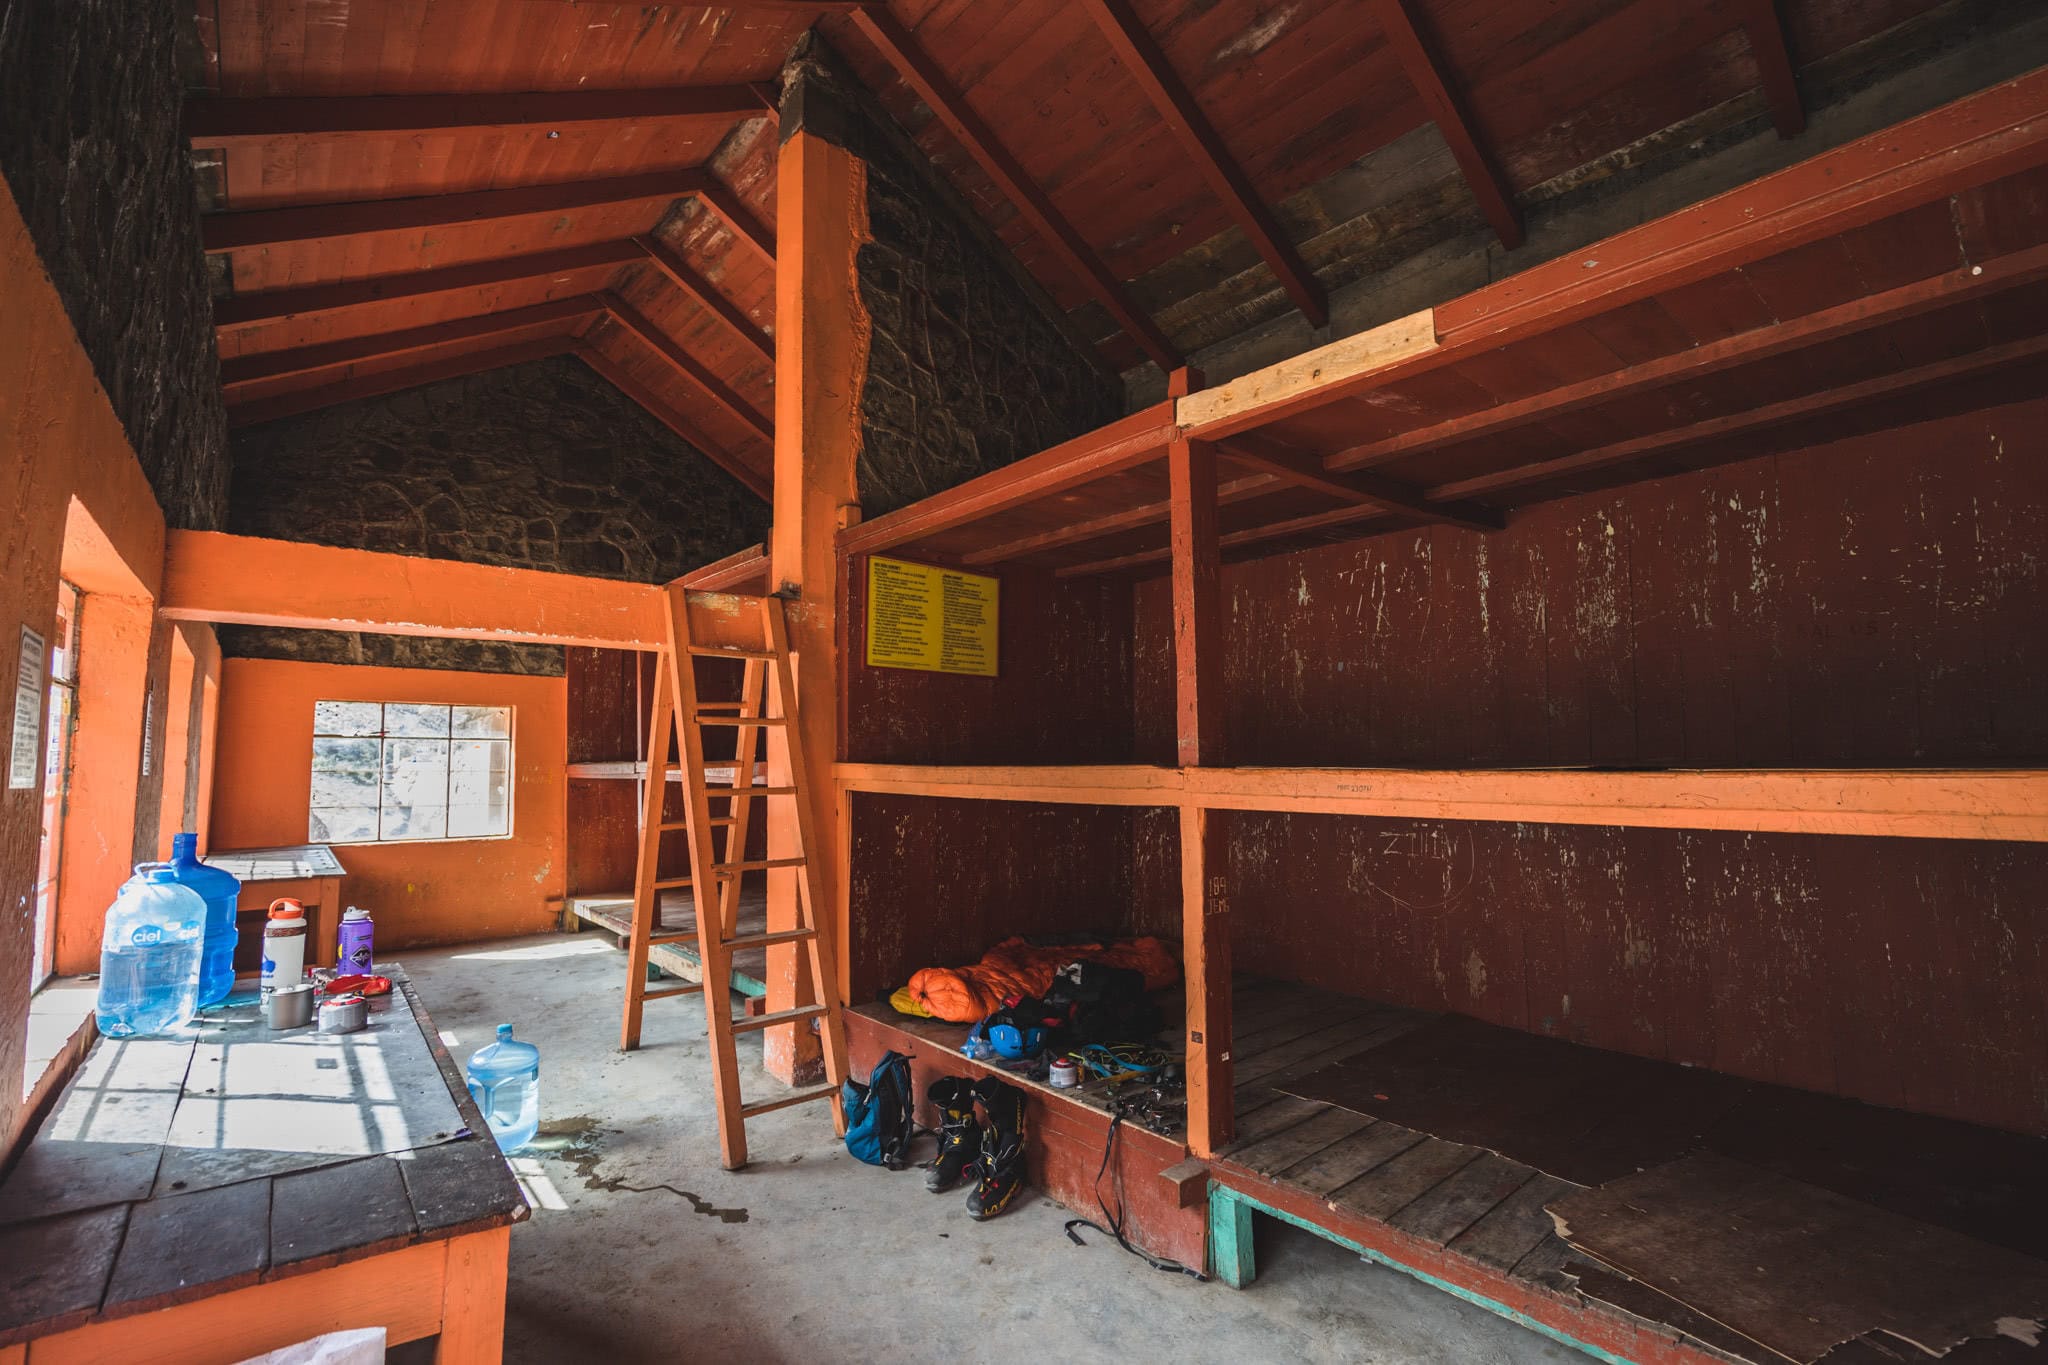
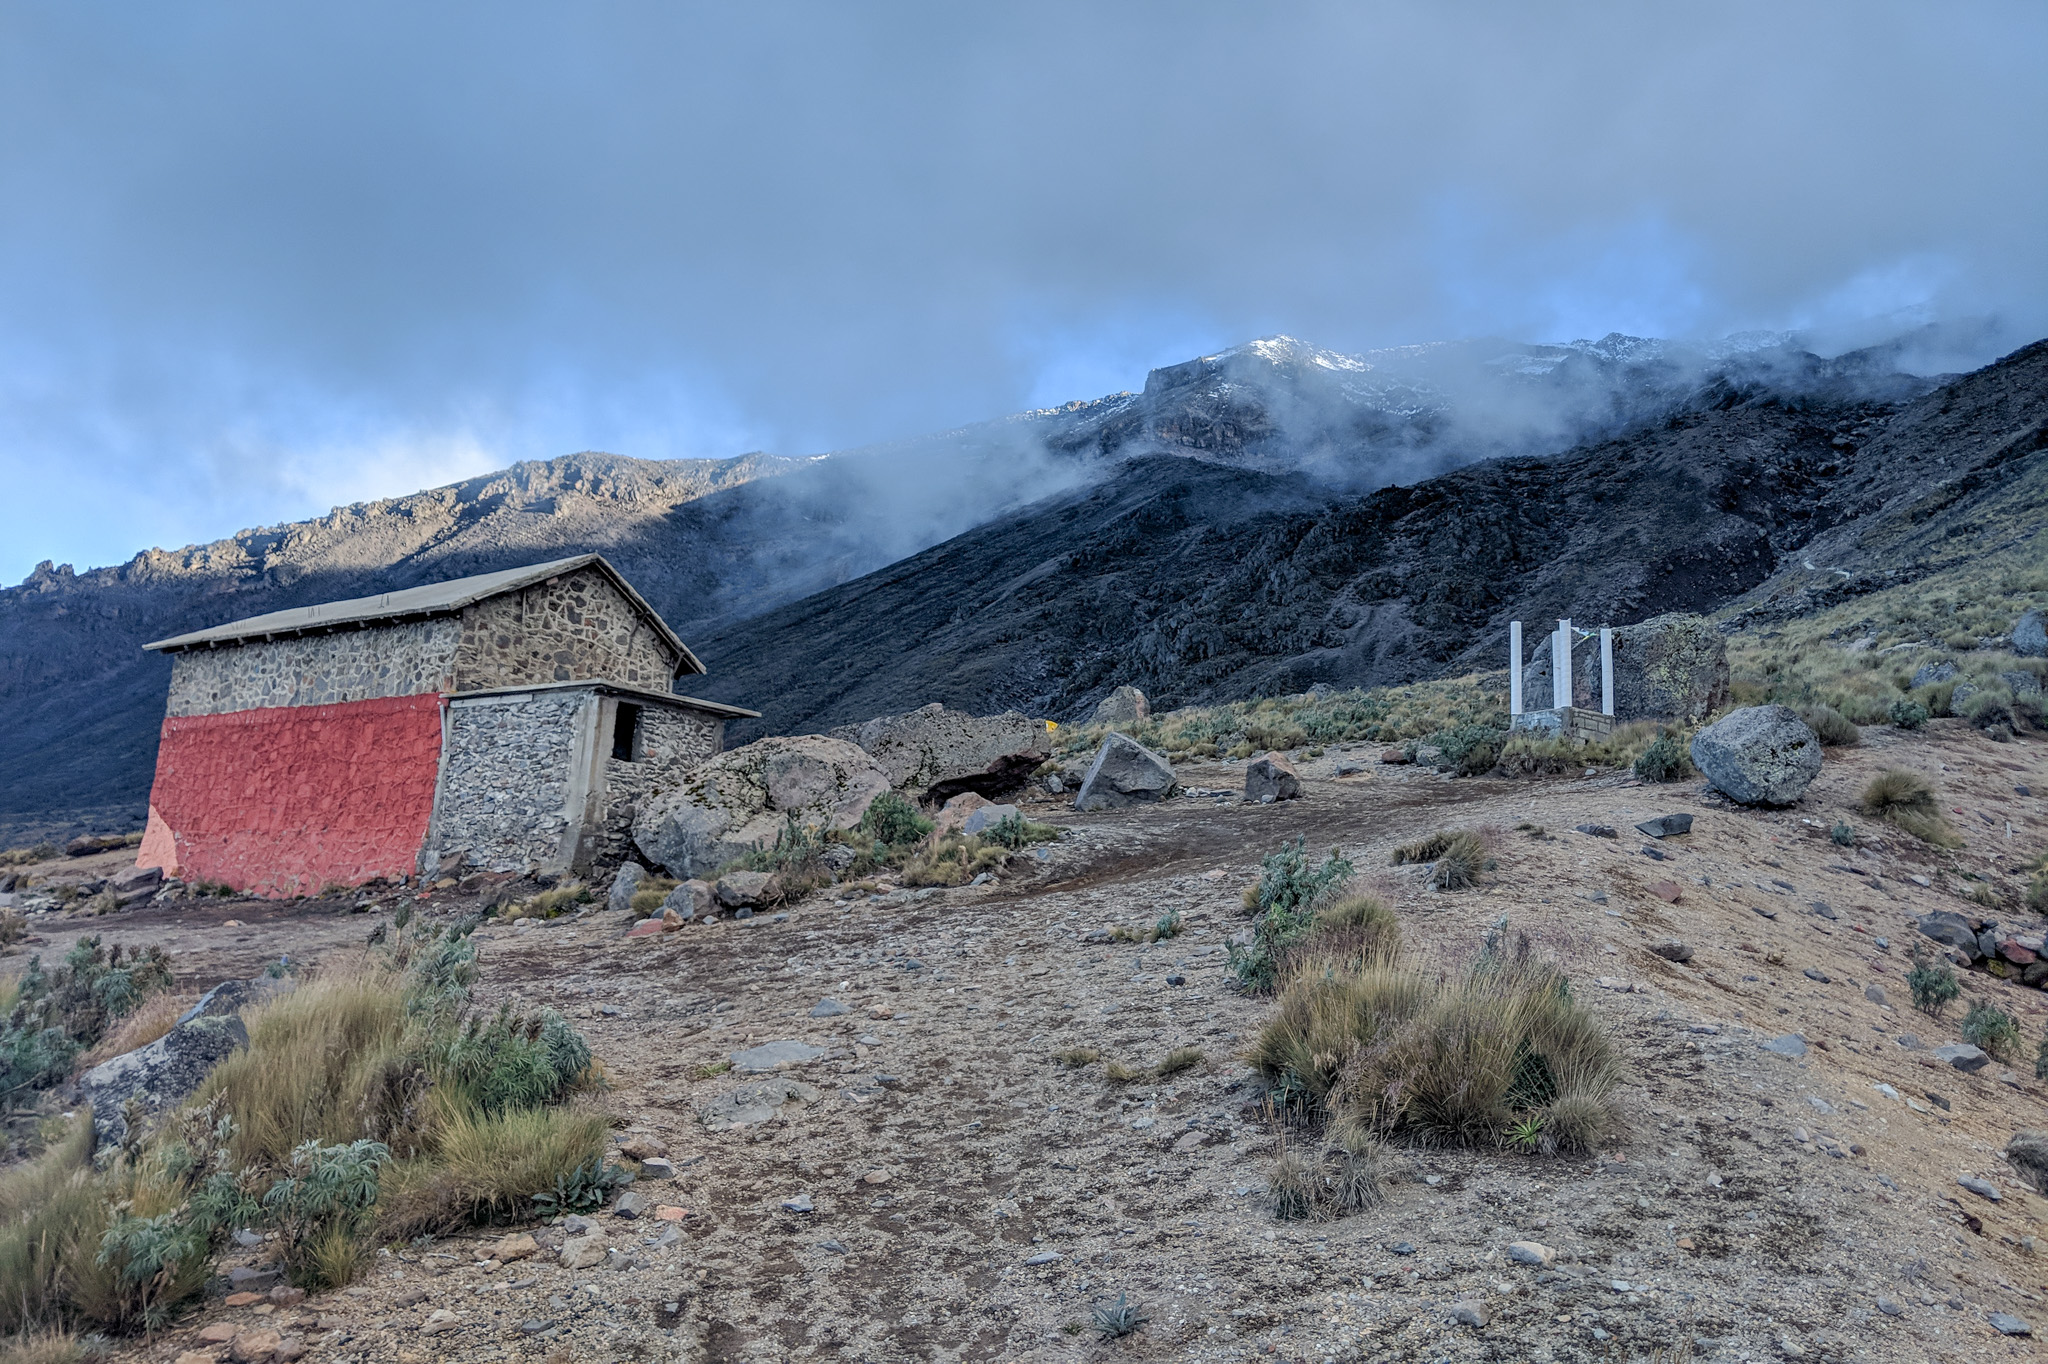
There’s a hut at base camp, so you don’t need a tent unless you want to sleep alone or pitch a camp higher up on the mountain. The hut is called the Piedra Grande Hut and has plenty of room for climbers to sleep.
If you’ve already acclimatized on another nearby mountain and are feeling good after arriving at base camp, it’s possible to attempt the summit the next day. Most summit attempts will begin between 12 am and 3 am depending on climbing speed. You’ll summit sometime in the morning, and can then descend back to base camp and get picked up for the drive back to Tlachichuca.
Here are a few facts about the Pico de Orizaba climb:
- Elevation: 5,636 meters (18,491 feet)
- Distance: 7 km (4.35 mi) round-trip
- Elevation Gain: 1,406 meters (4,613 feet)
- Hike Time: 8 to 15 hours
Getting to Pico de Orizaba
The closest city to Pico de Orizaba with an international airport is Puebla, but Mexico City is only about two hours further and has a lot more flight options.
Most climbers fly into Mexico City – it just makes the most sense in most cases. From Mexico City, you should head to Puebla.
There are buses running directly from the airport in Mexico City, or the TAPO bus station if you decide to stay in the city for a bit. The two-hour bus ride should cost 150 pesos one-way (around $8).
Getting to Tlachichuca
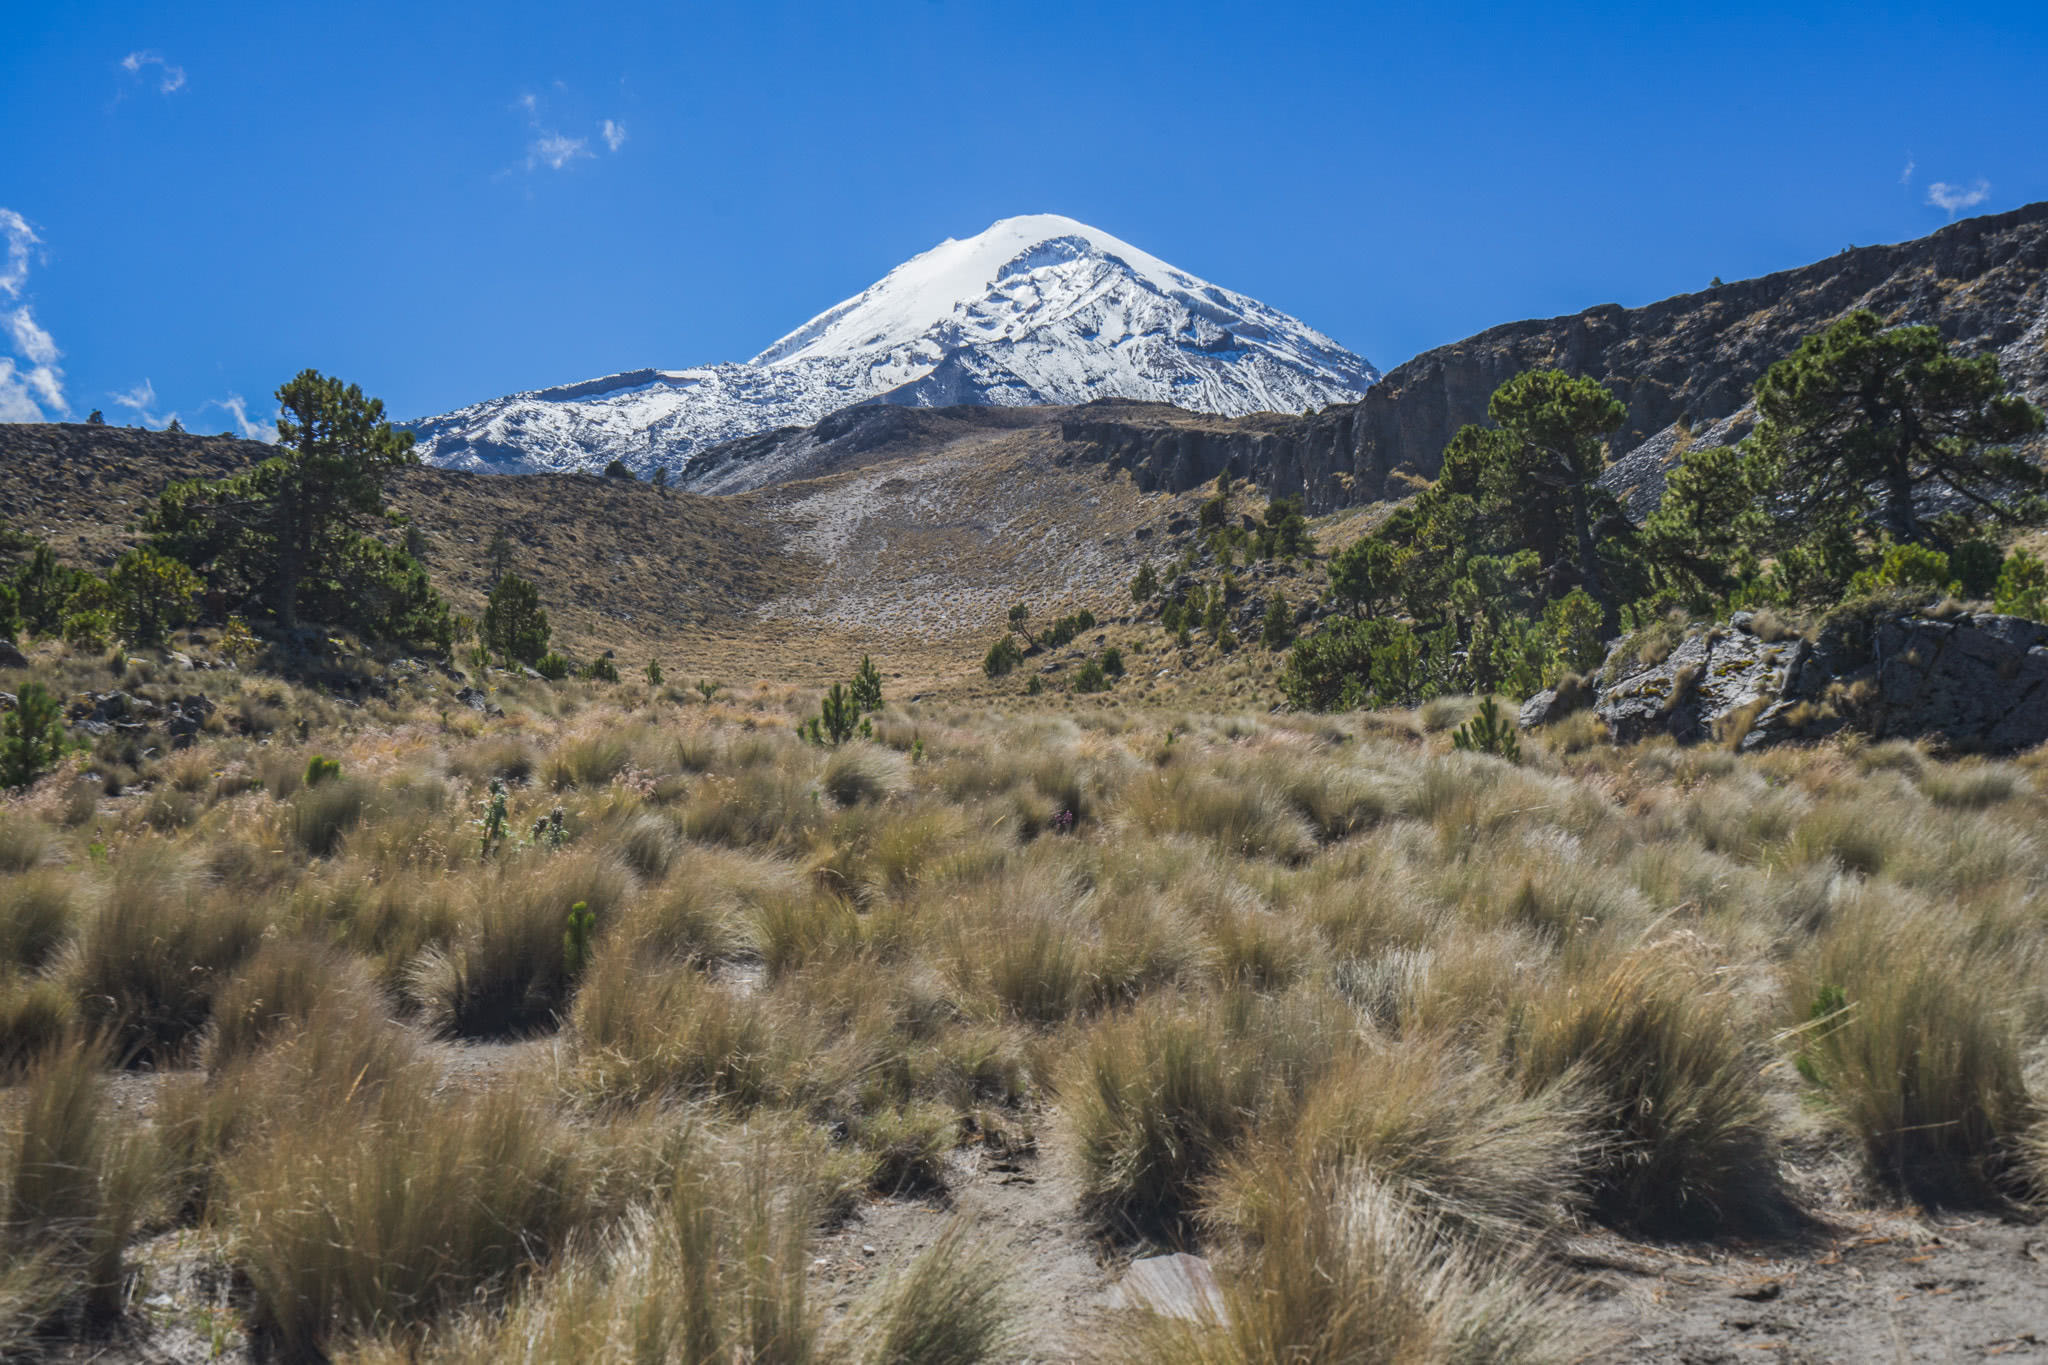
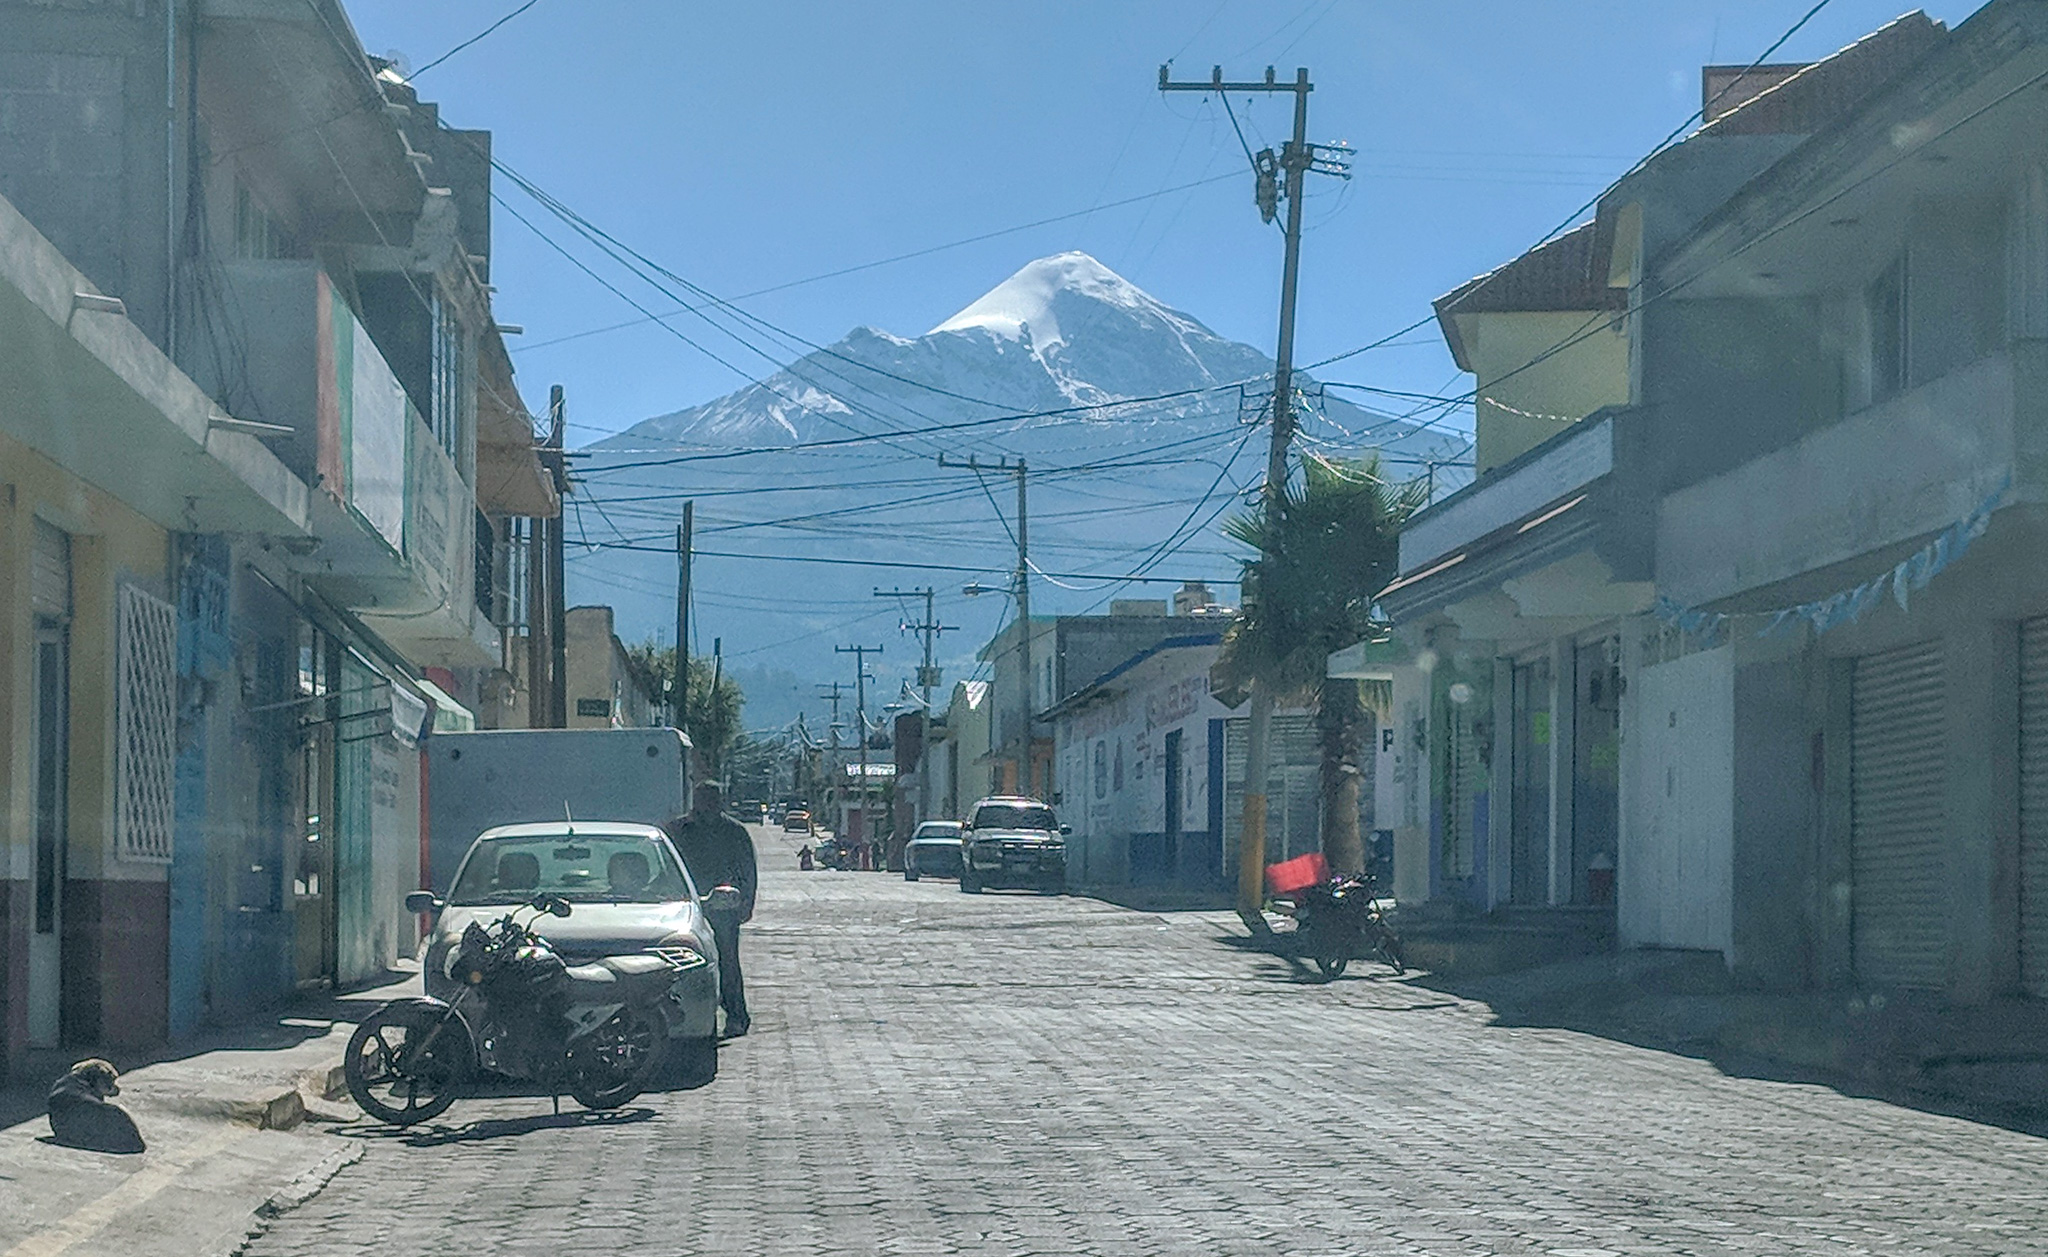
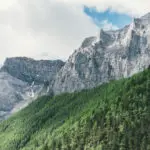
From Puebla, it’s a two-hour bus ride to the small town of Tlachichuca. From Tlachichuca, you’ll get your first good views of the peak as it looms over the town.
To Tlachichuca, buses leave from the Puebla CAPU station every hour, and the ride will take approximately two hours.
Where to stay in Tlachichuca
Tlachichuca has two well-established guest houses offering accommodation, gear rentals, and rides to the Orizaba base camp in 4wd vehicles.
I stayed with the Cancholas and had a great experience. They have a great guest house, and Mirabel cooks wonderful food. You can also consider going with Servimont.
Both of those options have a ton of good reviews, and they are very experienced with helping climbers summit Pico de Orizaba. You can’t really go wrong with either one of them.
Getting to the Piedra Grande Hut
From Tlachichuca, the Piedra Grande Hut (base camp) is a two-hour drive on a very rough road. There isn’t any public transit going up there, so you’ll need to hire a vehicle. Make sure that you’ve done some acclimatization before heading up to the hut, as it’s at an altitude of 4,230 meters.
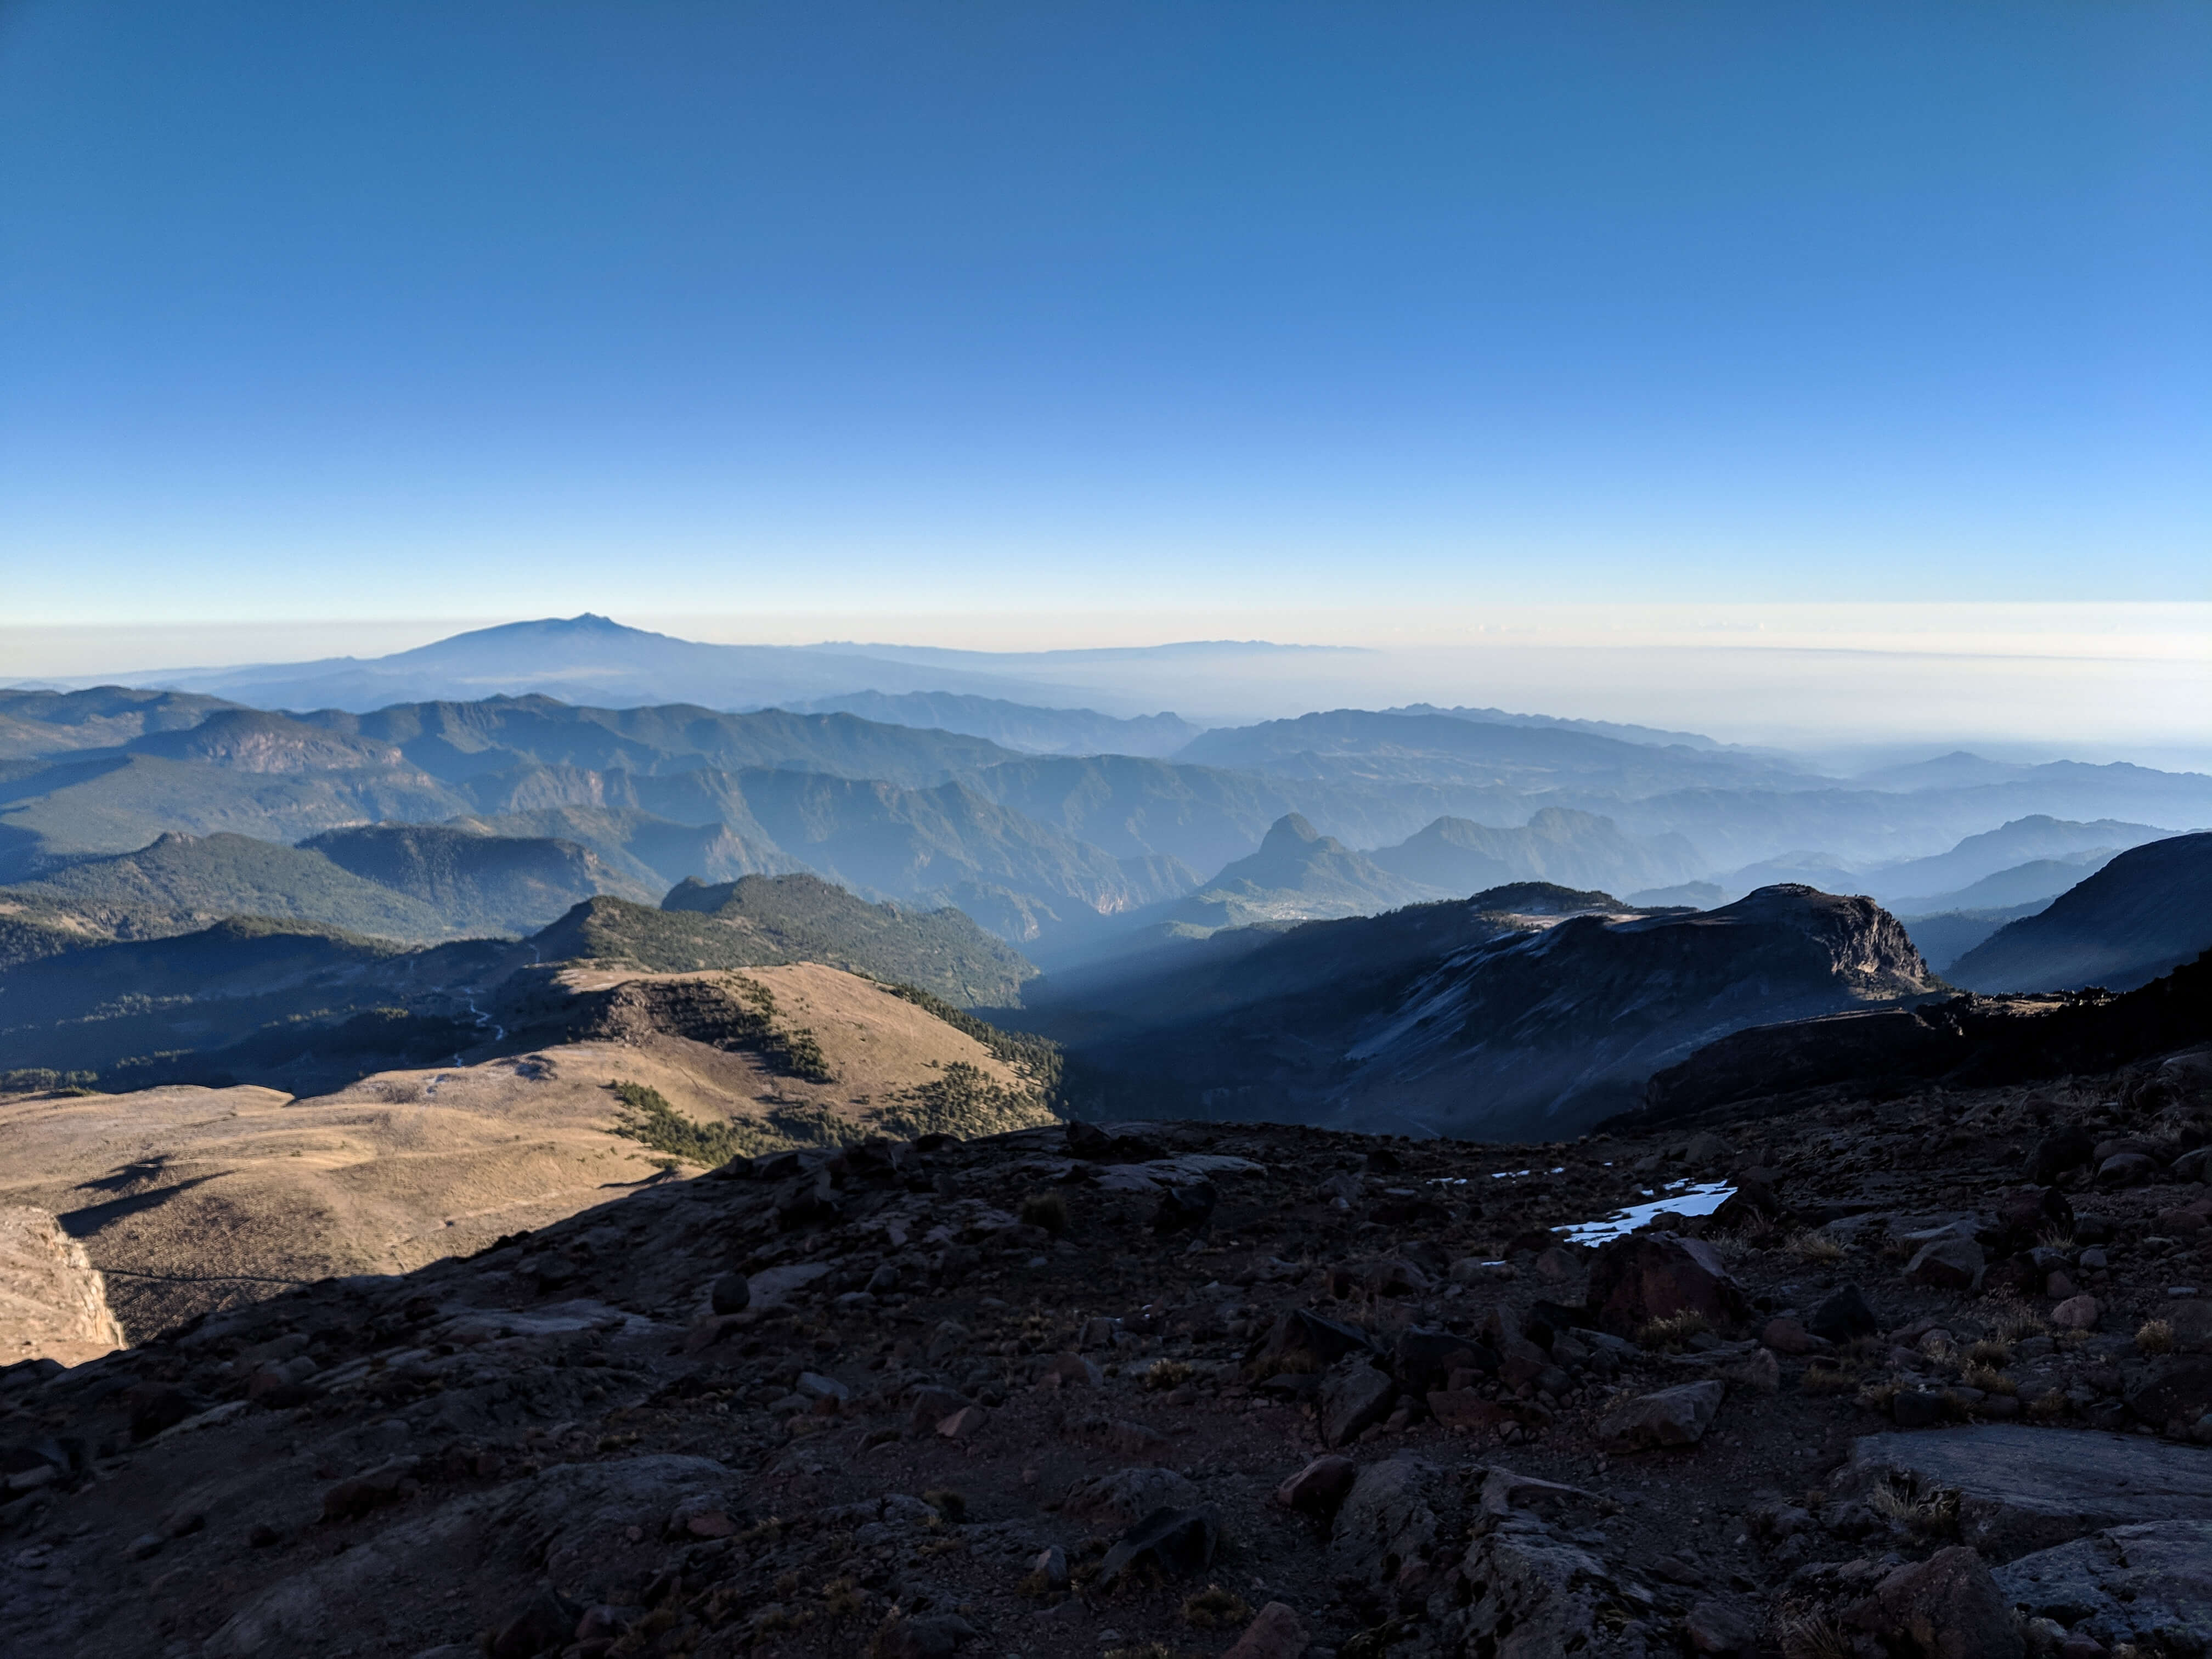
The drive up to the hut takes a good two hours. Enjoy the gorgeous views as you ascend way up onto Orizaba. You should arrange the ride to the Piedra Grande Hut with your guesthouse in Tlachichuca.
Expect to pay around $200 USD for accommodation, food, and transport.
Pico de Orizaba Climbing Routes
There are currently four official climbing routes to the summit of Pico de Orizaba. The four official routes are the Jampa Glacier, the South Route, the Espolón de Oro, and the Direct Route.
Only the Jampa Glacier and South Route are commonly used, and the Jampa Glacier is by far the most common. The Jampa Glacier route is on ice for the upper portion of the route, whereas the South Route is on scree the entire way to the summit. Climbing on snow and ice is much more enjoyable than loose scree, which makes the Jampa Glacier route the most enjoyable climbing experience.
The Jampa Glacier Route
When I climbed Pico de Orizaba I used the Jampa Glacier route. Let’s go over everything you need to know about the route.
The Jampa Glacier route begins from the Piedra Grande Hut, and involves a vertical elevation gain of about 1,400 meters. The route is typically climbed in one long, challenging day. A round-trip from the hut to the summit takes anywhere from 8 to 15 hours depending on fitness, weather, and acclimatization.
There are three main sections to the Jampa Glacier route – the scree, the Labyrinth, and the Jampa Glacier.
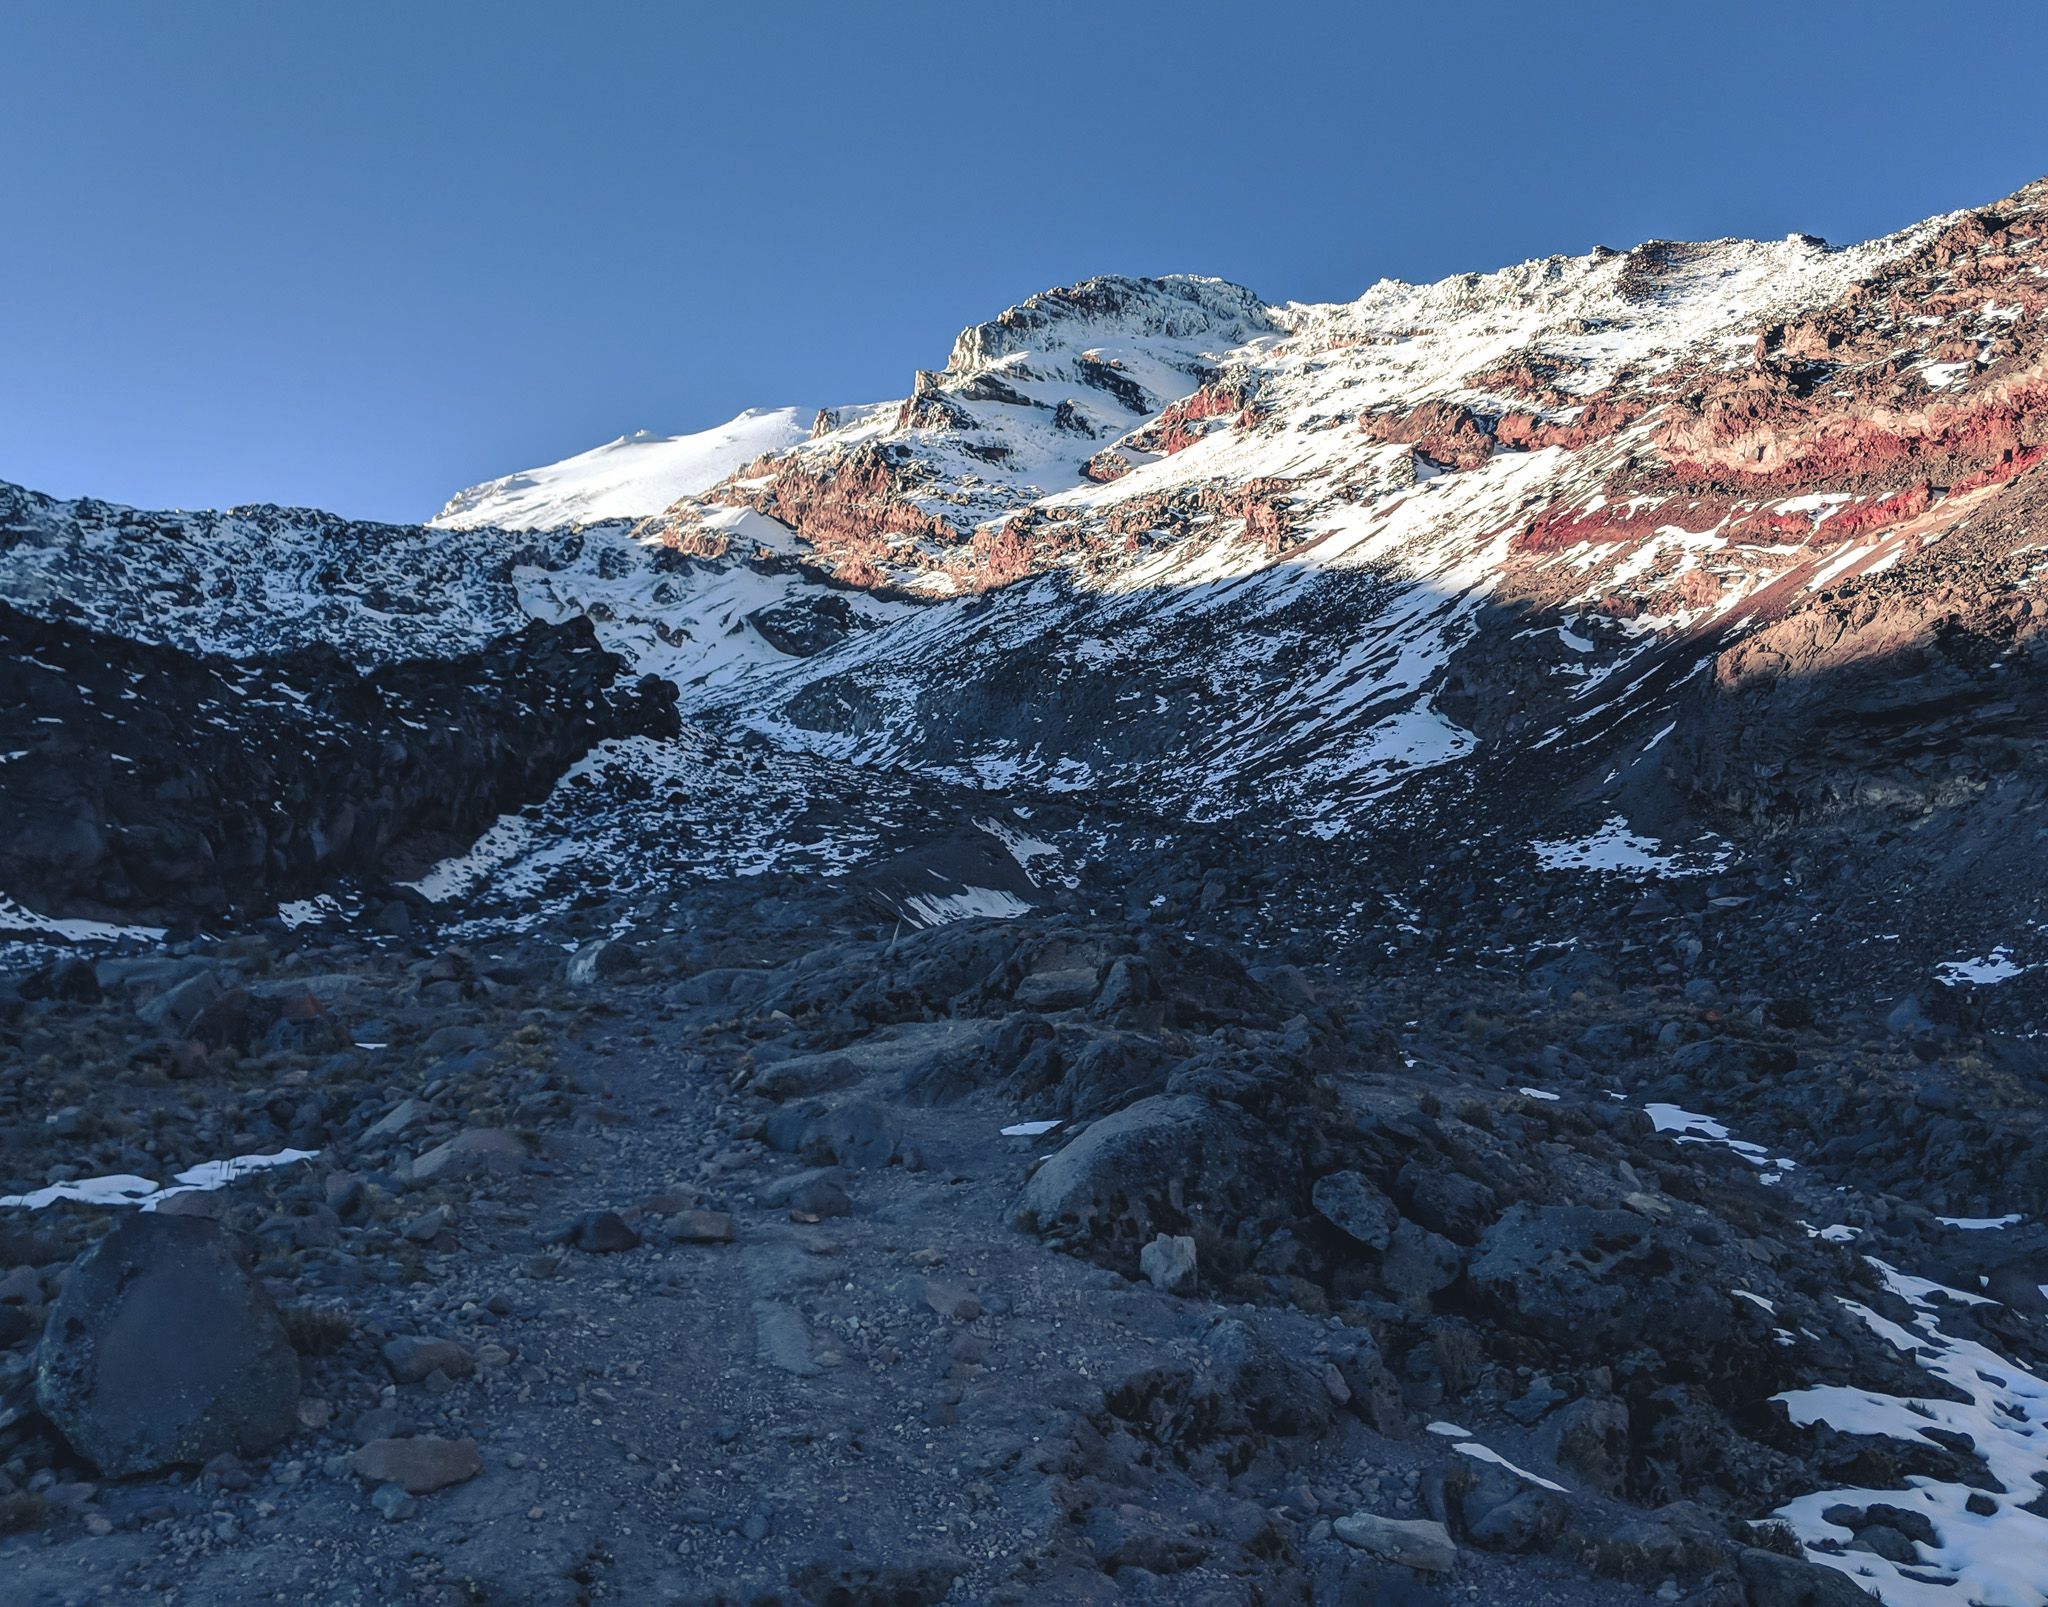
Stage 1: The Scree
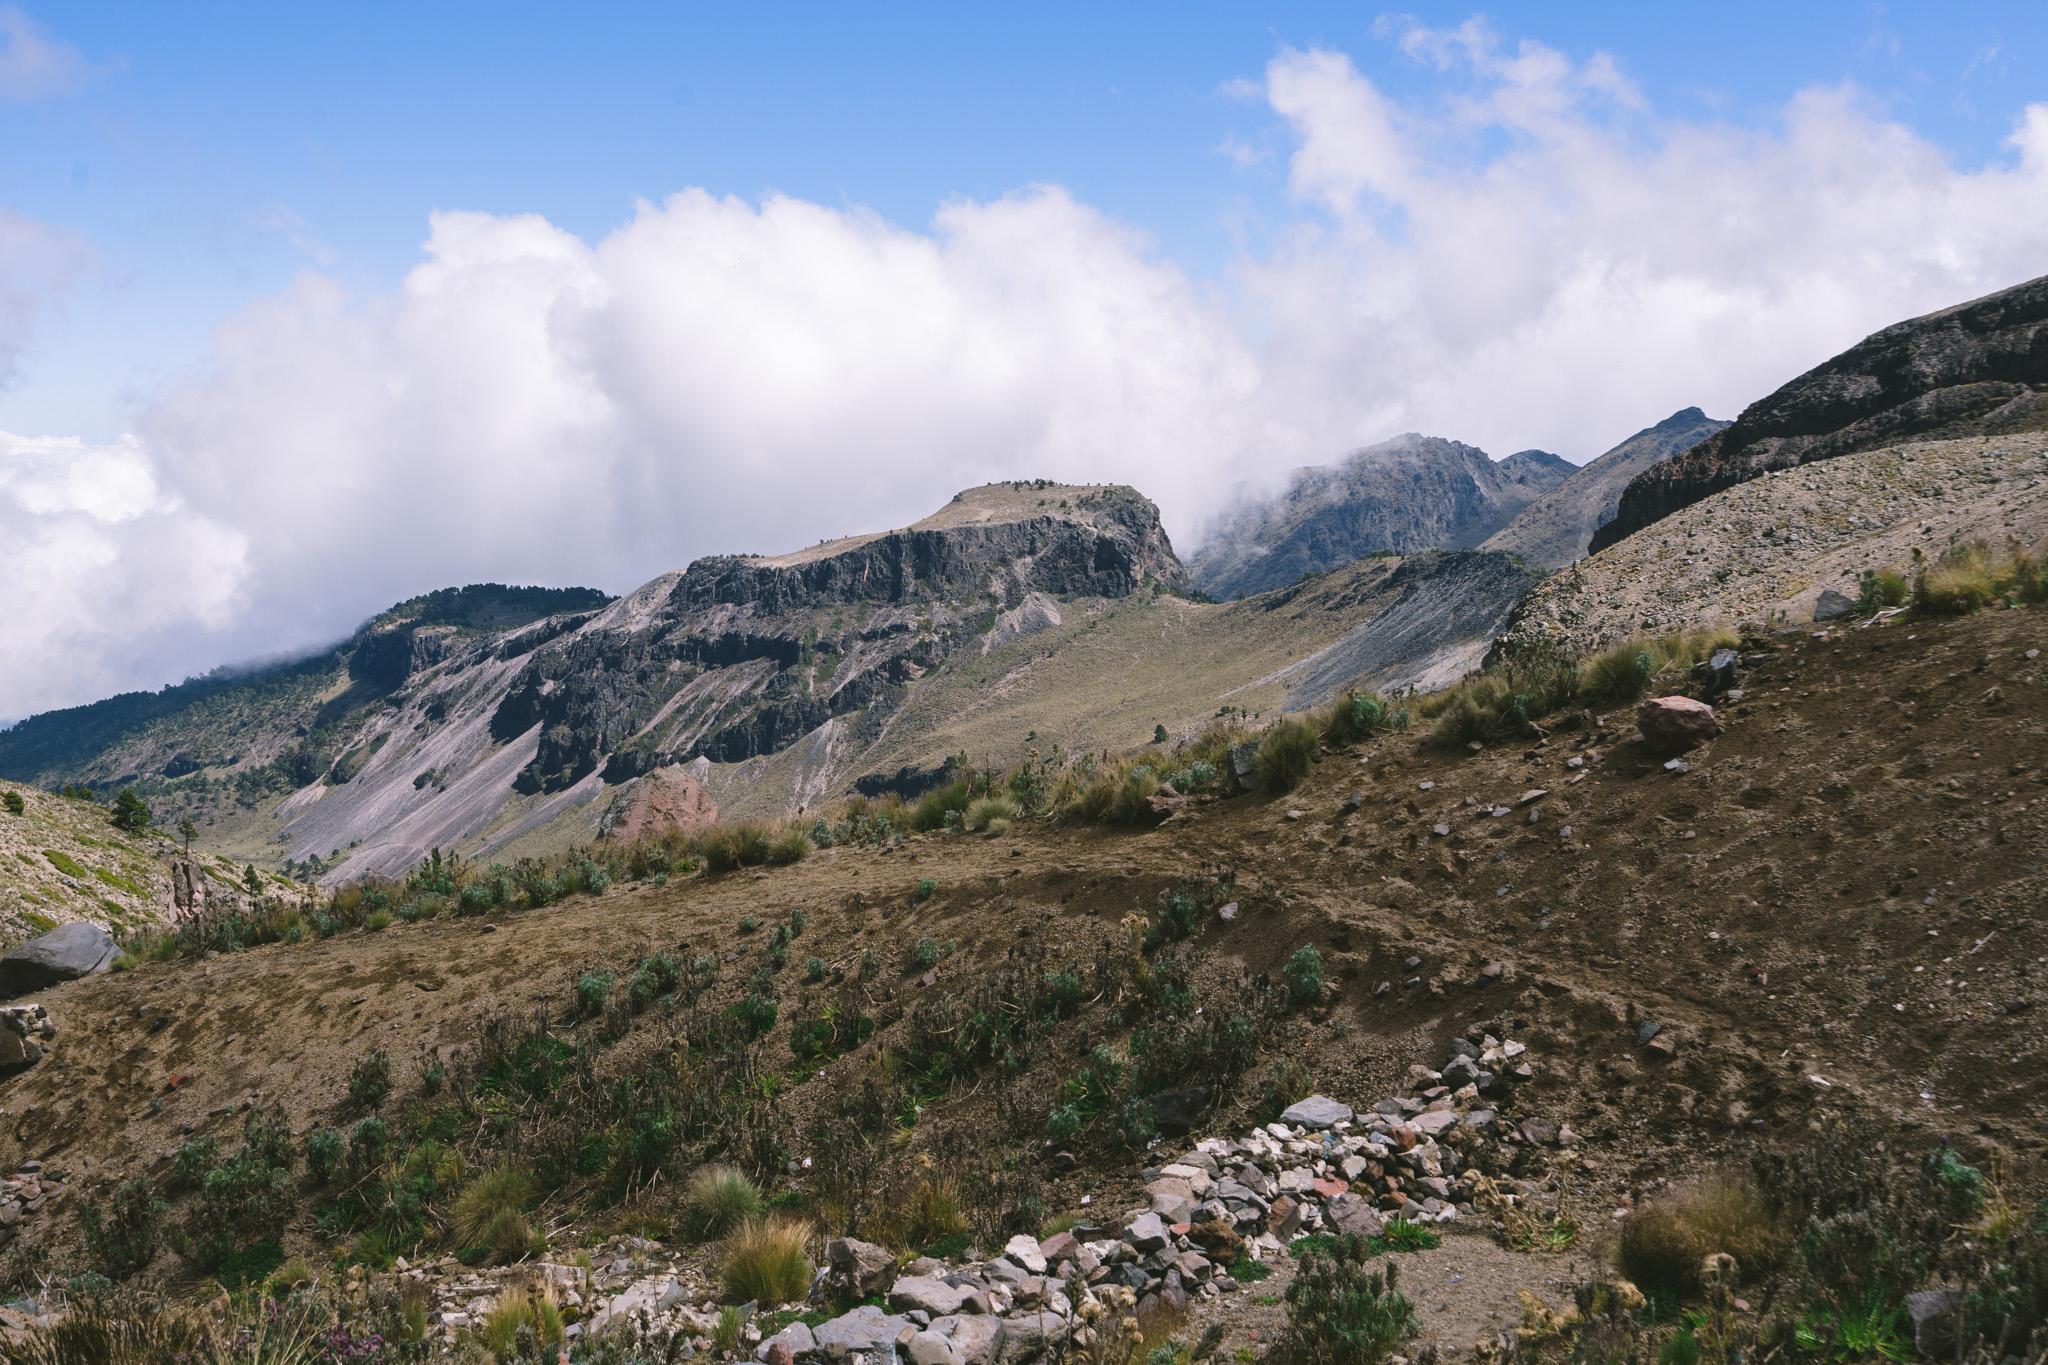
The first few hundred meters of the climb are the least enjoyable. Leaving the hut, you’ll follow an old concrete aqueduct to the base of a rocky and sandy slope. There are a number of trails weaving up this part, just stick to the one that looks most defined. Be careful, a lot of the rocks aren’t very stable and it’s easy to slip in the dark. Getting through this part of the climb won’t take too long, and before you know it you’ll start seeing snow (depending on the season).
I found this section easier to climb at night while the ground was still frozen. The loose sandy areas are more solidified at this time. On the way down, things were much more slippery and I had to be very careful with my (tired) feet.
Stage 2: The Labyrinth
The infamous part of this climb is the Labyrinth, a confusing maze of ice and rock. During my climb, there was quite a bit of packed snow/ice on the Labyrinth, so there were footprints I could follow. There are two main routes up, a steeper path on the right (looking up), and a more gradual but windy one on the left.
I took the steeper route up as I felt confident climbing it, but there were a few parts that were a bit more technical than I had expected. I chose the left (right going down) route on my descent, which was a good idea. I’d recommend the less-steep route both ways unless you want a bit more of a challenge.
Depending on the amount of snow/ice, you’ll likely have to put on your crampons at some point while in the labyrinth.
Navigating through the Labyrinth is challenging, especially in the dark. I recommend downloading an offline map app such as MAPS.ME so you have some backup navigation.

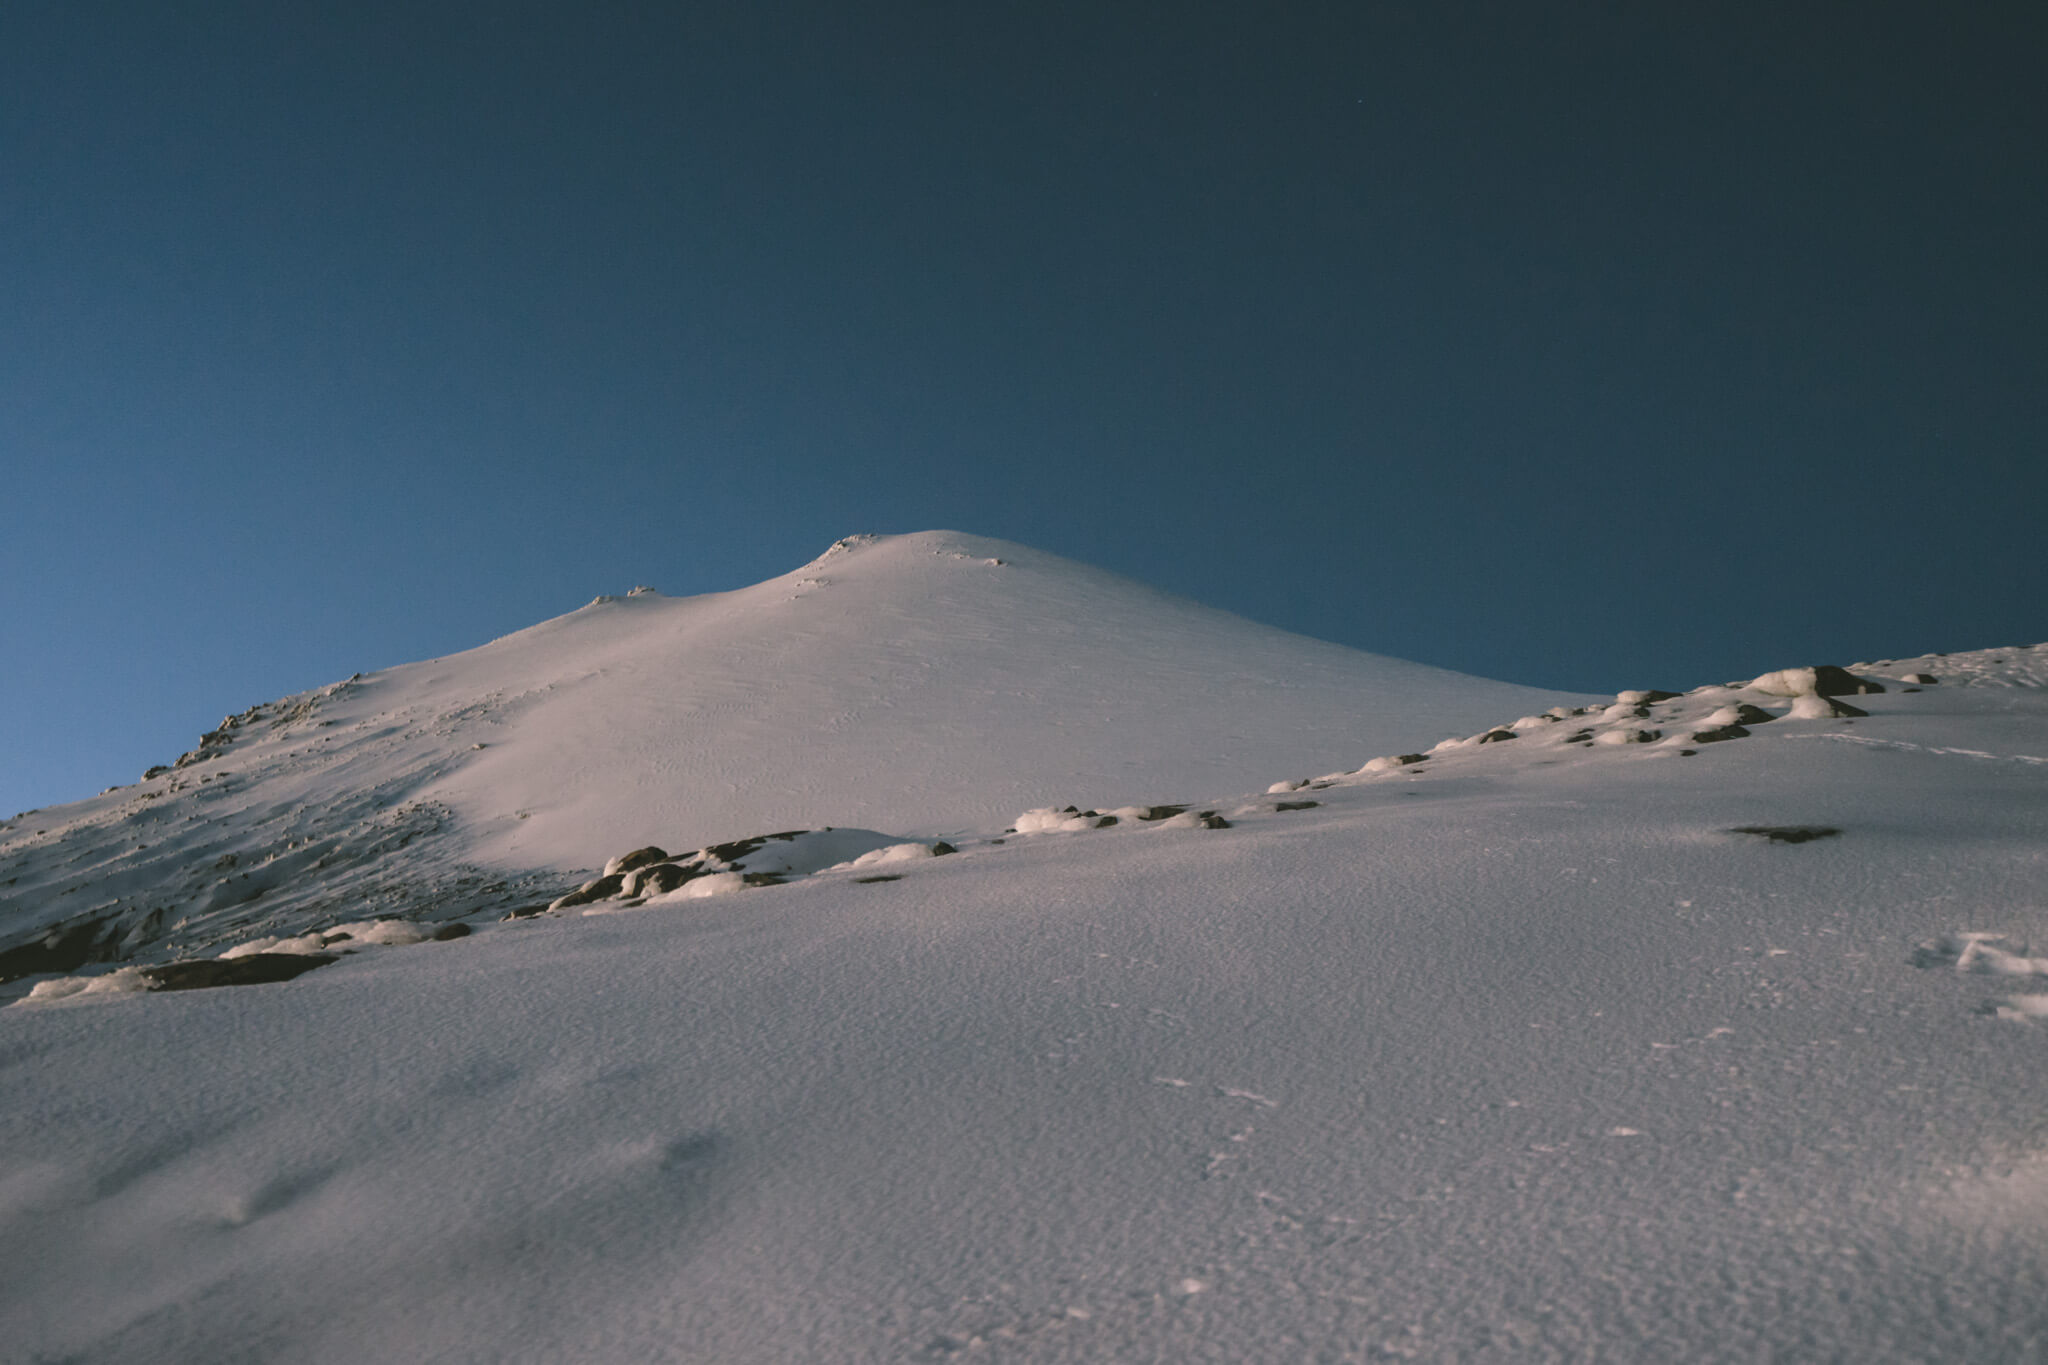
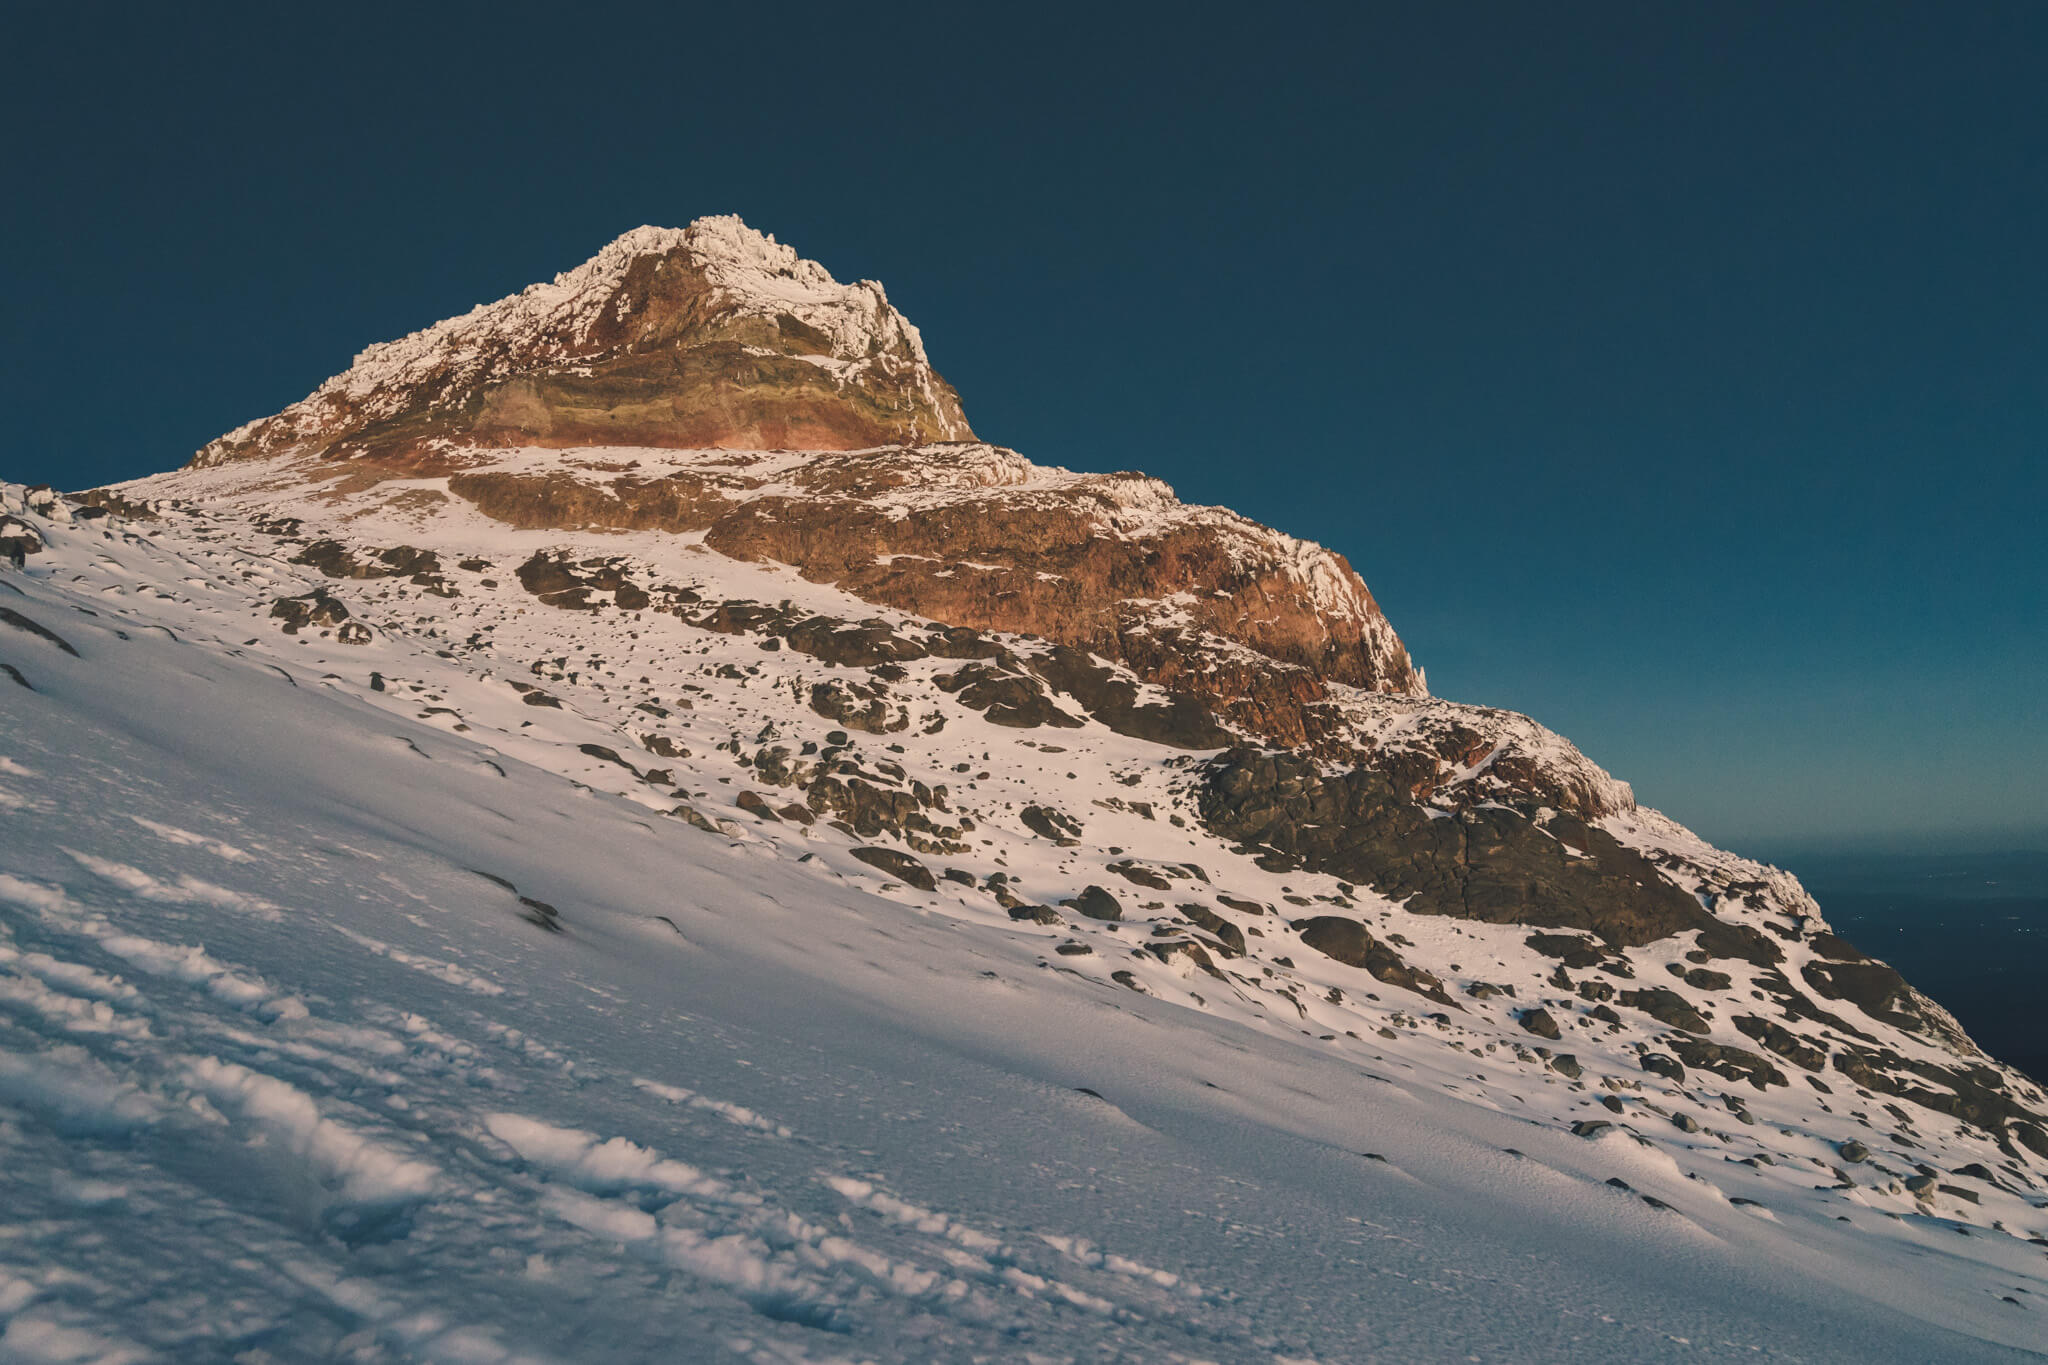
Stage 3: Jamapa Glacier
The Jampa Glacier is definitely the most straight-forward part of the climb, you basically just need to keep going up. Its size is very deceiving, and you can feel like you’re making very little progress without much to use as a reference.
Nearing the top, the glacier becomes quite steep – maxing out at around 40 degrees or so. Depending on the time of year, the glacier can be very icy and slippery, or snow-covered and easy to climb. When I climbed in late October, the glacier ice was very hard and difficult to get my crampons into. A slip would’ve been disastrous, so be careful and make sure that you know how to self-arrest.
There are crevasses on the Jampa Glacier, but they’re usually small and don’t pose any danger for climbers. In the past, people have managed to fall into crevasses on Orizaba, although it’s not clear where they were – certainly not on the most common path up the glacier. If you want to be as safe as possible, it’s a good idea to rope up.
Recommended Gear for Pico de Orizaba
Before you actually head to Mexico and embark on your climb to the summit of Pico de Orizaba, you need to make sure that your gear is up to the task.
Of course, there are tons of different gear combinations that will work on a mountain like Orizaba, so here I’ll give my personal recommendations based on my own research and experience.
The most important thing is to be sure that you’ve got warm enough clothes (layers are your friend!) and well-fitting climbing boots. An ice axe and crampons are mandatory on the Jampa Glacier route.
| Gear Type | My Recommendation | Notes |
|---|---|---|
| Mountaineering Boots | La Sportiva G2 SM | Lightweight, and extremely warm. I've used these boots on Orizaba and Pik Lenin and have nothing bad to say about them. |
| Crampons | Black Diamond Sabertooth Crampons | Great quality crampons that will fit the G2 SM boots perfectly |
| Ice Axe | Black Diamond Raven Pro | Lightweight ice axe, all you need for Orizba |
| Base Layers | Ice Breaker Merino Wool Top & Bottom | Warm, amazing quality, and very comfortable. |
| Mid-Layer Top | Mountain Hardwear Fleece | A classic mid-layer fleece - keeps you warm and dry. |
When to climb Pico de Orizaba
Pico de Orizaba is most commonly climbed during Mexico’s dry season, which lasts from November to March.
I climbed in late October and had good weather. It’s also possible to climb the peak in April or May, but there will likely be more snow on the upper parts of the mountain.
The summit of Orizaba is always below freezing, so just because it is summer doesn’t mean that it will be warm. Check out Mountain Forecast for the latest weather on the mountain.
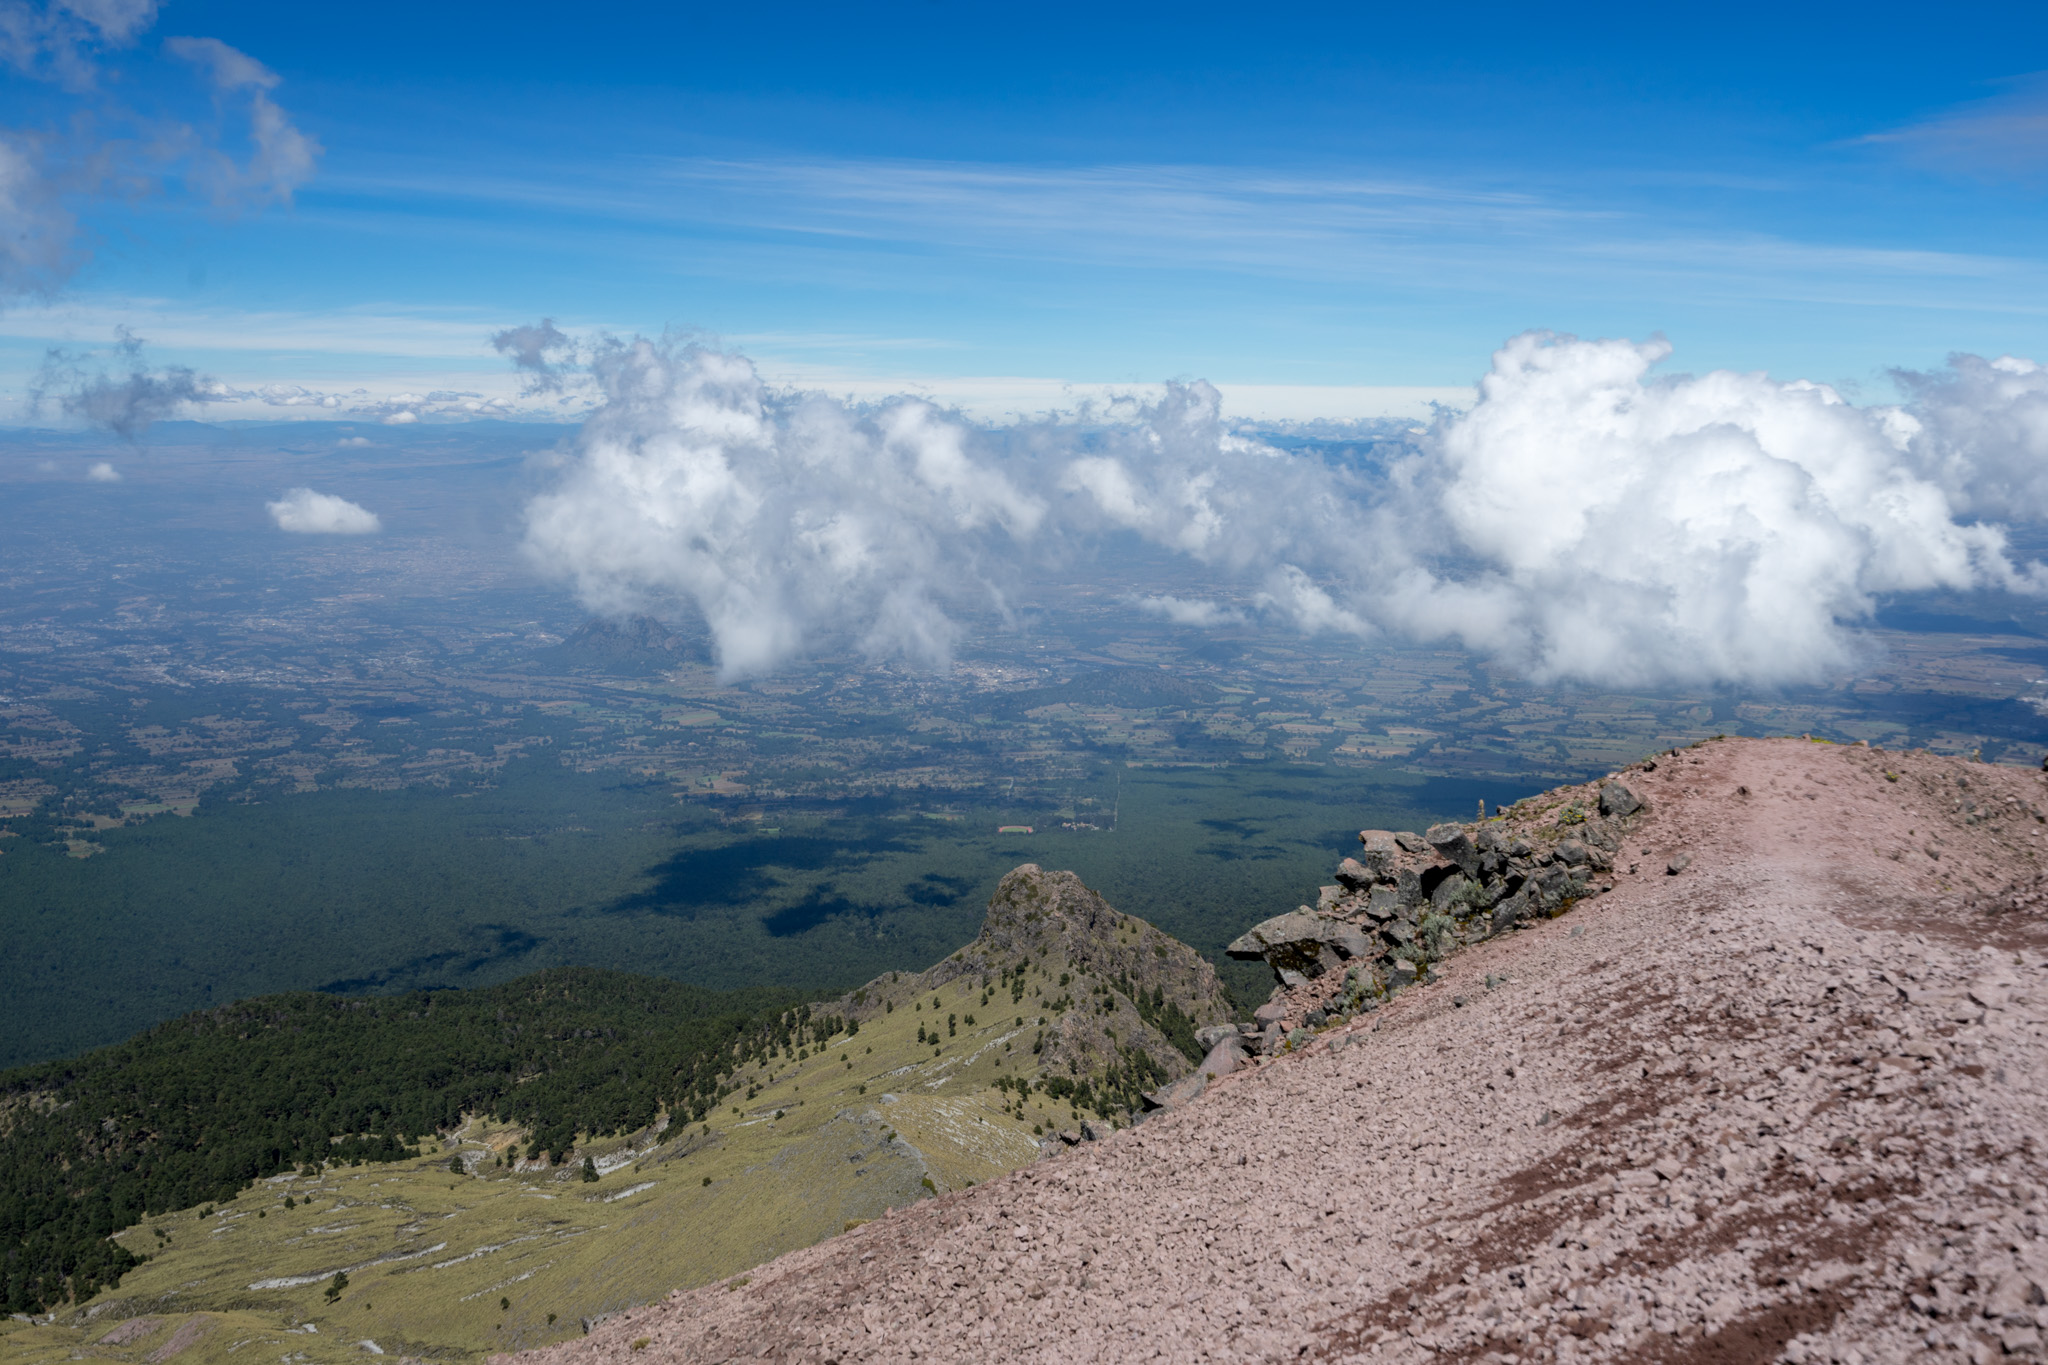
When climbing, I recommend an alpine start. In the afternoon, clouds often form and it’s best to not be on the mountain at that time. On the Jampa Glacier route, you should leave the Piedra Grande Hut anywhere from 1 am to 3 am, depending on your fitness level. This will put you on the summit of Orizaba shortly after sunrise, and you’ll be back down to base camp for lunch!
Food and water on Pico de Orizaba
If you arrange your transportation with one of the outfitters I mentioned earlier, they’ll likely provide you with a large 20L bottle of water to use at the Piedra Grande Hut. Otherwise, you can buy these large bottles in Tlachichuca.
For food, you’ll have to pick up some stuff in Tlachichuca and bring it with you to the base camp.
Solo Climbing Pico de Orizaba
It’s entirely possible to solo climb Pico de Orizaba. Of course, there are always risks when climbing solo – if anything happens, you’re on your own.
There is a small crevasse risk on the Jampa Glacier, and going solo greatly increases the risk of something bad happening if you do encounter one of these crevasses.
When climbing solo, you also won’t be able to know if you’re falling ill to a high altitude cerebral edema. This is extremely dangerous – the best way to avoid this is by turning back as soon as light AMS symptoms show.
Due to the dangers of climbing solo, I have to recommend climbing Orizaba with a partner. If you’re confident in your abilities, soloing the mountain is possible, but you’ll need to decide if you’re willing to take that risk yourself.
Training for Pico de Orizaba
Orizaba is a tough peak, and the best way to be successful in your attempt on it is to be as fit as possible.
You need to be comfortable hiking for 10+ hours with a heavy backpack while at altitude.
The best way to train for Pico de Orizaba is to climb and hike! If you live near mountains, try and get out as often as possible and you’ll naturally get fit enough for the climb. If you’re from a flat part of the planet, running and core strength exercises are your best bet. You can even find a tall building and spend some time going up and down their staircase.
One of the most challenging parts of Orizaba is the length of its summit day. 1,400 meters of elevation gain at altitude is no joke, and it’s easy to run out of energy before making it to the summit. Endurance is important, and going on long hikes with a heavy backpack can help you train for this.
My Attempt on Pico de Orizaba
Unfortunately, I wasn’t successful in summiting Orizaba – but I did make it to within 100 meters of the top. I’m confident that on my next attempt that I’ll make it, as I learned a lot during my first time.
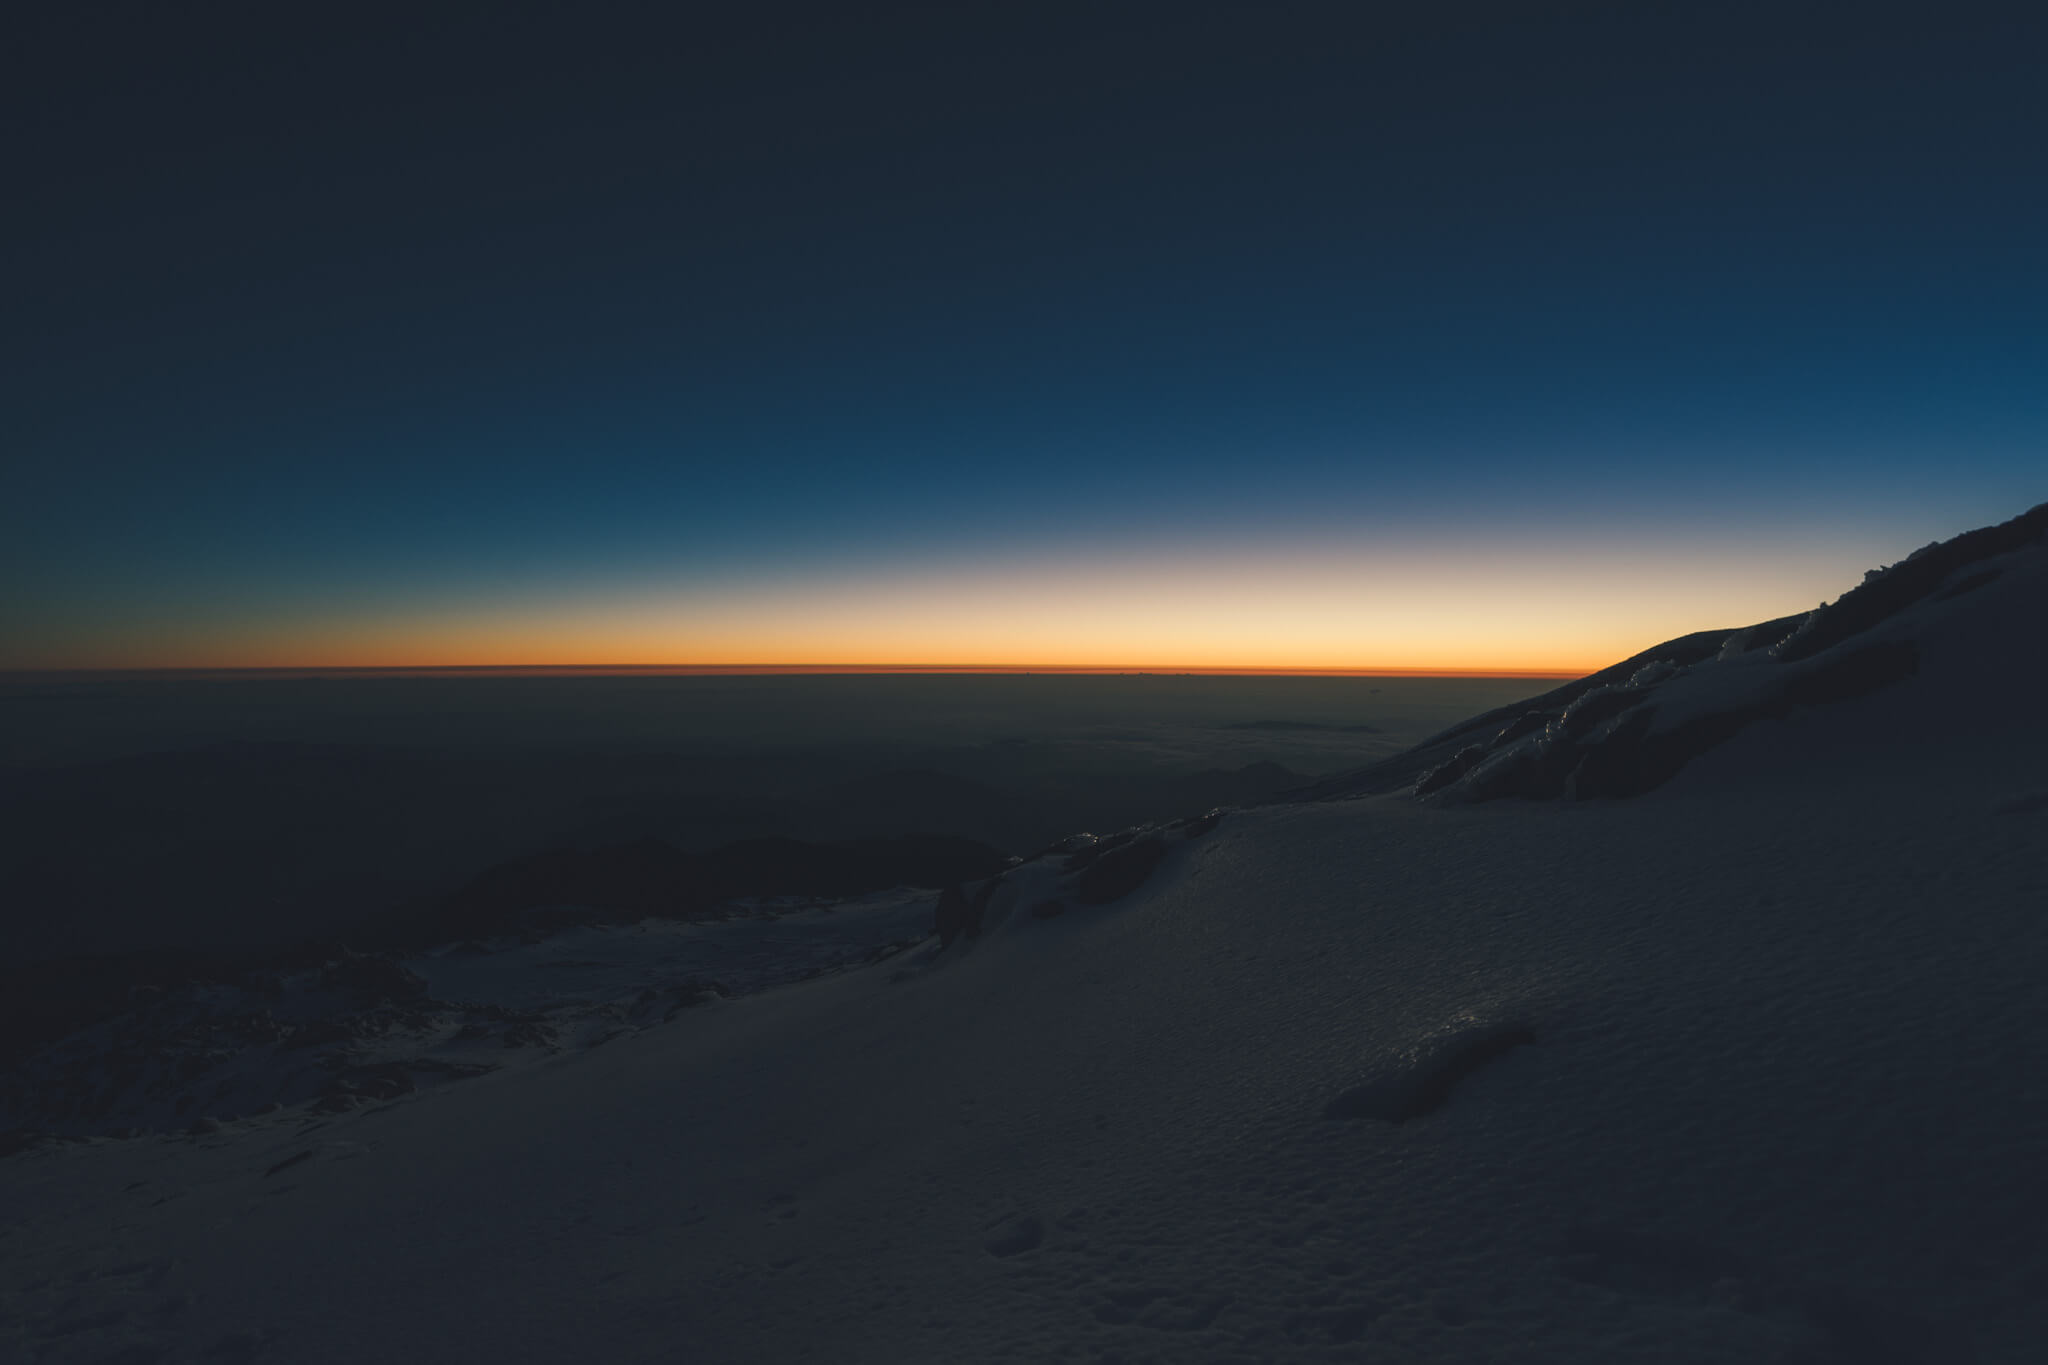
My climb was going great – my acclimatization plan had worked well, I had plenty of energy, and was climbing at a good pace. About halfway up the Jamapa Glacier, it started to get very windy and cold. I figured that the sun would come up soon and warm me up. I checked the time on my phone, and it was still a lot earlier than I had thought – 4:45 am. The sun wouldn’t come up for another hour and forty-five minutes. I kept climbing but took a few 5-minute breaks to wait for the sun.
I was now about 100 meters from the summit and very cold. The winds didn’t let down, and when I checked my phone again it was still only 5:30 am. I decided that I didn’t want to try and push to the summit and wait around at the top for the sun to come up, as it would likely be even windier up there. I decided to turn back.
When I got to the base of the glacier at 6:30 am the sky began to get lighter, and the wind went away.
On my next attempt, I’ll start my climb at around 2:30 am rather than 12:30 am. I think starting too early was my only issue – if the sun had risen earlier or I had climbed more slowly, I think I would’ve made the summit. I estimate temperatures near the summit were around -15°C with the windchill, making it very cold to hang around without a belay jacket.
Pico de Orizaba Itinerary
Here’s a typical one-week acclimatization itinerary for climbing Pico de Orizaba. It’s the one I used, and I had no issues with altitude on the mountain.
Day 1: Fly into Mexico City and drive to Puebla
Your first day will have you arrive in Mexico City, which is already at an altitude of 2,250 meters above sea level. If your flight isn’t arriving too late, you can take a bus to Puebla this same day. It’s a 2-3 hour drive over a gorgeous mountain pass.
You can take a bus to Puebla directly from the Mexico City airport (MEX). The company is called Estrella Roja, and you can check their schedule here. Don’t worry about booking a ticket in advance, you can just buy it when you land at the airport (in case your flight is delayed and you miss the bus).
I also recommend picking up a local SIM card at the airport if you’d like to have some internet access during your trip.
Where to stay in Puebla
In Puebla, I recommend the Posada Vee Yuu hostel. It’s located right near the city center and has both dorm and private rooms available.
Day 2: Relax in Puebla
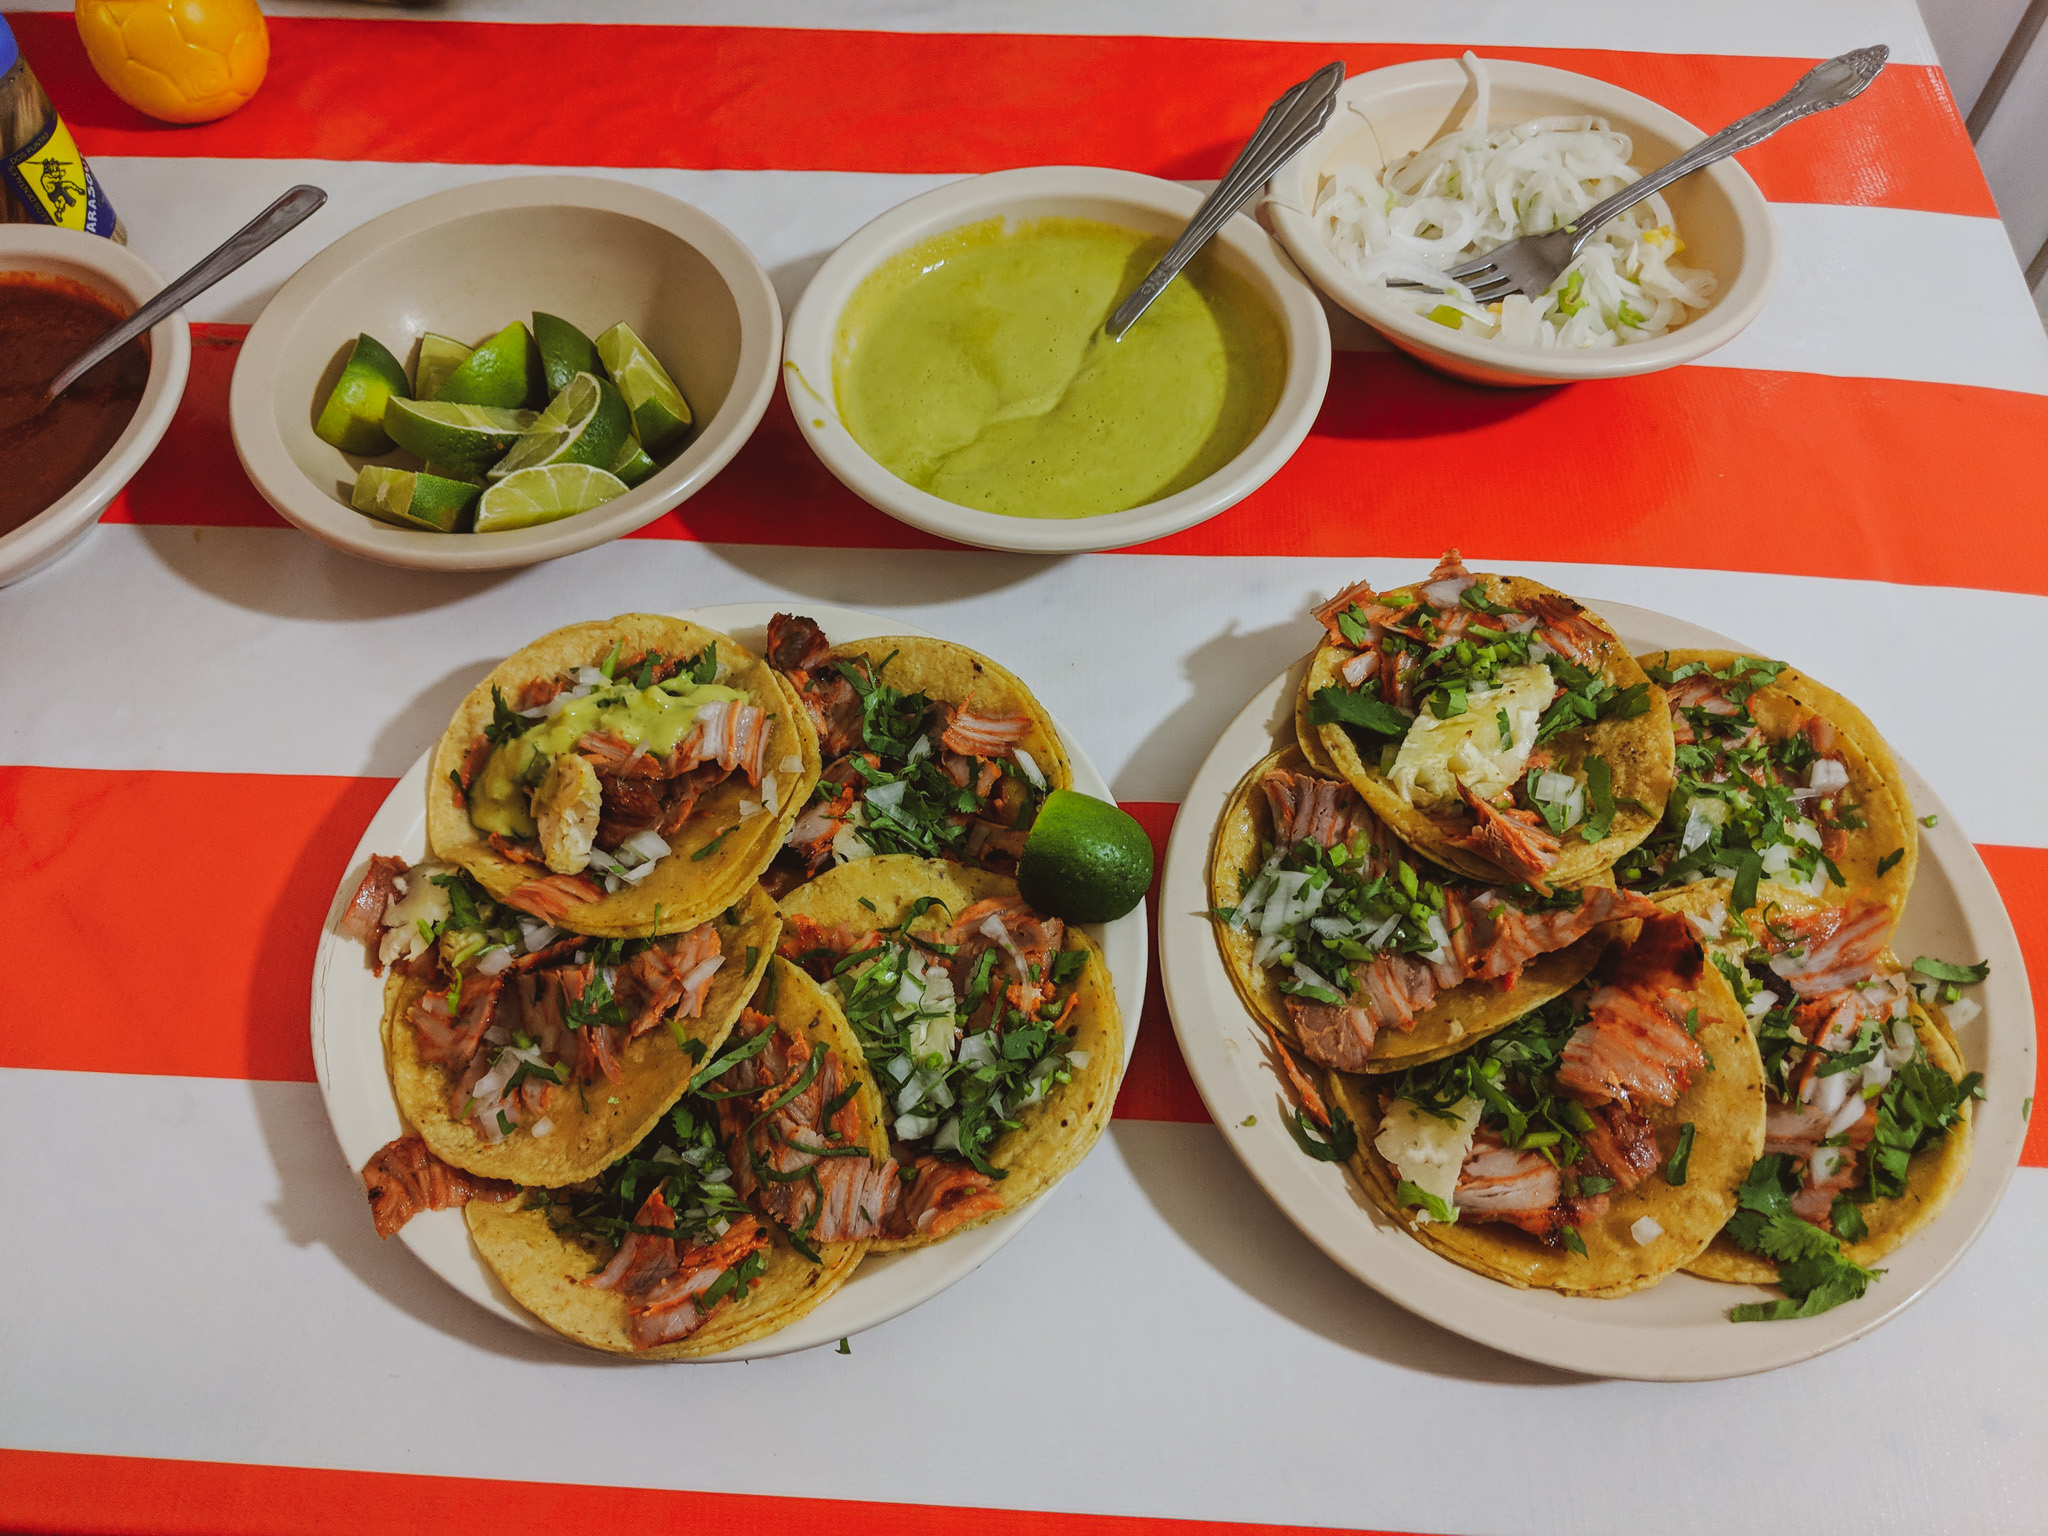
This day is pretty easy, just hang out in Puebla! Spend some time taking in the sights and eating some delicious Mexican food.
Day 3: Climb La Malinche
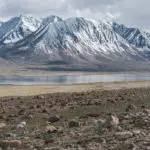
Here’s a much tougher day! You’ll attempt to climb La Malinche (4,461 meters). It’s a beautiful climb through a forest all the way up to a barren volcanic summit. You’ll drive up to about 3,100 meters, and hike the rest of the way.
For complete info on climbing La Malinche, check out its page over at SummitPost. If the weather is good, you’ll be able to see Orizaba from the summit!
After the climb, head back to your hostel in Puebla.
Day 4: Transfer to Tlachichuca
From Puebla’s CAPU bus station, take one of the hourly Tlachichuca buses. The ride takes two hours, and you’ll begin to see how big of a mountain Orizaba really is.
In Tlachichuca, you can stay with either the Cancholas or Servimont. I can vouch for the Cancholas, but I also have heard good things about Servimont. They’ll arrange your transport to the base camp and provide you with room and board. Expect to pay around $200 for these services.
Day 5: Drive to the Piedra Grande Hut (Base camp)
Take a 4wd car to base camp, and start preparing for the climb! If you’re feeling good, and the weather is okay, you’ll attempt to summit early the next morning.
Day 6: Summit Pico de Orizaba
Begin climbing from the Piedra Grande hut anytime between 12 and 2 am depending on your climbing speed. If all goes well, you’ll summit shortly after sunrise, and be back down to base camp for lunch.
After lunch, you’ll be picked up by the 4wd jeep and brought back to Tlachichuca.
Day 7: Head back to Mexico City
First, take a bus back to Puebla, and then get another one the rest of the way to Mexico City. The journey should take about 5 hours in total.
You could fly out of Mexico City this same evening (just be sure to leave Tlachichuca early in case there is traffic!).
Pico de Orizaba FAQ
Here are a few frequently asked questions about climbing Pico de Orizaba:
How long does it take to climb Pico de Orizaba?
You should plan for at least one week in Mexico to properly acclimatize for Orizaba. The climb to the summit from the Piedra Grande Hut should take anywhere from 8 to 15 hours depending on fitness.
How high is Pico de Orizaba?
Pico de Orizaba is 5,636 meters or 18,491 feet making it the third tallest mountain in North America, and the tallest in Mexico.
How much does it cost to climb Pico de Orizaba?
Excluding flights, climbing Pico de Orizaba shouldn't cost any more than $500 if you climb independently with a local operator. Costs will be higher if you opt for a guide or international outfitter.
What does Pico de Orizaba mean?
Orizaba is also called by its Aztec name Citlaltepetl, which means 'Star Mountain'.
When can you climb Orizaba?
Orizaba can be climbed year-round, but it's best to schedule your climb during the dry season that runs from November to May.
Pico de Orizaba Climb Wrap-up
I hope this post has helped you plan your trip to climb Pico de Orizaba! Feel free to ask me if you have any questions, and I’ll do my best to get back to you as soon as possible 🙂
Interested in another mountaineering adventure? How about climbing Lenin Peak in Kyrgyzstan!
Safe climbing!
Yay transparency! There are affiliate links in this guide. If you book or buy something using my links, I’ll make a bit of money at no extra cost to you.
21-year old Canadian dude who loves to visit off-the-beaten-path places, climb tall mountains, and try delicious foods.


How did you get from Puebla to La Malinche (4,461 meters) for acclimatization? Car rental or taxi?
I took public transport! Until I write my own guide, I’ll send you to the SummitPost page about it.
Just check out the “Getting There” section, it’s exactly the way I did it.
Hope this helps!
very helpful article!
Thank you Jacob for the info! My friend and I are tentatively planning to hike the peak during spring break in March, 2021.
Awesome!! I want to get back to Mexico again soon as well. Goodluck with the climb 🙂
Thank you for your detailed article. I find it very helpful! I am planning my trip to climb Orizaba.
Regards!
Happy to help! Goodluck with the climb 🙂