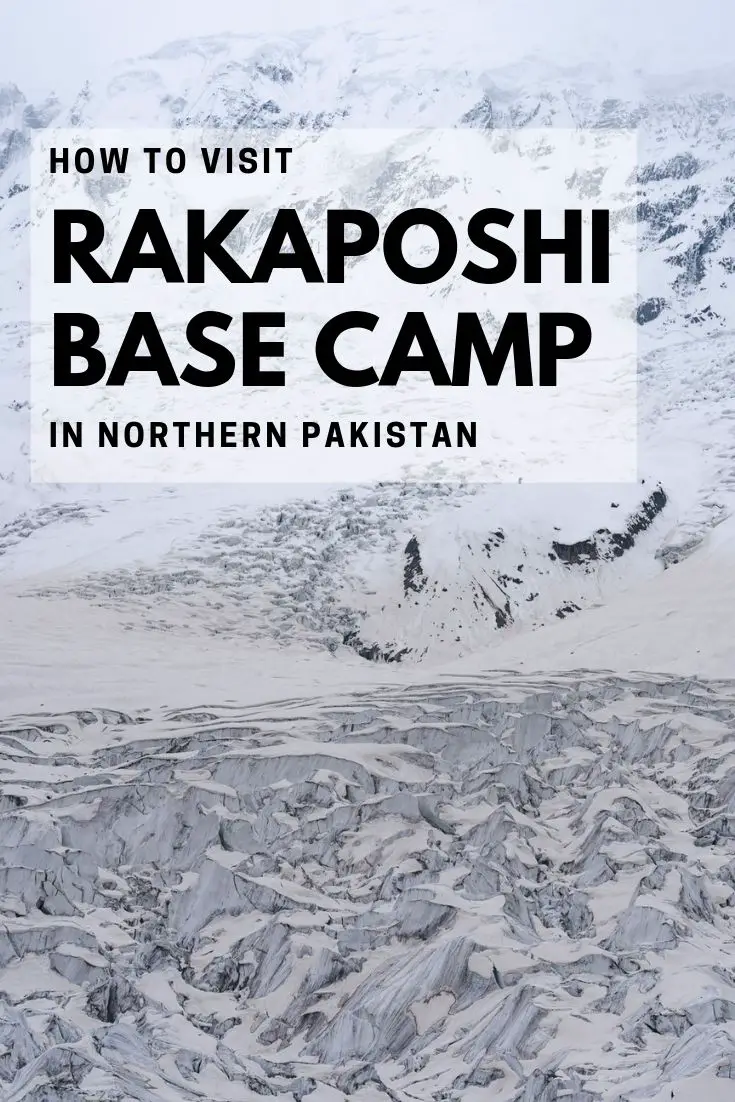
Everything you need to know about hiking to Rakaposhi Base Camp. How to get there, where to stay, the hiking route, and what to bring.
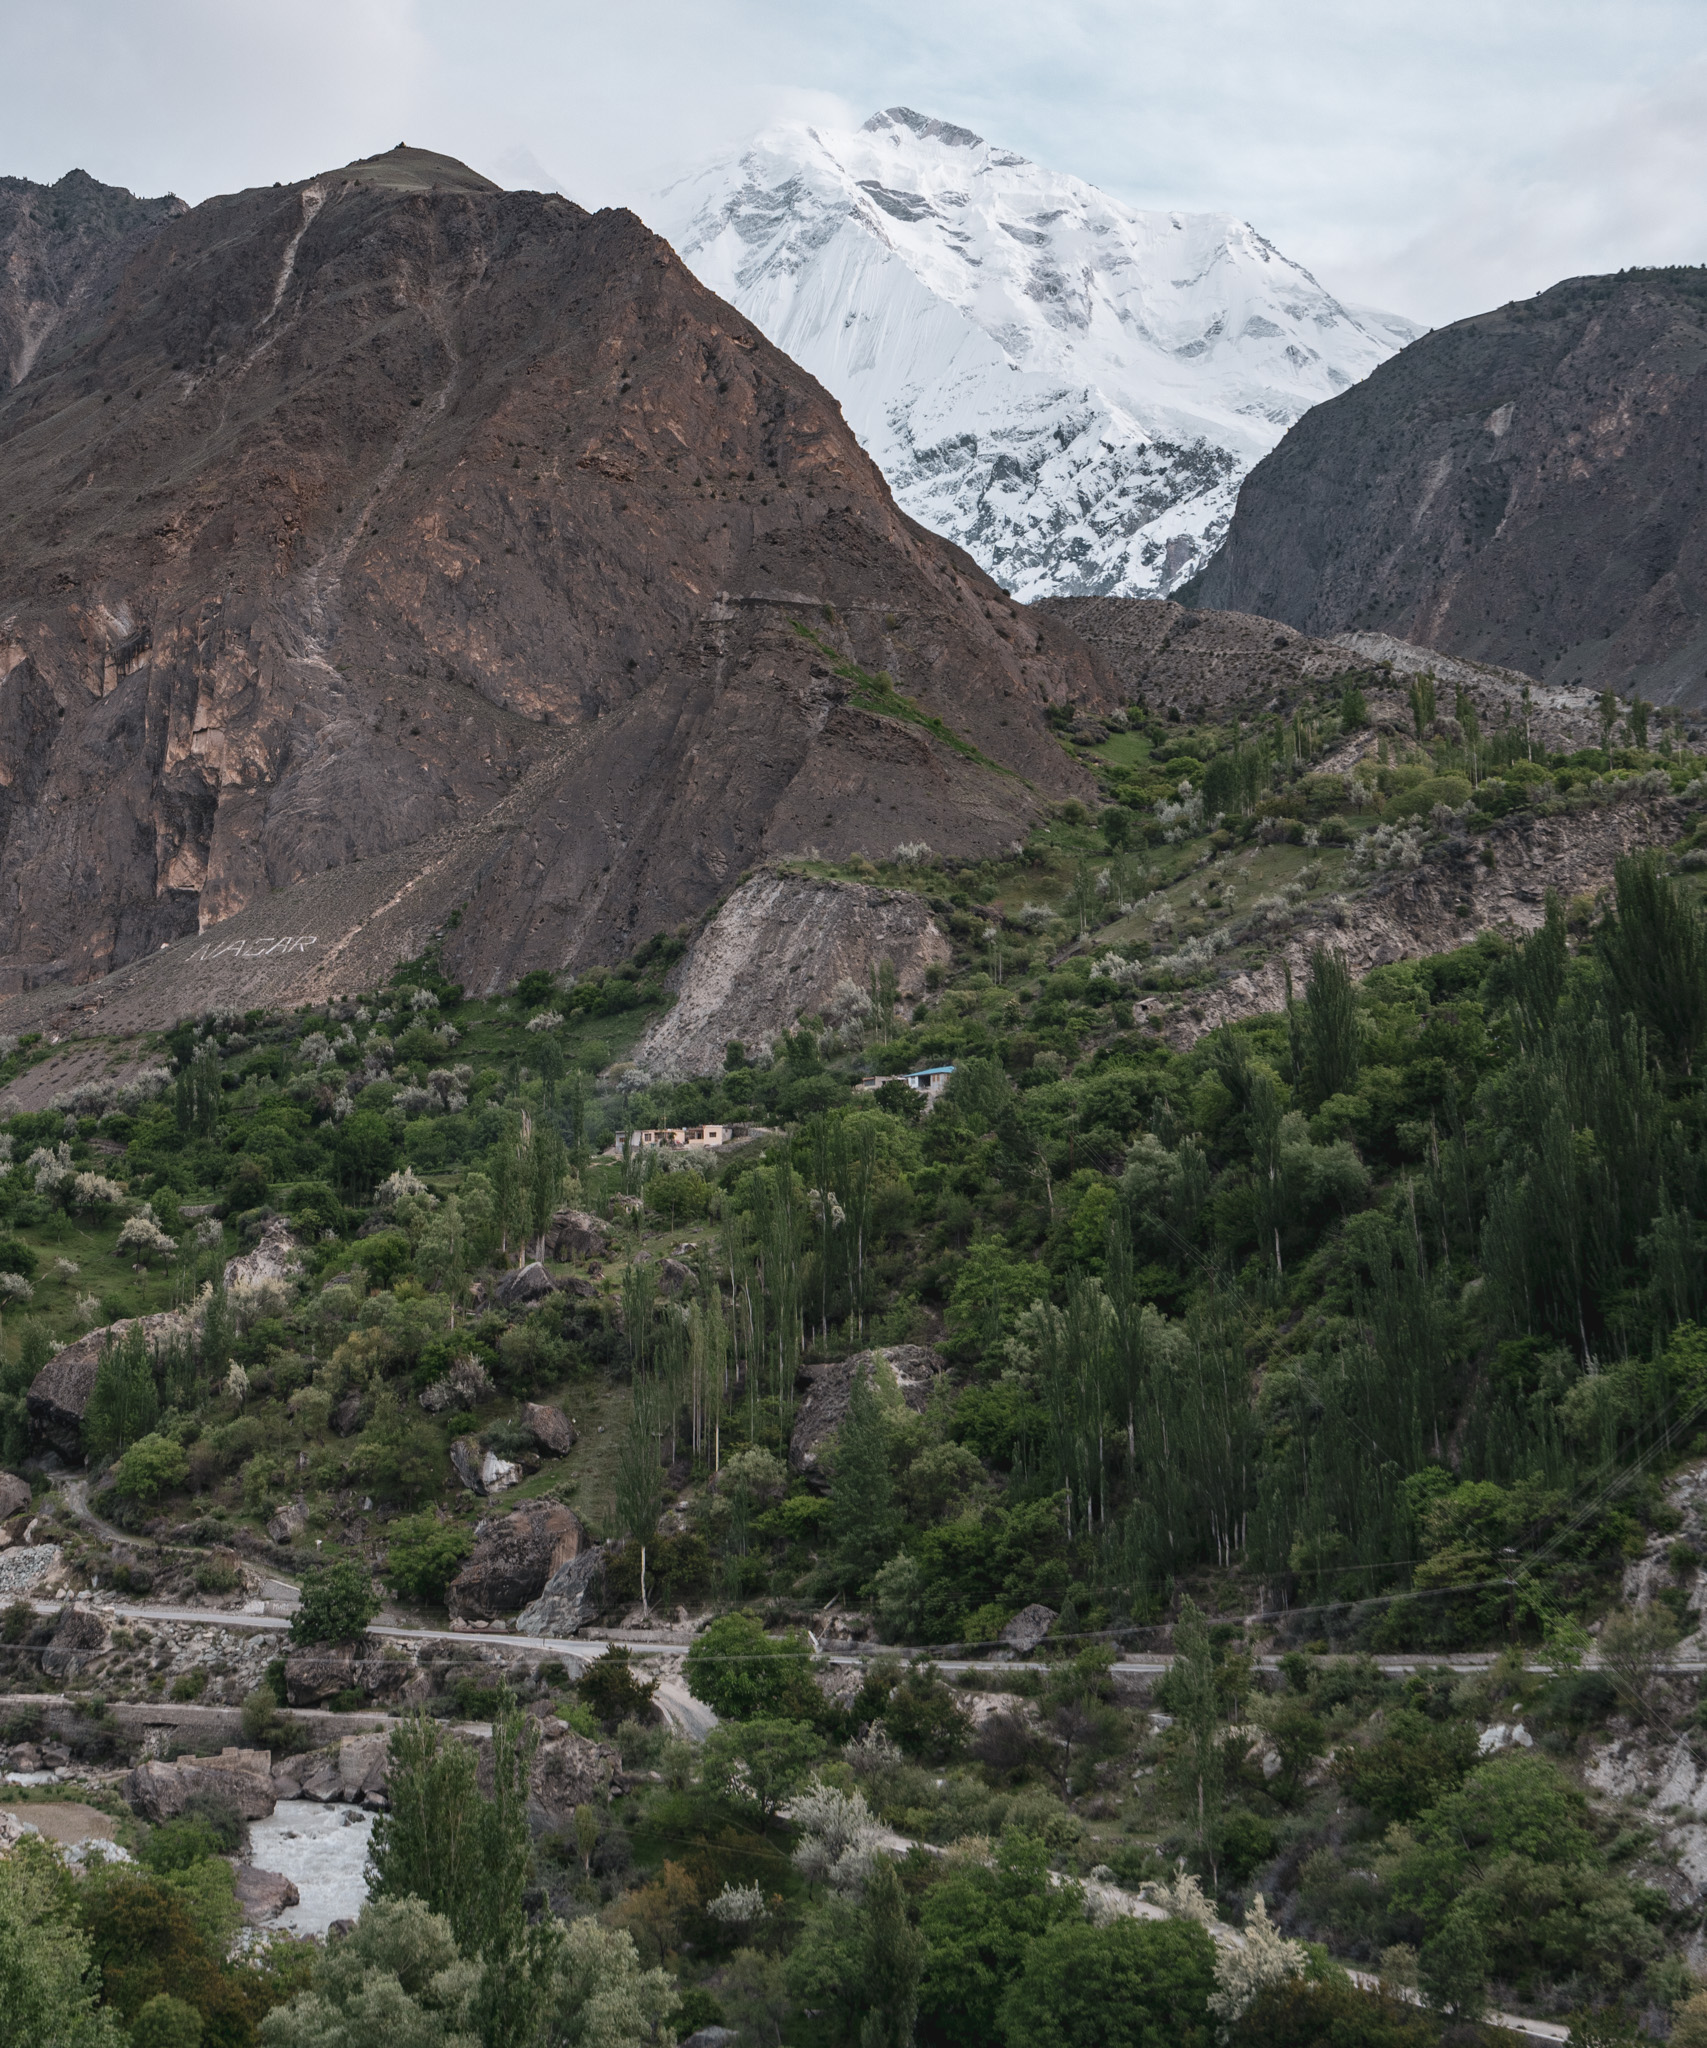
Sitting at an elevation of 7,788 meters, Rakaposhi is the world’s 27th tallest mountain. It’s also one of the most imposing mountains I’ve ever seen, towering kilometers above the entire Hunza and Nagar valleys.
If you’re planning on backpacking around Pakistan, I can’t recommend Rakaposhi Base Camp enough. It’s a fairly easy day hike if you’re fit, but camping is also possible.
In this post, I’ll cover everything you need to know to hike to Rakaposhi Base Camp!
Contents
Getting to Minapin
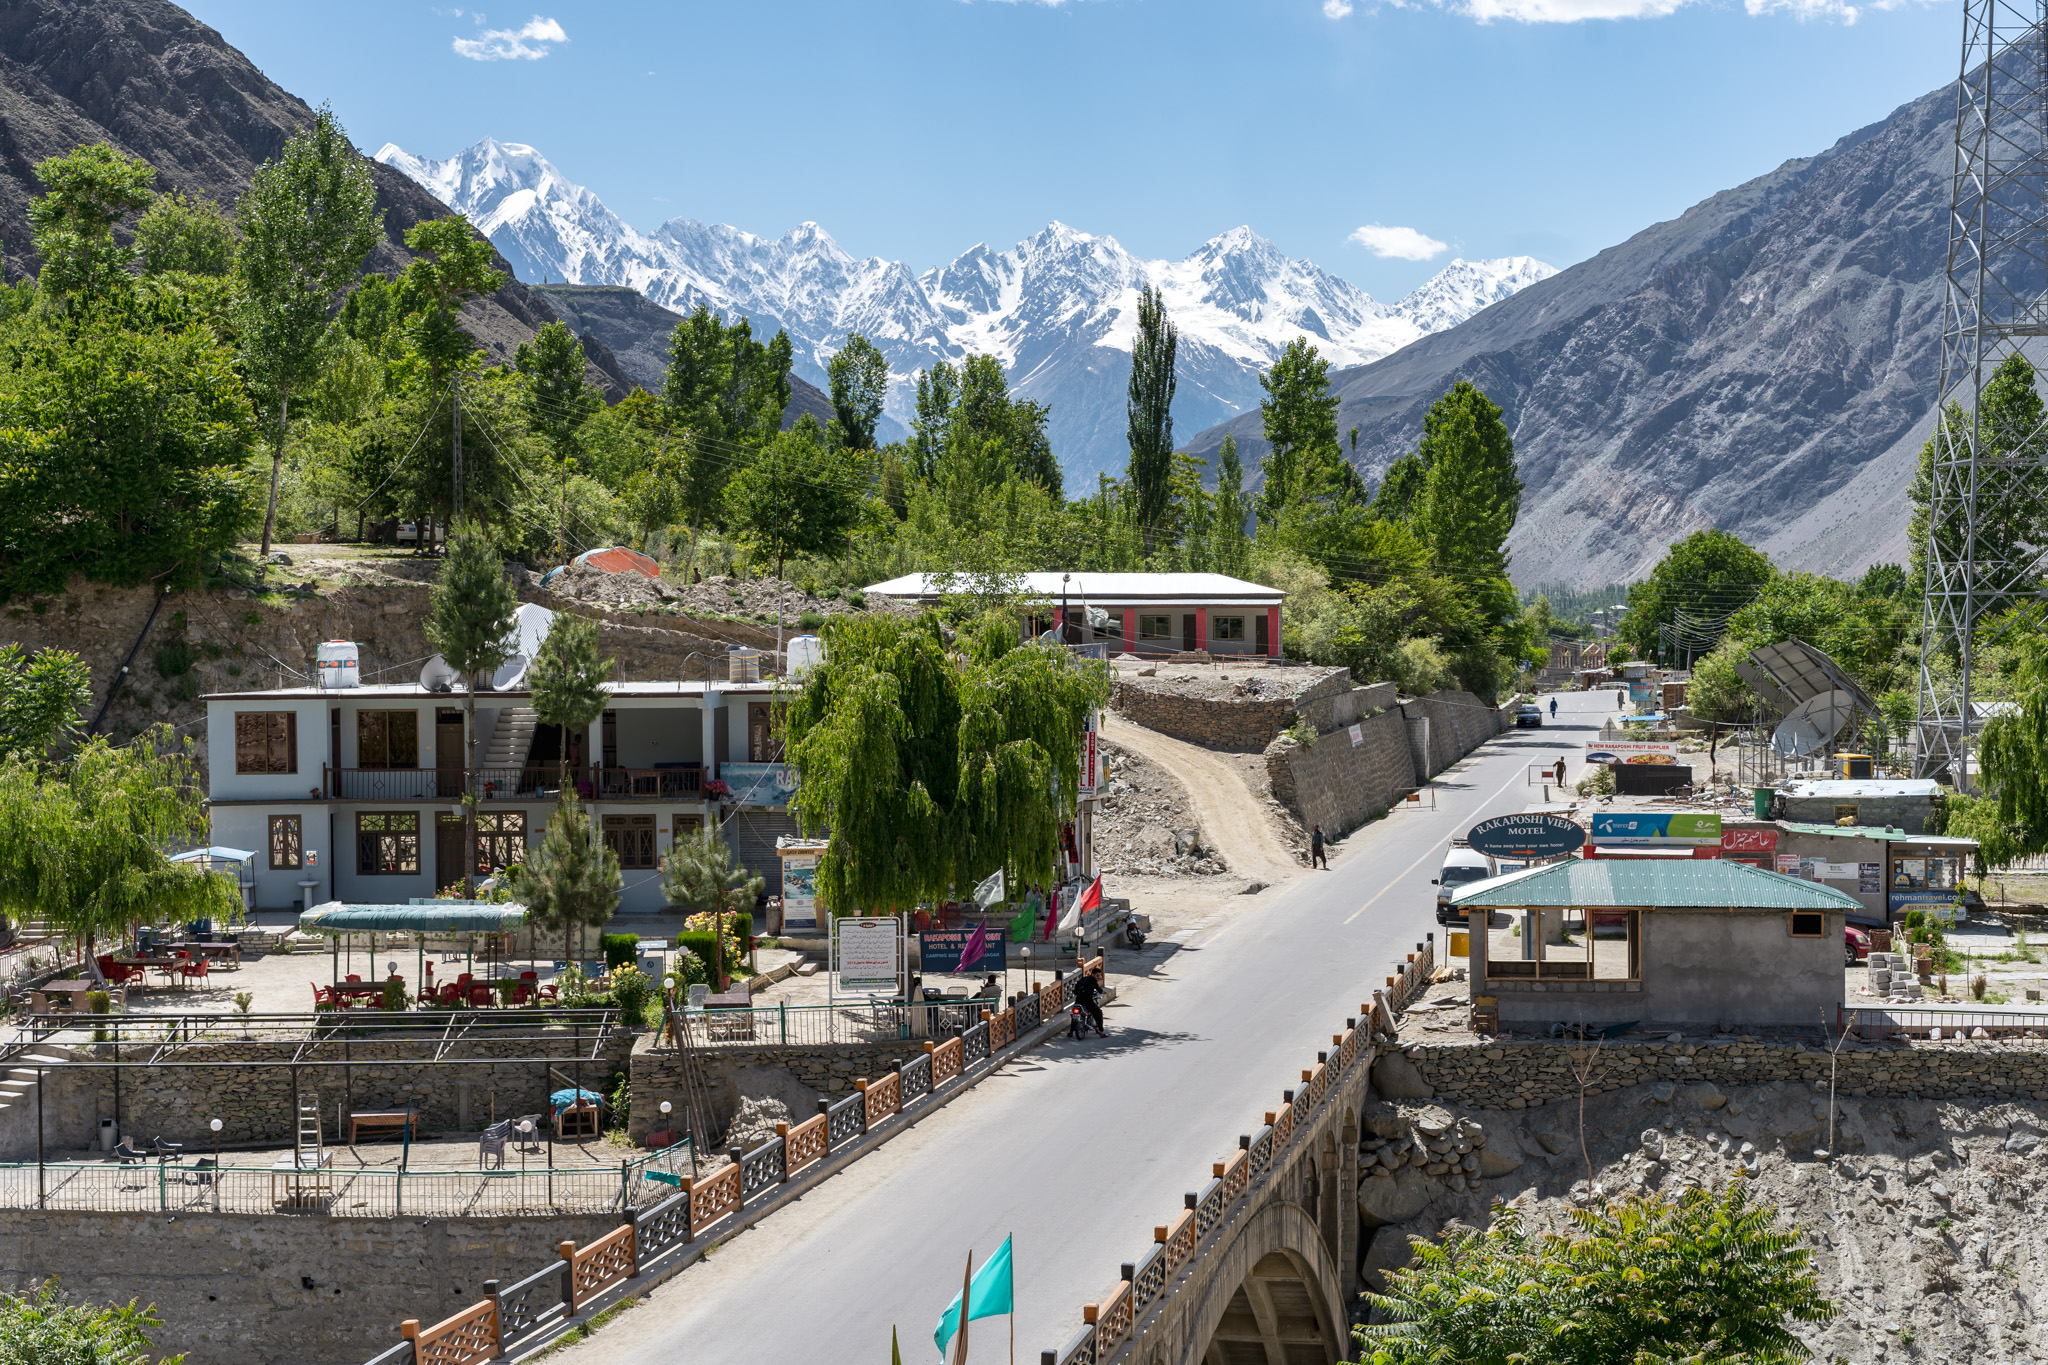
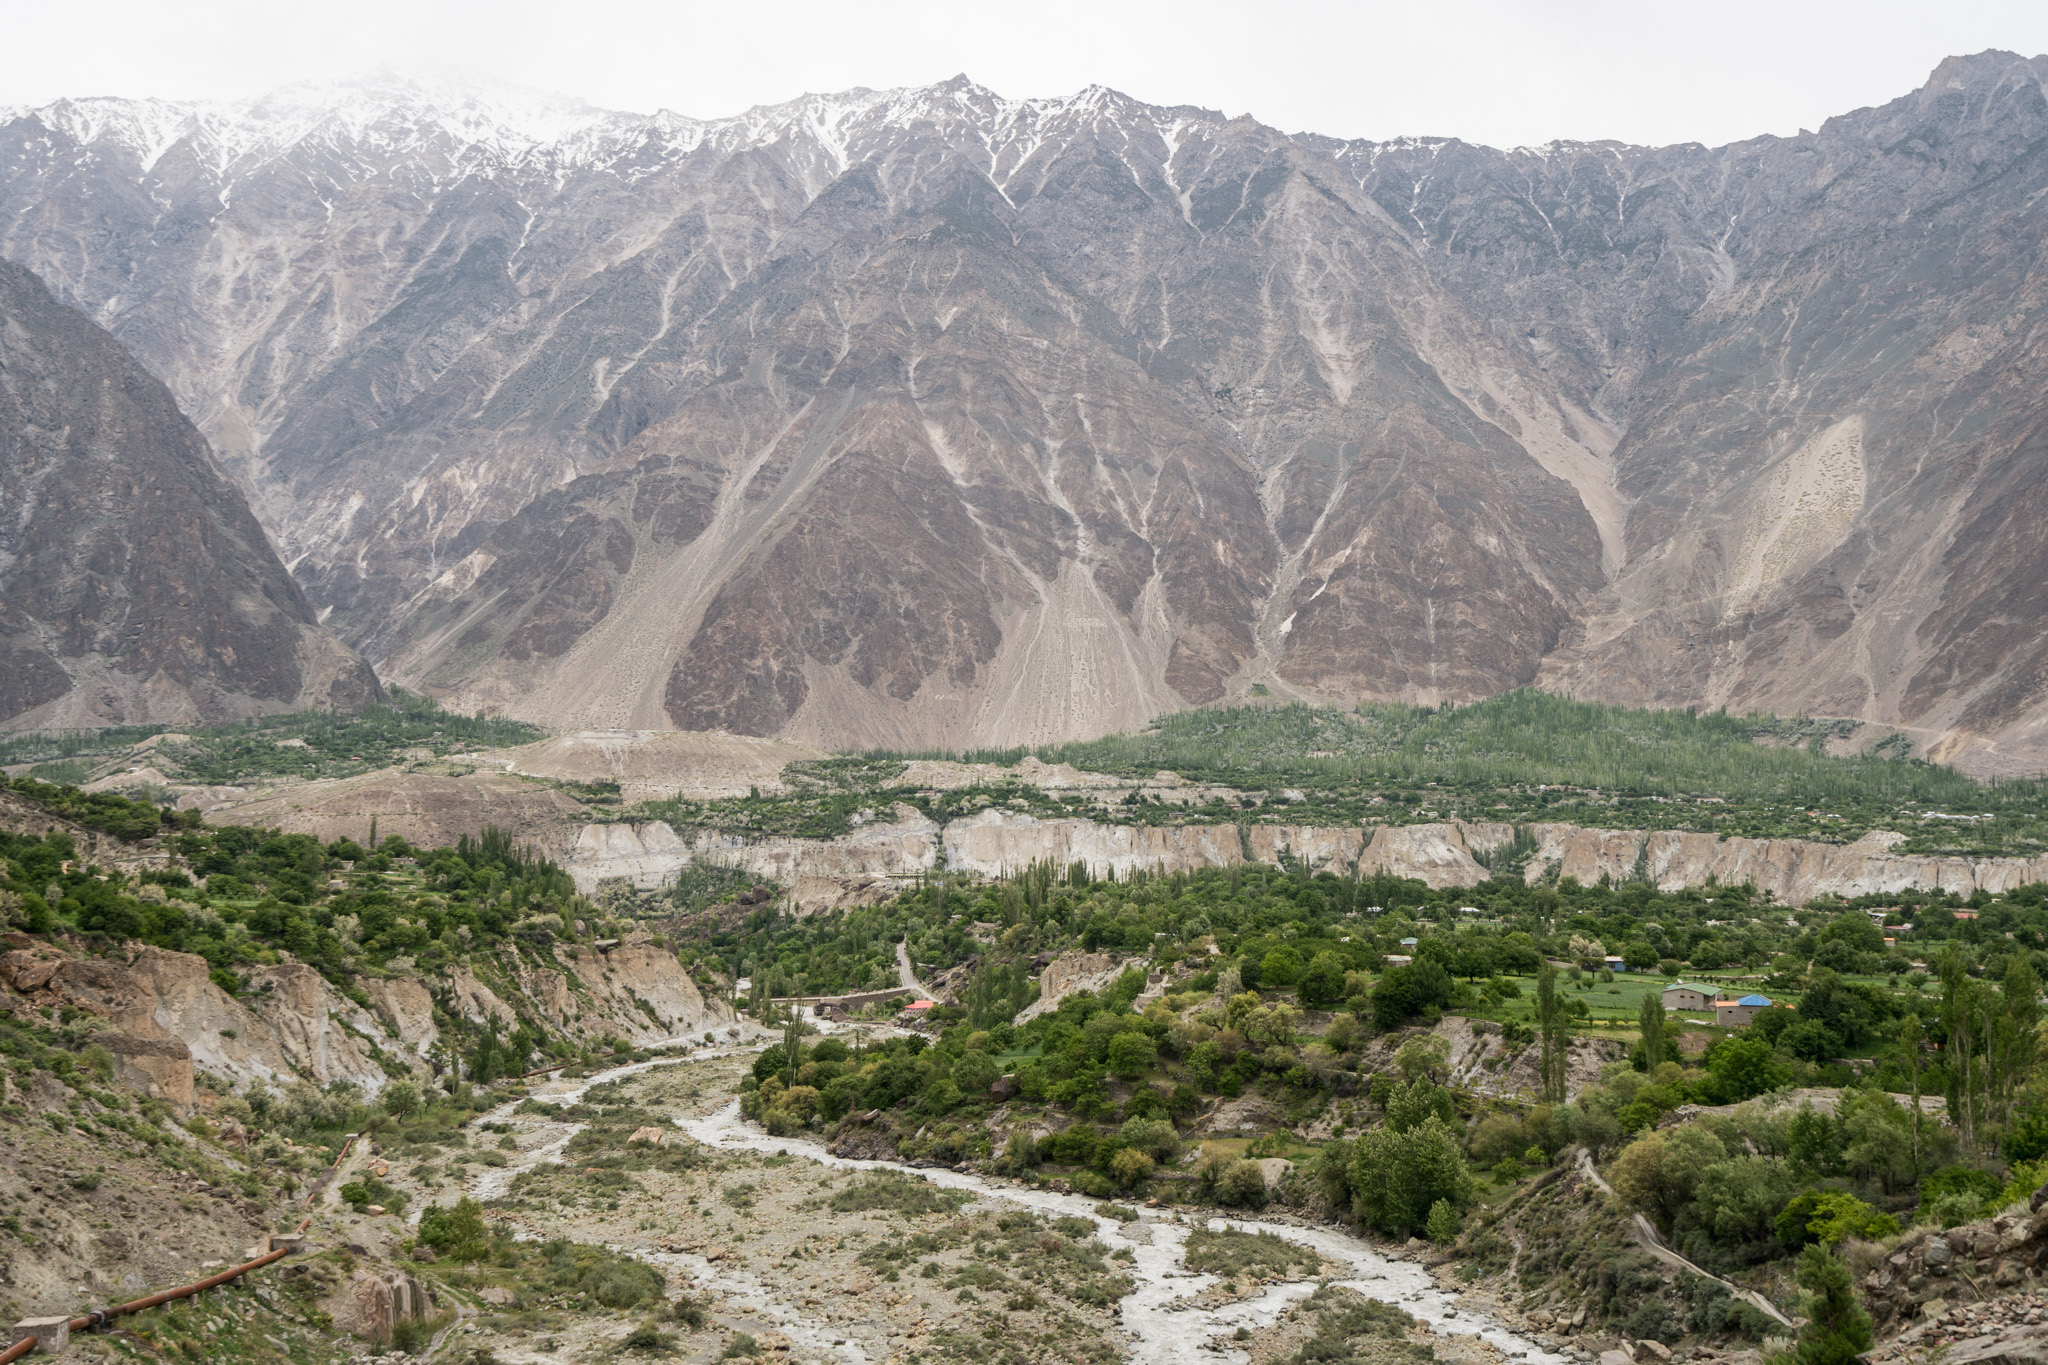
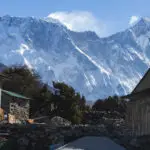
Minapin is the starting point of the Rakaposhi BC trek, and it’s a lovely town just a few kilometers off of the Karakoram Highway.
From Gilgit, some minivans go to Minapin (about 1.5 hours). I’ll be honest though – I highly recommend just hitchhiking. Public transport in Pakistan is crowded and only leaves when full, so hitchhiking is often a much faster and more comfortable way of getting around.
If you’re hitchhiking, take any car to the turnoff from the Karakoram Highway towards Pissan and Minapin. From the turnoff, you can walk 3.7 kilometers to Minapin, or try hitchhiking with another vehicle.
Where to stay in Minapin
In Minapin, I highly recommend you stay at the Osho Thang Hotel. It’s run by some lovely people and can help you organize a guide for the Rakaposhi BC trek if you’re interested.
For Rs. 2000 per night, you’ll get a room and delicious dinner and breakfast (veggies right from their garden!).
After dinner, ask to be shown the Rakaposhi viewpoint near the hotel for a great glimpse at the massive mountain.
How to hike to Rakaposhi Base Camp
Alright, let’s get into the actual hike. You can do the hike in a single day, or if you want to take your time you can camp along the way (or even camp at base camp!). I opted to do the hike in one day so that I didn’t have to carry a bunch of camping gear.
Here’s a quick map of the major landmarks along the way to base camp:
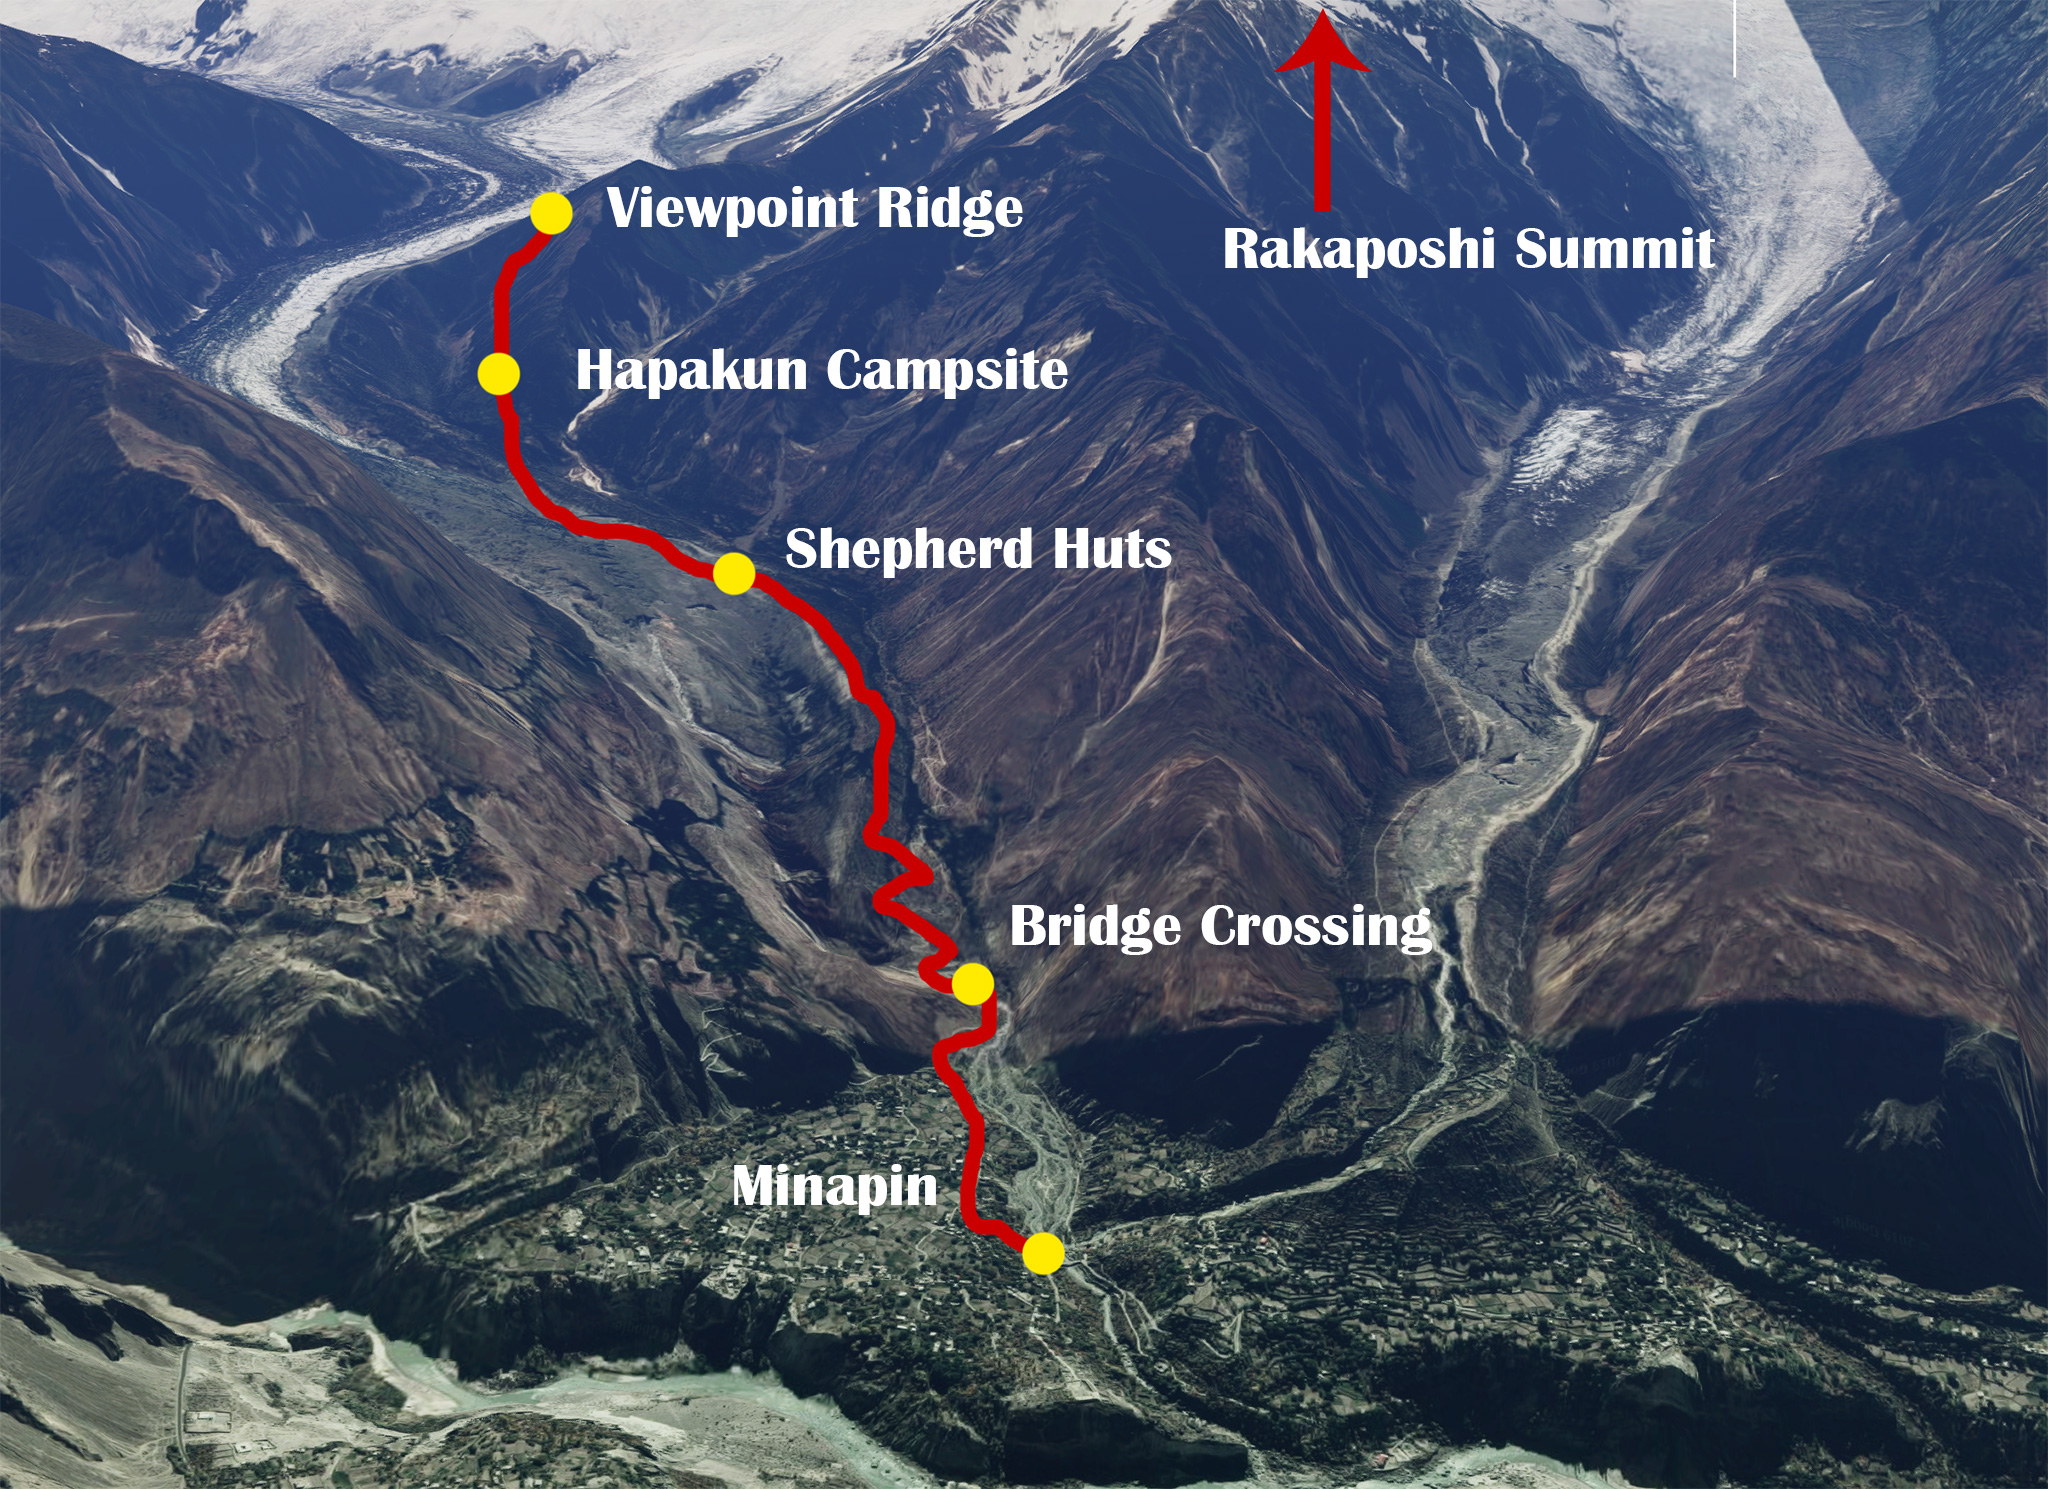
Stage 1 – Miniapin to Hapakun
The first stage of the journey to base camp will begin right from the door of the Osho Thang Hotel. You’ll follow the road through Minapin for a little under two kilometers until arriving at a small bridge and dam.
After crossing the bridge, the real hiking begins. For the next seven hundred meters or so, you’ll be climbing switchbacks. The trail is very easy to follow.
After the switchbacks, you’ll begin to walk through a forest towards some shepherds huts.
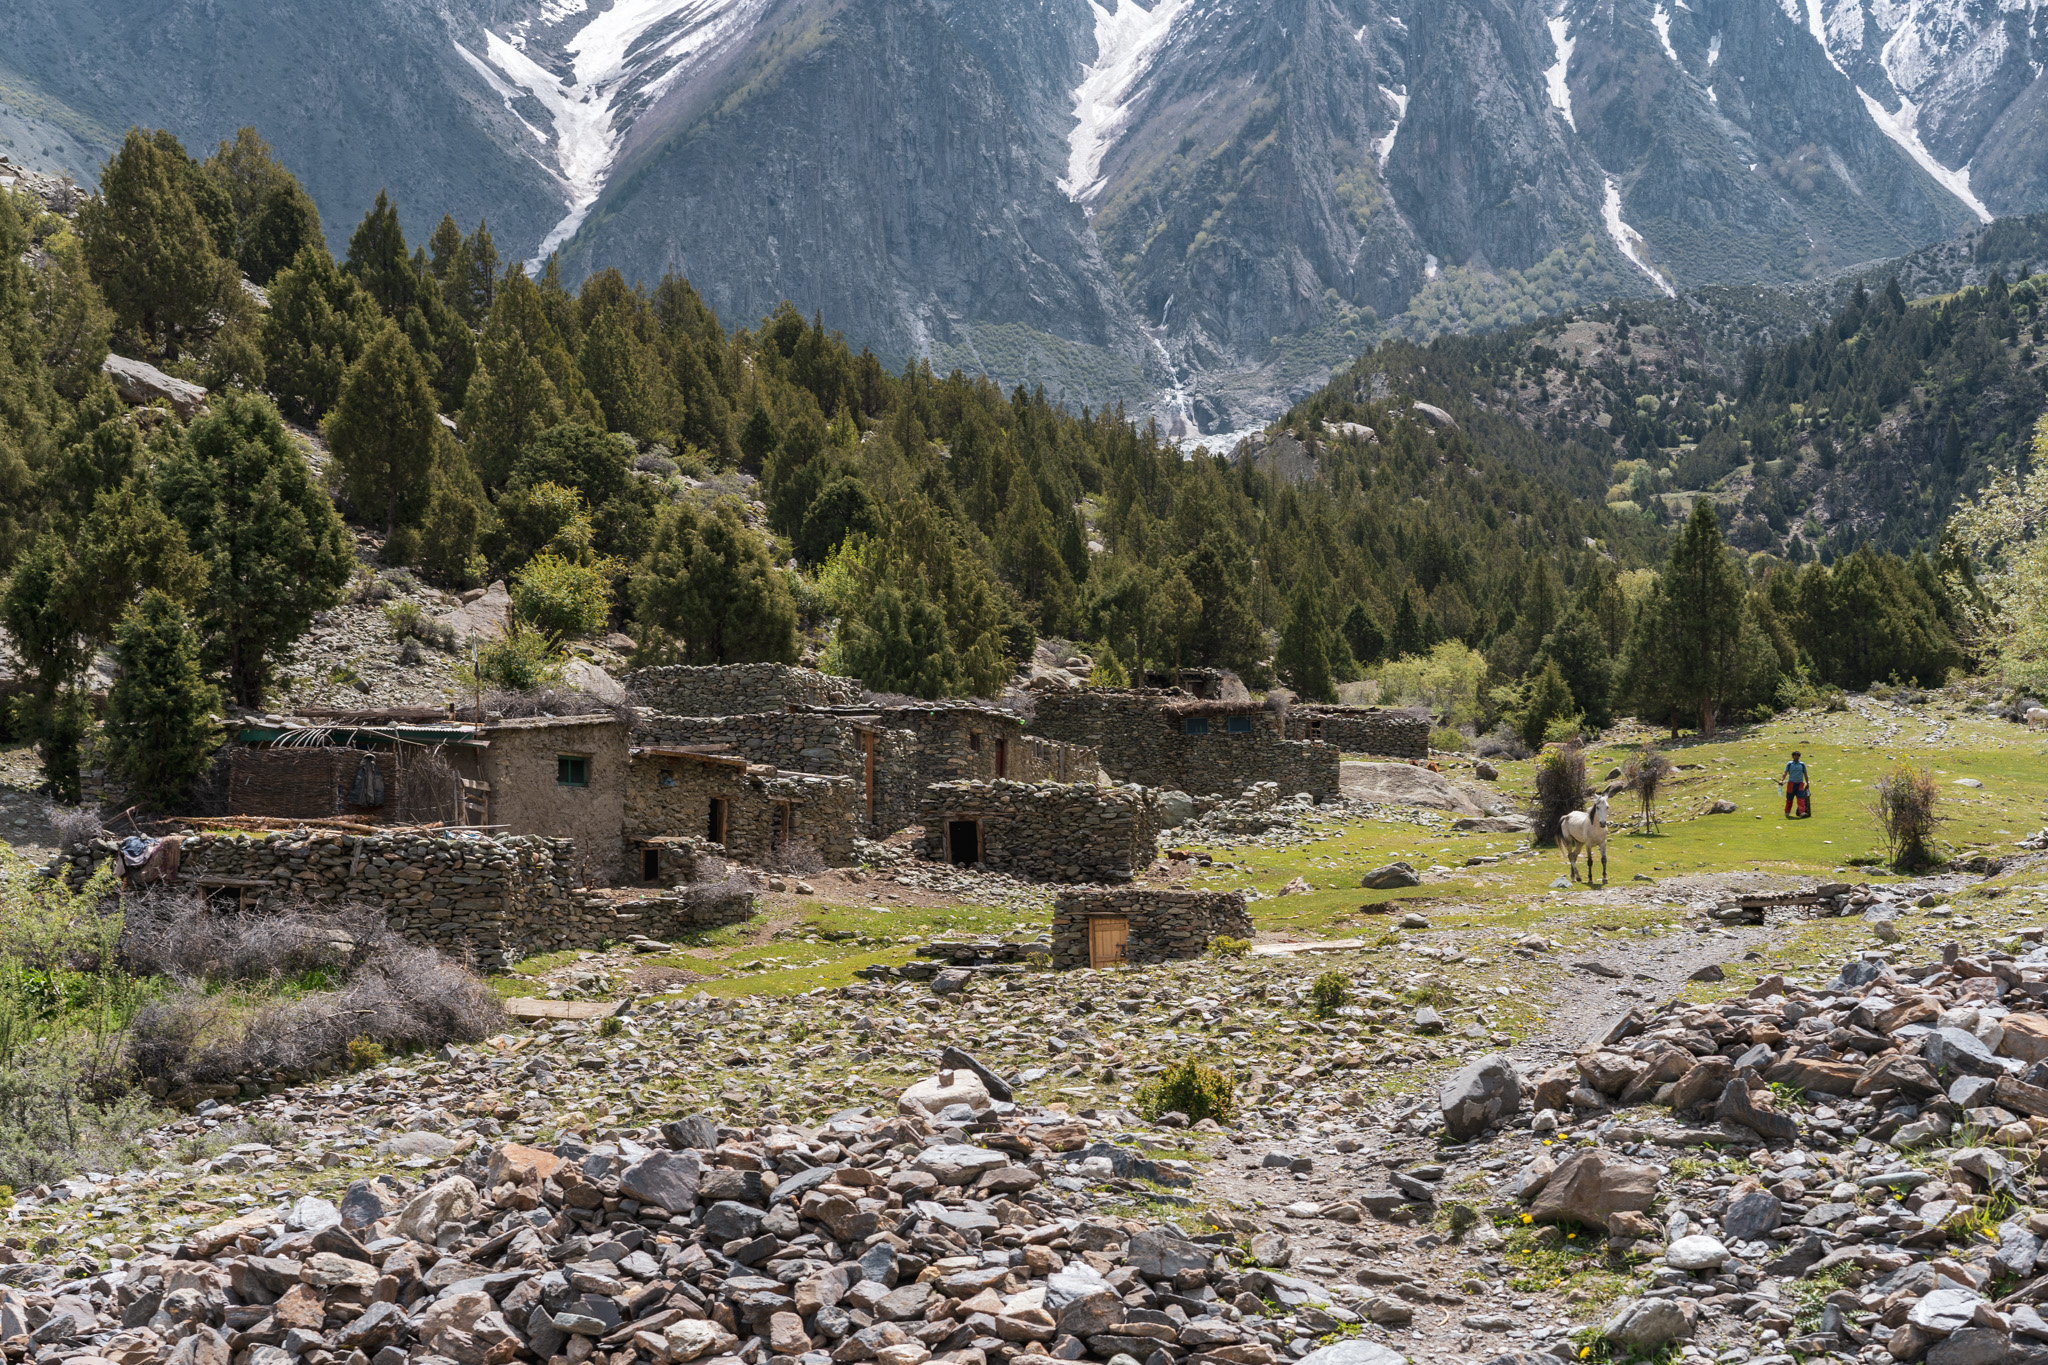
Continuing past the shepherd huts, you’ll begin another climb up towards the Hapakun campsite. Hapakun is easy to spot, it’s a nice grassy meadow with a small stream for water. If it’s late in the day and you’re planning on camping, this is the best spot.
Hapakun is located at an altitude of 2,950 meters and took me 2.5 hours to reach from Minapin (2,000 meters).
Stage 2 – Hapakun to Rakaposhi View Ridge
This stage is slightly easier than the previous one. You’ll go from Hapakun all the way to Rakaposhi base camp at 3,500 meters. For me, this stage took only one hour.
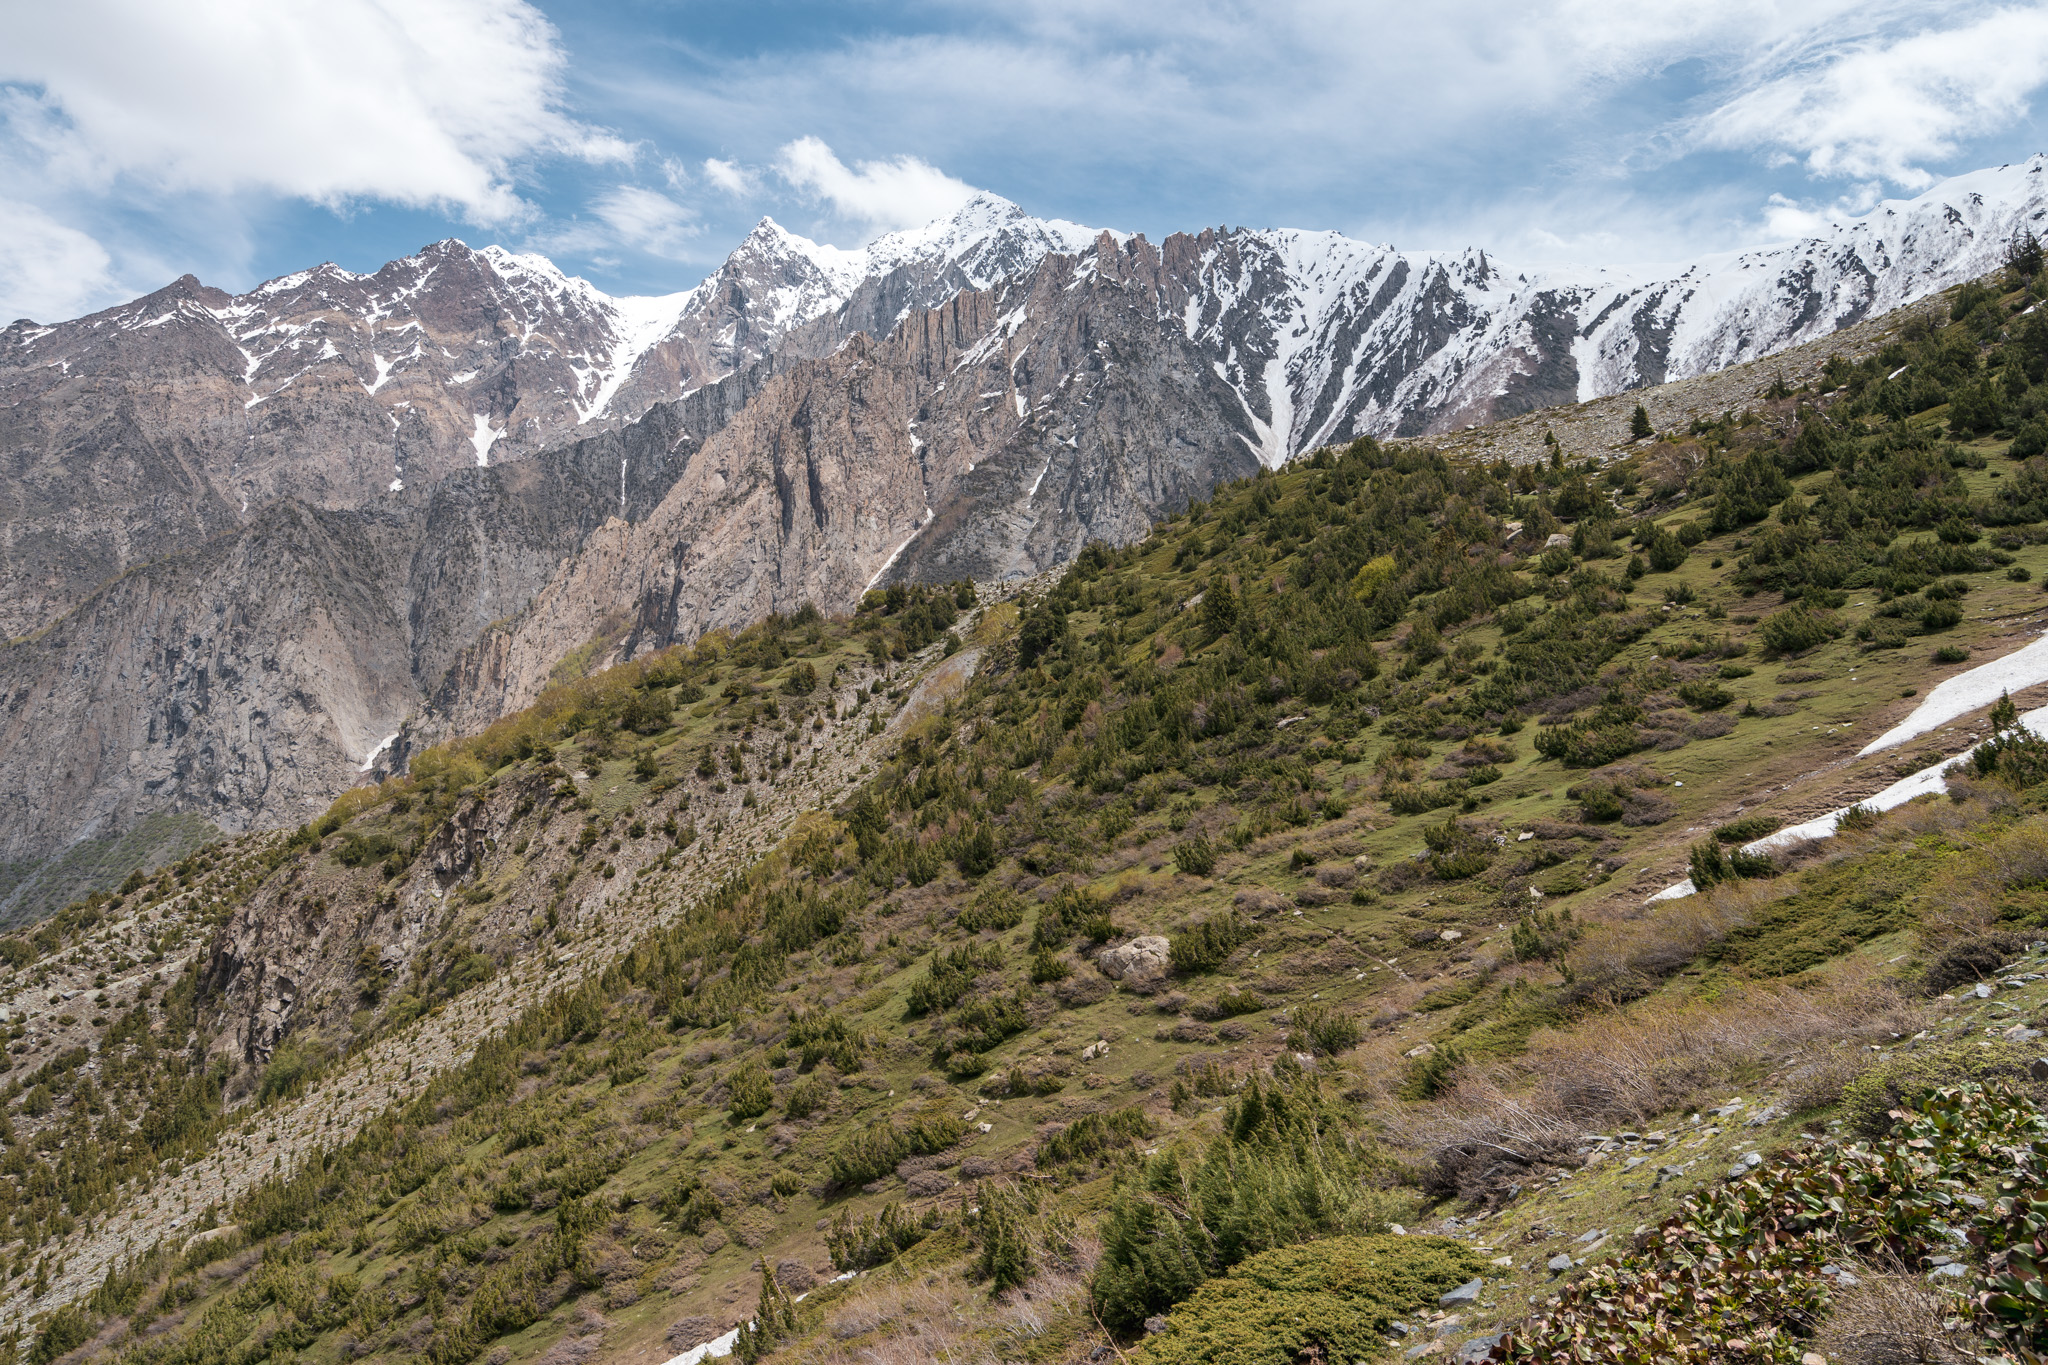
From Hapakun, continue to follow the visible trail upwards towards the ridge visible to the south. You’ll probably start to feel the altitude a bit at this point (unless you’re already acclimatized).
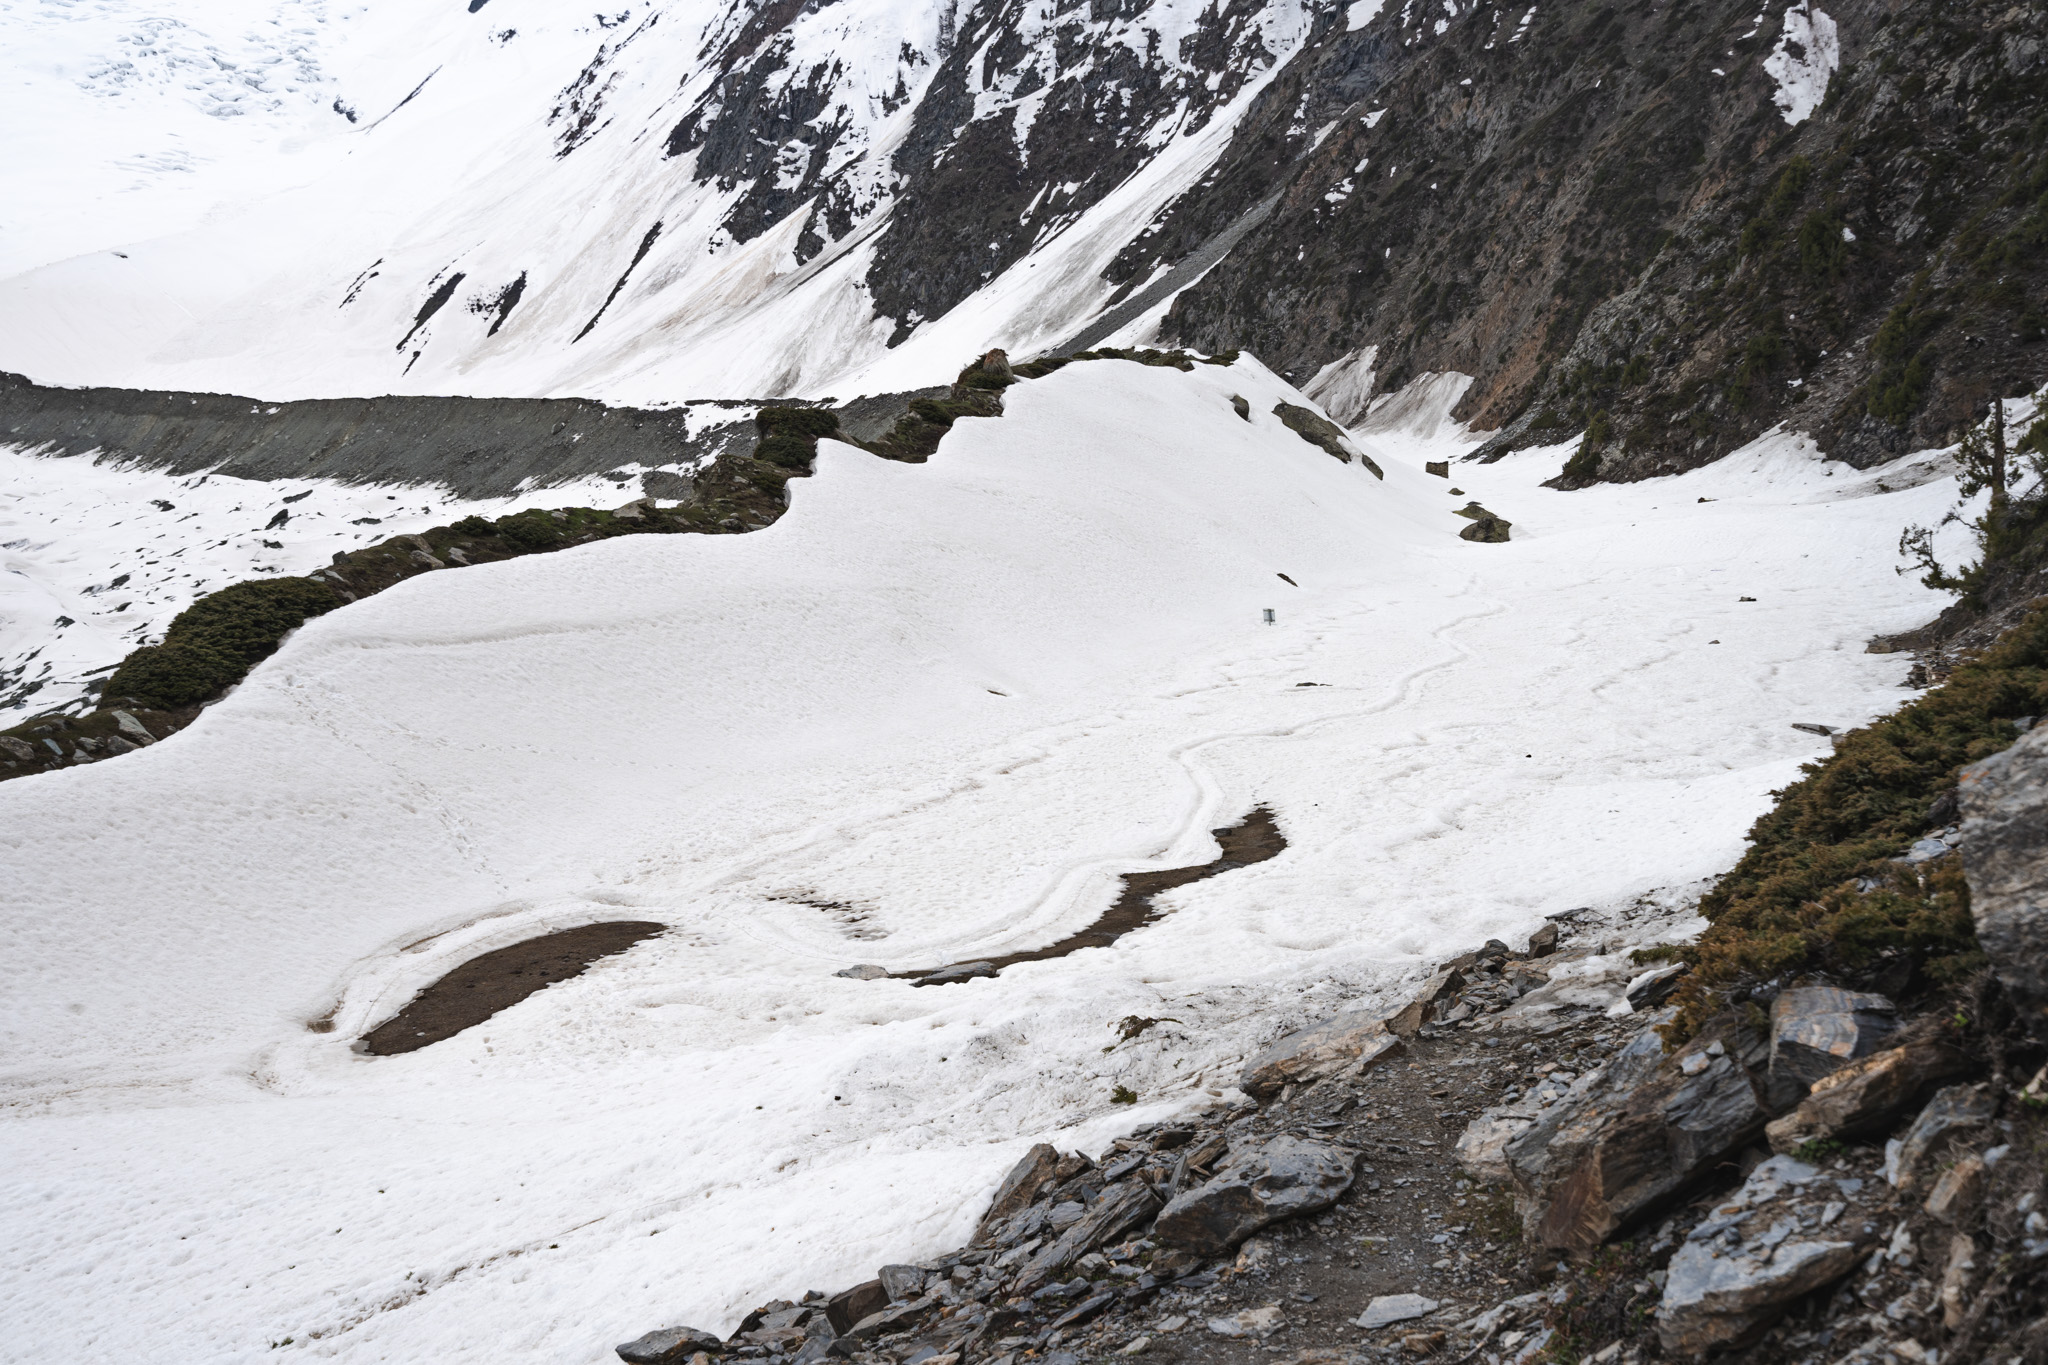
There was a small patch of snow to cross on the way up to the ridge when I was there in May, but I doubt it would be there in the summer or early fall. Just be careful not to slip.

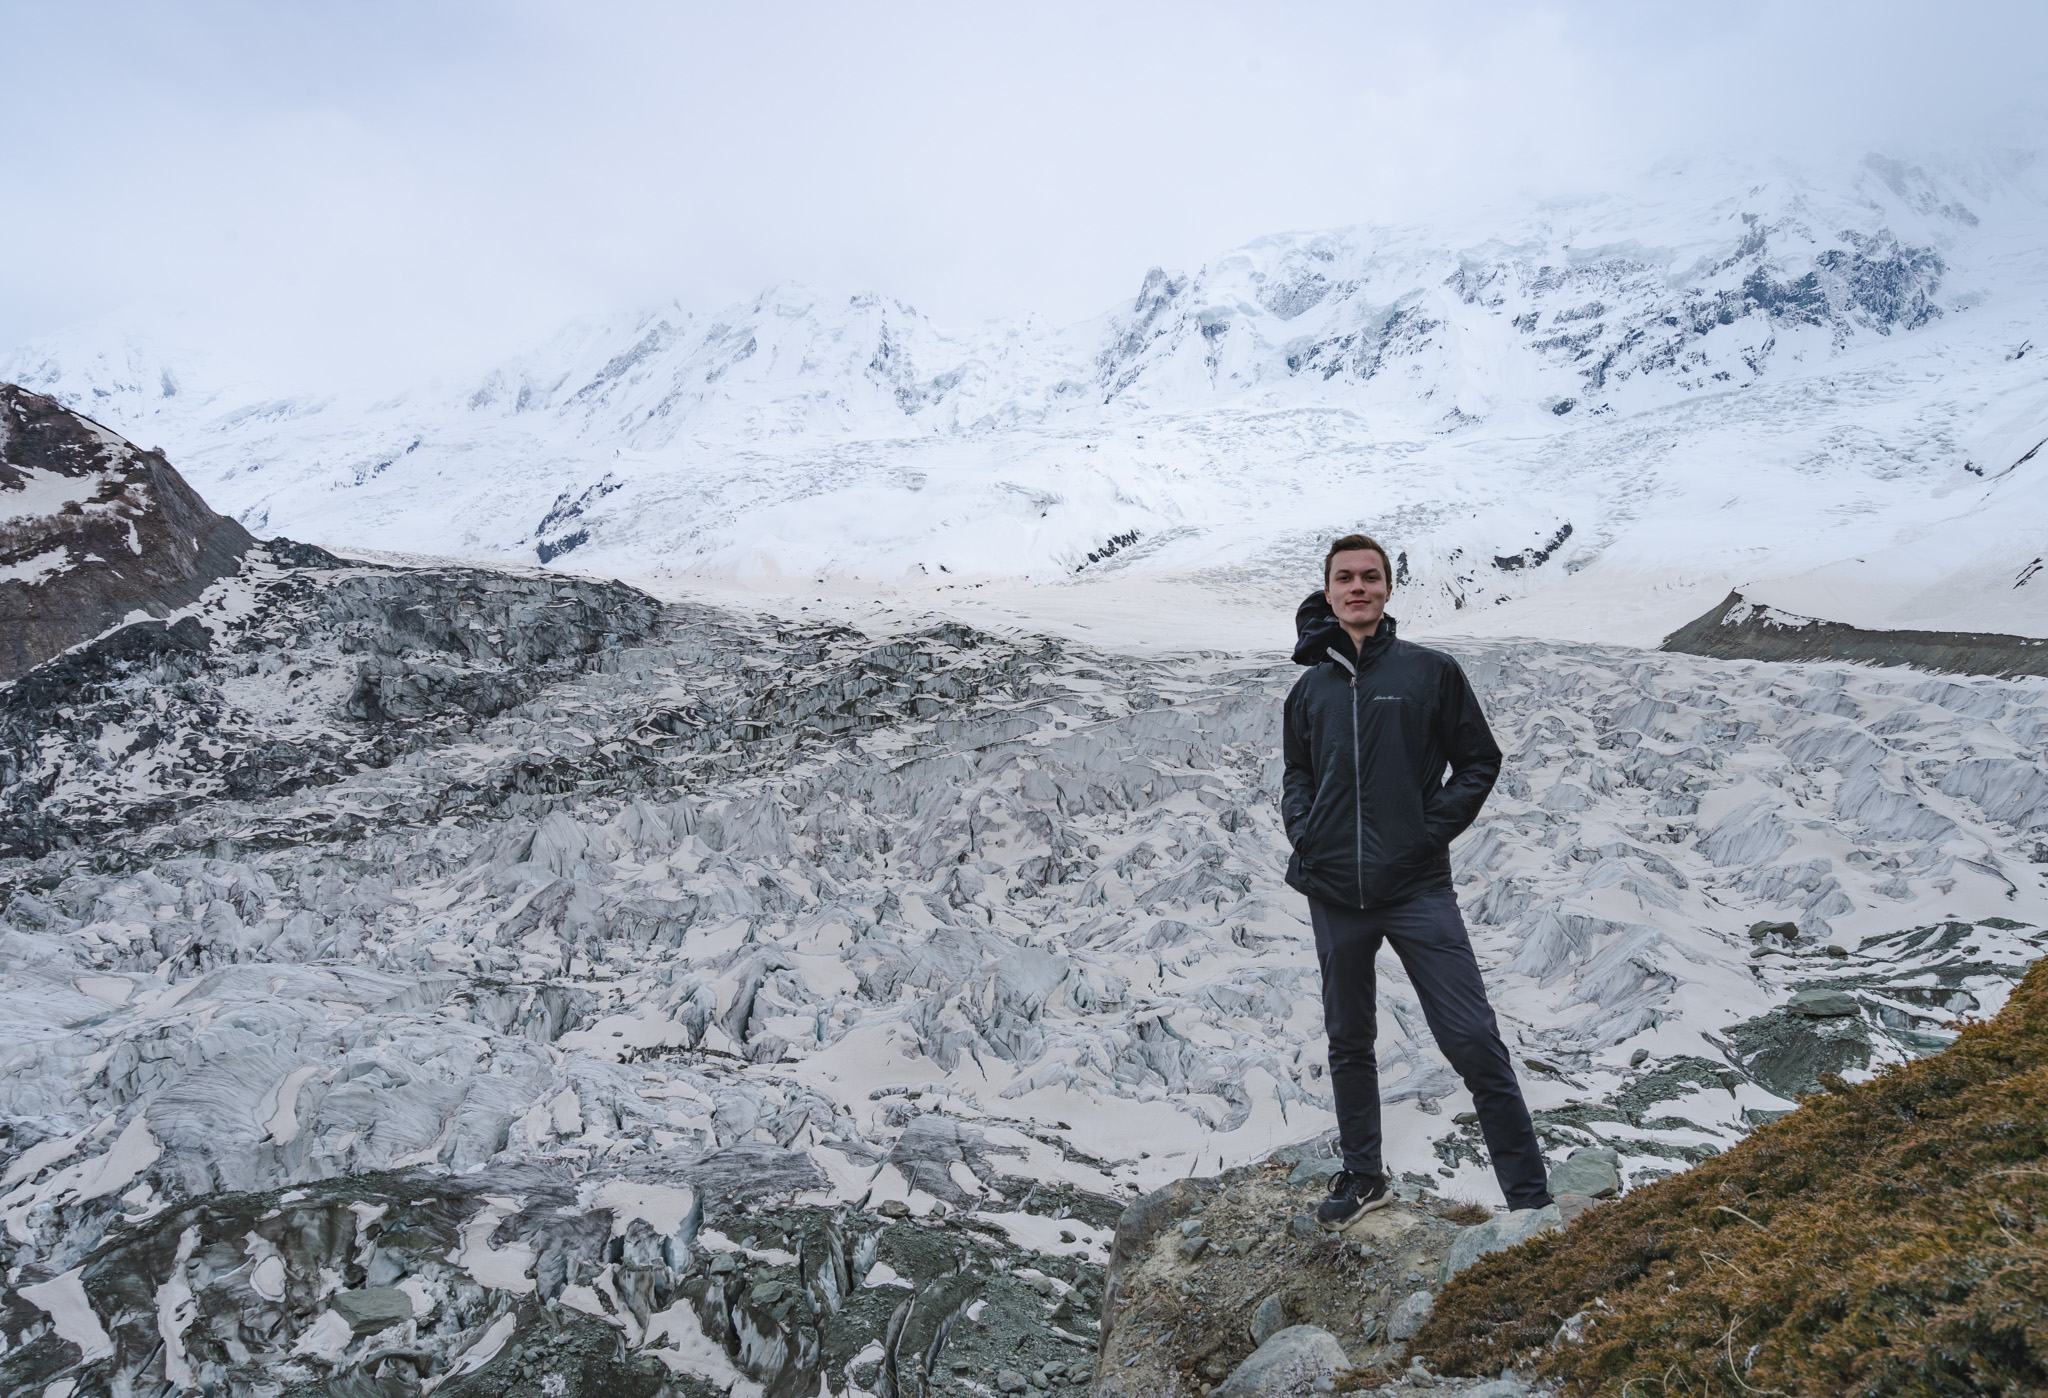
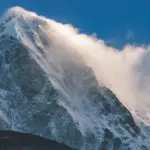
Eventually, you’ll arrive at the top of the ridge. This ridge is basically the same altitude as the actual base camp, but offers much nicer views. I stayed here for about thirty minutes taking photos and admiring the view.
It was quite cold when I was on the ridge, so be sure to back a sweater and wind shell with you. The entire way up to here I was just wearing a t-shirt, but as soon as I reached the ridge I had to put on both layers.
Unfortunately, when I had made it to the ridge, clouds had covered the upper parts of Rakaposhi (7,788 m) and Diran (7,266 m). Weather is usually better in the mornings, so try to get an early start for a chance of seeing the summits.
Stage 3 – Rakaposhi View Ridge to Base Camp
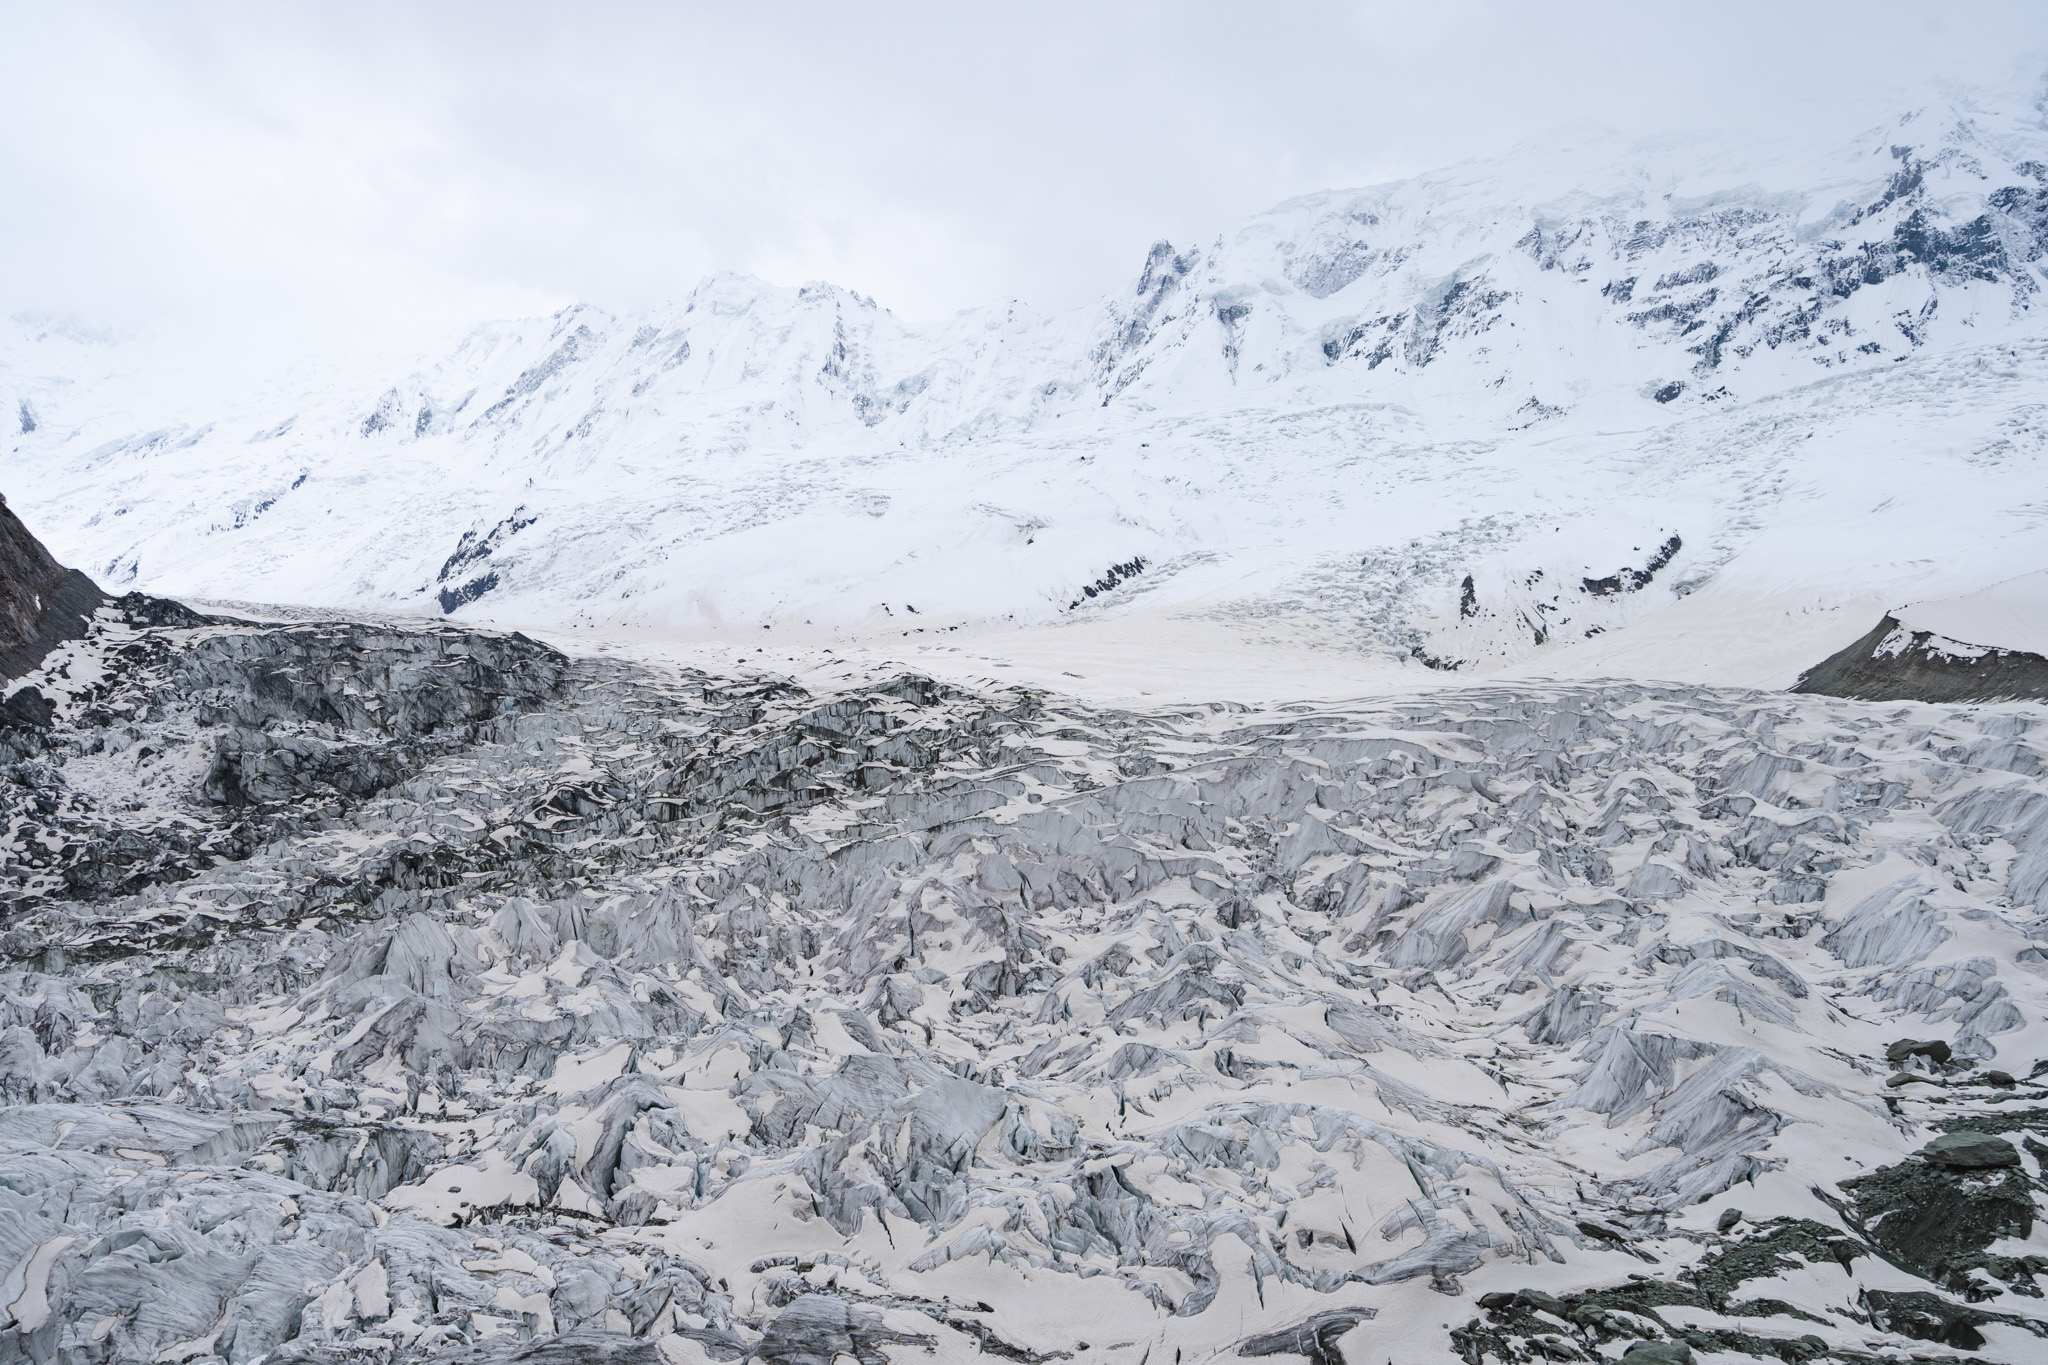
Rakaposhi base camp is quite close to the ridge, and at roughly the same altitude (3,500 m). It only takes about fifteen minutes to reach via an obvious but slightly sketchy trail.
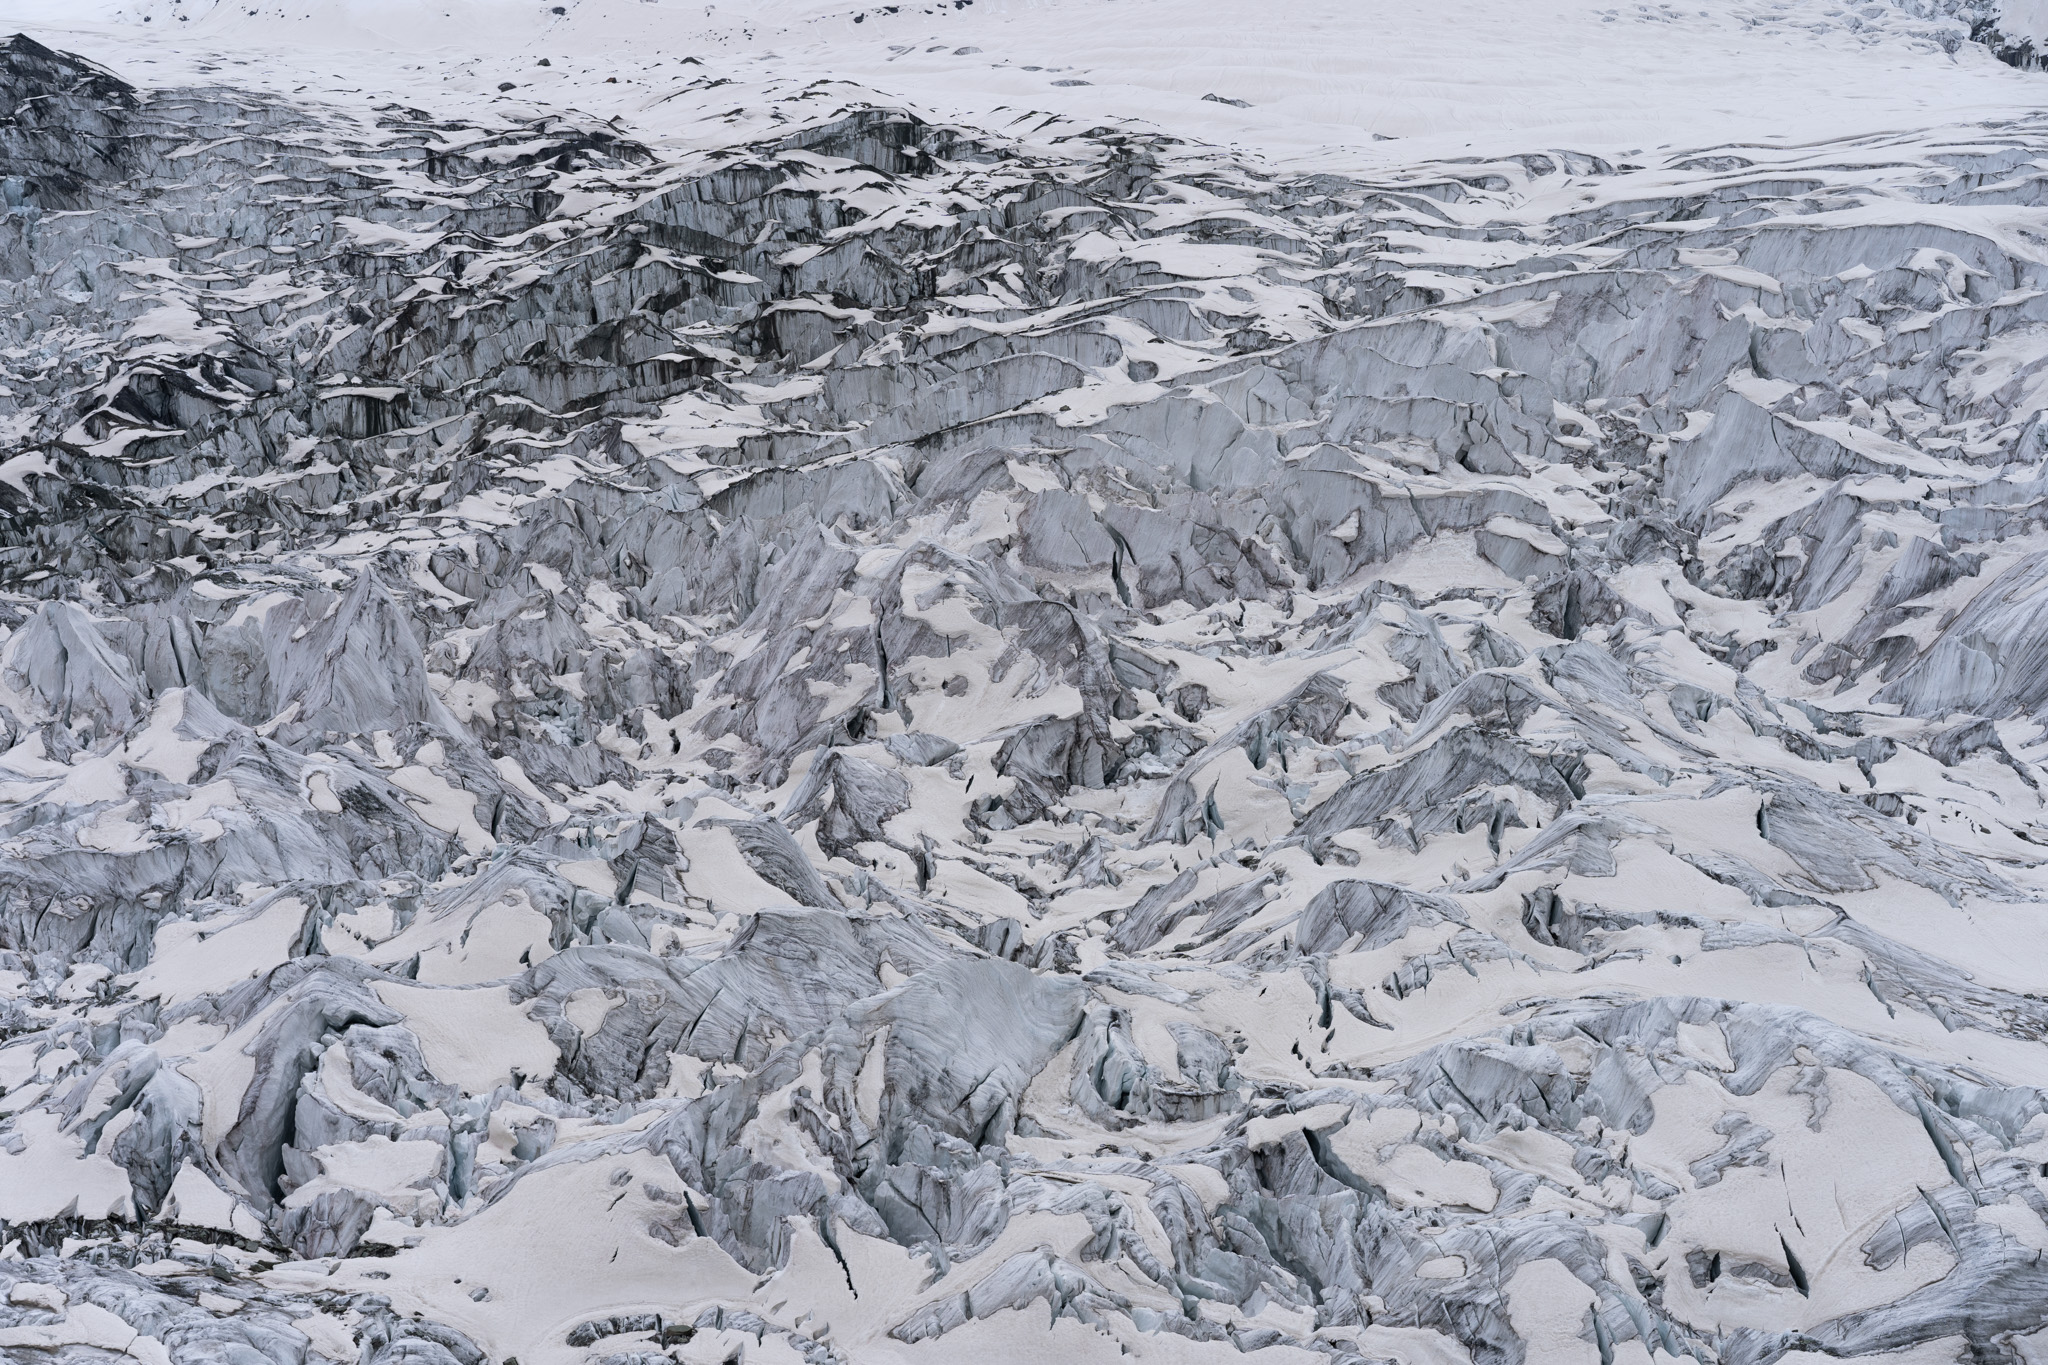
When I was there in May, the area that is normally used as the base camp was still covered in snow. I was only wearing sneakers, so only went a short way into the BC area before turning back (nobody likes wet shoes!).
By mid-June, there shouldn’t be much snow here, so it would be a great place to camp and wait for the clouds to clear on Rakaposhi.
Stage 4 – Rakaposhi Base Camp to Minapin
The descent back to Minapin is quite easy, but long. Consider bringing trekking poles if you have weak knees, as 1,500 meters downhill can be quite hard on them.
Follow the same trail that you came up on, and you’ll be back in Minapin for a late lunch if you left that morning. For reference, the descent took me two hours.
What to bring on the hike
As long as the weather is decent, you don’t need any serious gear to hike to Rakaposhi BC in the spring/summer/fall months. In winter it’s a different story, and you better be prepared to hike through lots of snow.
I recommend bringing the following:
- A form of water purification. I recommend either purification tablets or a filter such as the Sawyer Mini. I started the hike with two litres of water, but I drink a lot so I needed to refill at streams along the way.
- Sun protection. At high altitude, the sun is extremely strong. Bring a good hat and some strong sunscreen.
- A wind/rain shell. You never know when the weather will change in the mountains, so it’s better to be prepared, even when on a short hike. The viewpoint ridge near the base camp can be quite windy.
- Trekking poles would be great if you like to use them, especially on the descent.
- And of course, bring your camera! It’s such a beautiful place.
If you’re planning on camping, you’ll obviously need to bring a sleeping system and more food.
When to visit Rakaposhi Base Camp
The best season for hiking here is from May to October. I was there in mid-May, and as I said earlier, base camp was still covered with snow. From June to October, it should be free of snow.
Theoretically, you can do this hike at any time of year, but I’d ask the locals in Minapin about doing it in winter. You’ll want good cold-weather gear and a guide to show you the way, as I doubt there is any sort of visible trail at that time of year.
Rakaposhi Base Camp Hike Wrap-Up
I hope this post has helped you plan your travels in Pakistan! As always, feel free to ask me in the comments if you’ve got any questions.
In the meantime, check out my other posts about travelling in Pakistan:
- Backpacking Pakistan: The Ultimate Travel Guide & Itinerary
- How To Travel The Karakoram Highway (Backpacker’s Guide)
- Khunjerab Pass Guide: Border Crossing from Pakistan to China
- Darra Adam Khel: A Visit to the World’s Largest Gun Bazaar
Yay transparency! There are affiliate links in this guide. If you book or buy something using my links, I’ll make a bit of money at no extra cost to you.
21-year old Canadian dude who loves to visit off-the-beaten-path places, climb tall mountains, and try delicious foods.

Super jelly of you and your adventures around Pakistan! This was a very informative piece and I’m dead serious about following this itinerary next September. Keep up the great work!
Hey thanks! Glad you’re liking my stuff 🙂
Super interesting post, been dreaming about going to Pakistan for a long time! Thank you for it, will definitely use some of the information 🙂
Glad you liked it! You’ll love Pakistan, such an amazing place 🙂